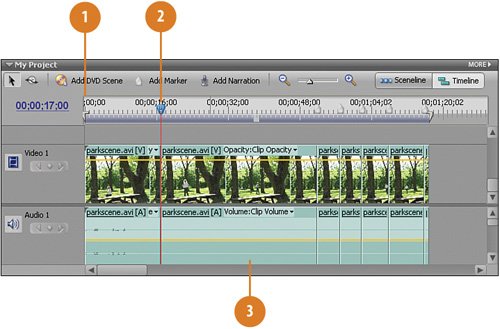
| In this step, we will remove a fairly large number of frames by deleting segments from the clip. When you view the clip after these deletions have been made, the clip will appear quite choppy, and the actor will appear to jump from location to location. What we now have is a series of jump cuts. A jump cut is created when, as you will do in this task, you remove some or most of the middle of a clip resulting in the actor (and even some of the objects) appearing to jump about from their starting location at the beginning of the clip to their new location at the end of the clip. You will have removed, in short, the transition frames (the walking in this case) that showed how the actor moved naturally between the two locations. Splitting the Clips  Press the Home key on your keyboard to return the CTI to the beginning of the parkscene clip. Press the Home key on your keyboard to return the CTI to the beginning of the parkscene clip.
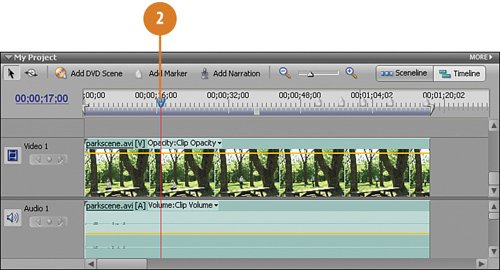
Timesaver If the full clip is not visible, press the backslash key, \, on your keyboard to view the full project.  While holding down the CTRL key on your keyboard, press the right arrow key to jump to the first marker. While holding down the CTRL key on your keyboard, press the right arrow key to jump to the first marker.
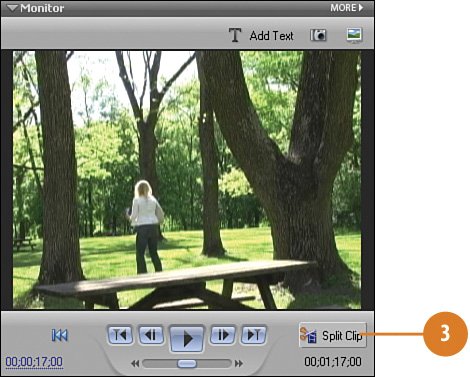
  Click the Split Clip button on the Monitor panel to split the clip at this point (00;00;17;00). Click the Split Clip button on the Monitor panel to split the clip at this point (00;00;17;00).
 Press CTRL-right arrow again to jump to the next marker. Press CTRL-right arrow again to jump to the next marker.
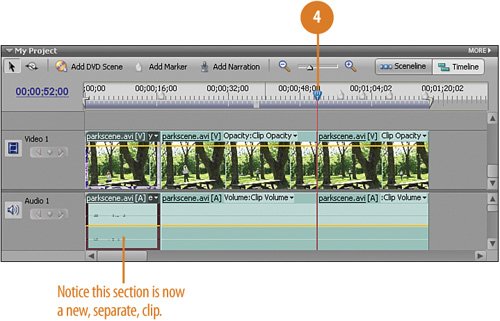  Click the Split Clip button again to split the clip here (00;00;52;00). Click the Split Clip button again to split the clip here (00;00;52;00).
 Press CTRL-right arrow to jump to each of the remaining markers and split the clip at each marker using the Split Clip tool, as described in the preceding steps: Press CTRL-right arrow to jump to each of the remaining markers and split the clip at each marker using the Split Clip tool, as described in the preceding steps:
00;00;59;00 00;01;02;00 00;01;08;00 00;01;16;00
Important You should end up with seven (7) smaller clips after making a total of six (6) cuts using the Split Clip tool.
Remove Frames from the Larger Clip by Cutting Smaller Clips - Return the CTI to the beginning (head) of the clip by press the Home key on your keyboard.
- Jump to the first marker by pressing CTRL-right arrow on your keyboard.
- Click to select the second clip on the Video 1 track (it starts on 00;00;17;02 and ends 00;00;51;29) in the sequence.
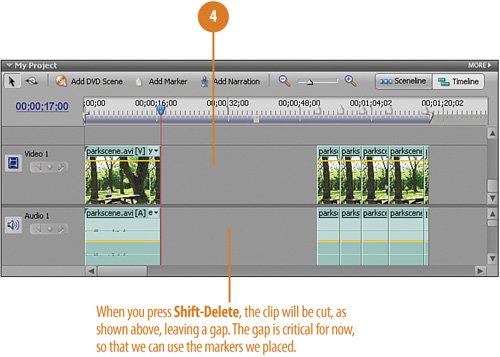
 - Press Shift-Delete on your keyboard to delete the selected clip.
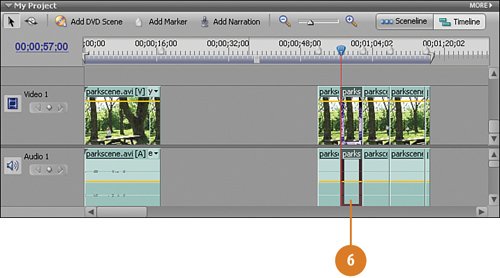
 - We want to keep the next clip, so jump over it to the third clip (of the remaining clips) by pressing CTRL-right arrow on your keyboard two times.
- Click to select the third clip (it starts on 00;00;59;00 and ends 00;01;01;29) and press Shift-Delete to delete it.
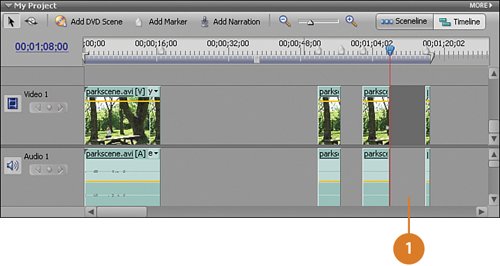
  Finally, jump to the fifth marker by again pressing CTRL-right arrow on your keyboard two times. Finally, jump to the fifth marker by again pressing CTRL-right arrow on your keyboard two times.
 Click to select the fourth clip (of the remaining clips). It starts on 00;01;08;01 and ends 00;01;15;29) and press Shift-Delete to delete it. Click to select the fourth clip (of the remaining clips). It starts on 00;01;08;01 and ends 00;01;15;29) and press Shift-Delete to delete it.
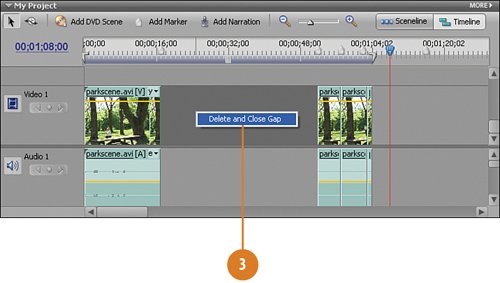
Delete the Gaps - Now that we've deleted the clips we won't be using to create our jump cuts, let's close up the gaps we created in the process. To do so, right-click on the gap between the third and fourth clips and select Delete and Close Gaps.
 - Right-click on the gap between the second and third clips and again select Delete and Close Gaps.
- Do the same for the large gap between the first and second clips.
Did You Know? Let it rip (ple). Pressing Shift-Delete on the keyboard with a clip selected deletes the clip and leaves the gap "as is." We need to leave the gap at this point in order to use the markers we placed. If you want to use a "ripple delete" on a project, simply use the Delete key by itself. Using the Delete key deletes the clip and slides everything to the right of the deleted clip to fill the gap created by the deleted clip. This is known as a "ripple edit" because the clips "ripple" in to fill the space.
|
Disjointed Jumps Disorientating Audiences is Sometimes Deliberate The Jump Cut can have a disconcerting effect. For you film history buffs, this sort of thing was once done deliberately in films as one part of a technique to deliberately remind the audience that they were watching a movie, thus not allowing them to enter into the "world" the film was representing. The technique was known as verfremdungseffekt and was also known as the V-effect for short. The V-effect actually uses a number of different techniques, only one of which is the jump cut. Recent examples of this technique can be seen in the television series, Homicide: Life on the Street, the movie Domino, and the film, V for Vendetta, which used the letter "V" heavily throughout (both as a capital V and as the Roman numeral five) dabbled in the V-effect as well, specifically in the final scene. |
|