Adding Blurriness to the Goggles for Additional Realism
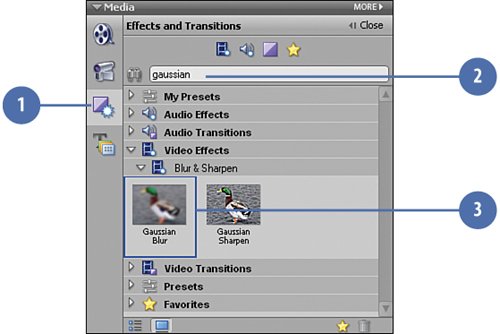
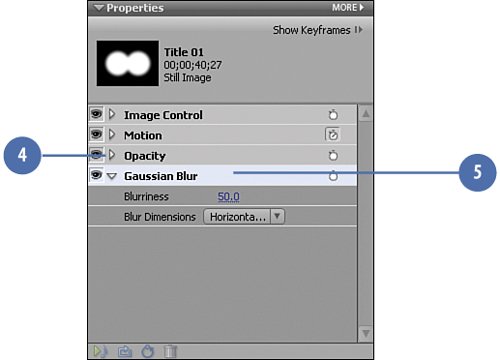
Adding Blurriness to the "Goggles" for Additional RealismWell, you've created your night vision goggles, and you've got them successfully tracking your suspect. But there's still a problem. The "goggles" as we have them right now have very sharp, unrealistic looking edges. They look exactly like what they are: two overlapping circles. To help achieve a more realistic and subtle look, we only need to blur these sharp edges. This will make the goggles appear to be slightly out of focus, a convention your audience expects that will help "trick" them into believing this effect, and thereby enjoying your clip. Add the Gaussian Blur Effect to Remove the Sharp Edges of the "Goggles"
|


Hollywood Special Effects with Adobe Premiere Elements 3
ISBN: 0789736128
EAN: 2147483647
EAN: 2147483647
Year: 2006
Pages: 274
Pages: 274
Authors: Carl Plumer