Creating a Slide Show by Changing the Image's Source Another powerful use for the timeline is the option of creating a slide show. Remember the only object you can add to a timeline other that a layer is an image. However if you want the image to animate, it has to be placed within a layer; only layers can animate in DHTML. However, if you add an image to the timeline, although you may not be able to animate it, you will be able to change the image's source over time. You can follow these steps exactly if you download the gato_images folder from the companion Web site located at http://www.dreamweavermxunleashed.com. To create a slide show, follow these steps: -
Open a new document. Draw a layer in the center of the document. The layer is simply for placement of the graphics and has nothing to do with the animation. -
Place a blinking cursor in the document and insert an image. I'm working with the Gato images, so I'll insert the gato_close_up.jpg image. -
Next, with the image selected, choose Modify, Timeline, Add Object to Timeline. You'll get an alert message explaining that you can change only the source of the image as shown in Figure 12.18. Figure 12.18. An alert message warns that you can change only the image source.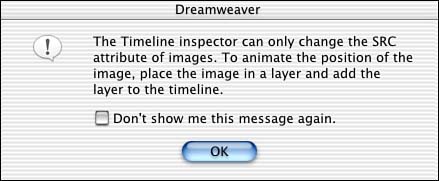
-
Drag the last keyframe out to frame 60. -
Next, select the animation bar (all the frames) and place the playhead over frame 10. With the playhead positioned properly, choose Modify, Timeline, Add Keyframe. This places a keyframe on frame 10. -
With the playhead still positioned over frame 10, highlight the graphic. In the Properties Inspector, the SRC text field indicates the source of the image. Click the folder icon next to it and search for gato_in_actopn.jpg in the Select Image Source dialog box as shown in Figure 12.19. Click OK. Notice the image is different on frame 10; however if you move (scrub) the playhead back to frame 1, the original image is still present. -
Repeat steps 5 and 6, adding keyframes every 10 frames and switching the image's source. -
Next, make sure Autoplay is not checked, but looping is. Add the Play and Stop images like you did in steps 1 and 2 of the previous exercise. Also, add the Play Timeline and Stop Timeline to each image. -
Preview the slide show in a Web browser. Click the Play button to see the animation and the Stop button to Stop it. NOTE You can download a complete working copy of this exercise from this book's companion Web site located at http://www.dreamweavermxunleashed.com.
|

