| Dreamweaver offers the capability to have the timeline trigger behaviors. This can be useful if you need the timeline's playhead to move to a certain area of the timeline. Perhaps you would like an alert message to pop up at the end of an animation. Whatever the case, the process is quite simple in Dreamweaver MX. To learn more about behaviors, refer to Chapter 19, "Behaviors." To have an alert message pop up at the end of the animation, follow these steps: -
Create an animation with a layer. -
Move the playhead to the last frame and select the last frame. -
Choose Modify, Timeline, Add Behavior. You can also contextual click and choose Add Behavior from the contextual menu, or you can double-click the frame in the behavior track. This will open an alert telling you how to add the behavior and opens the Behaviors panel as shown on Figure 12.14. Figure 12.14. The alert message tells you to click the plus sign to add a behavior.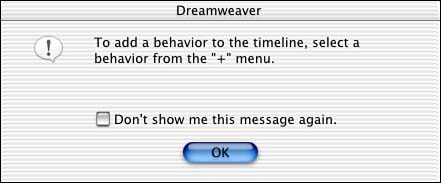
-
In the Behaviors panel, click the plus sign and choose Popup Message. This opens a dialog box where you can type in a message as shown in Figure 12.15. Figure 12.15. You can type in a message that you want to appear in the Alert dialog box.
-
Type The animation is now complete into the message window. Choose OK to exit this dialog box. -
In the Behaviors panel, the event should be set to the frame number to which you applied the behavior. Be sure to have Autoplay checked in the timeline and Loop turned off. -
Preview the animation in the browser. As Figure 12.16 shows, when the animation is over, the alert message pops up with the message you typed in the dialog box earlier. Figure 12.16. The alert message appears when the animation is over.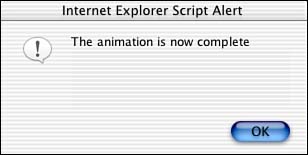
Controlling the Timeline with Behaviors Trigger events from the timeline are one thing, but you can also control the timeline with behaviors by means of something else, like text or graphics. Maybe you would like to give end users the freedom to play and stop the animation at their leisure. This isn't a bad idea, either; sometimes animations in Web pages can become distracting or annoying to end users, which ultimately makes them leave your site. However, if you offer them the option of controlling the animation, they may be more likely to stay. Download the play and stop graphics from the companion Web site located at http://www.dreamweavermxunleashed.com to follow these steps in controlling the timeline. Before we walk through step-by-step, there are a few things that must be in place first. First, you need an animation. In this animation, make sure that Autoplay is not selected and Loop is. You want the end user to determine when to play and stop the animation. To do that, follow these steps: -
Draw a layer somewhere in the document that won't interfere with the animation. Place a blinking cursor inside the layer to insert the images you either created or downloaded from the companion Web site. Choose Insert, Image if you downloaded the graphics, and choose play.gif from your hard drive. Repeat the process to insert stop.gif. -
Highlight the Play button and open the Behaviors panel. You can open the Behaviors panel by choosing Window, Behaviors. Click the plus sign to add a behavior, and in the menu choose Timeline, Play Timeline. This will open a dialog box, as shown in Figure 12.17, asking what timeline to play. Choose the timeline; in this case, you probably have only one, so choose Timeline1. Figure 12.17. Choose which timeline you want to play from the drop-down menu.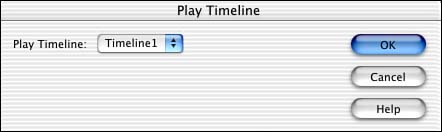
-
Repeat step 2 for the Stop button and choose Stop Timeline for the behavior. The dialog box offers the option of choosing a specific timeline or All Timelines. In this case you have only one timeline, so choosing All Timelines is fine. -
Preview the animation in a Web browser. The animation does not play until you press the Play button, and the animation does not stop until you press the Stop button. Use the Behaviors panel in conjunction with the timeline and create a powerful combination. You can add user interaction with the Web site by using the DHTML features that Dreamweaver provides. It's not nearly at the level of Flash or Shockwave applications, but on the positive side, end users do not need a plug-in or an ActiveX control to view this content. They simply need Internet Explorer 4.x or Netscape 6. |

