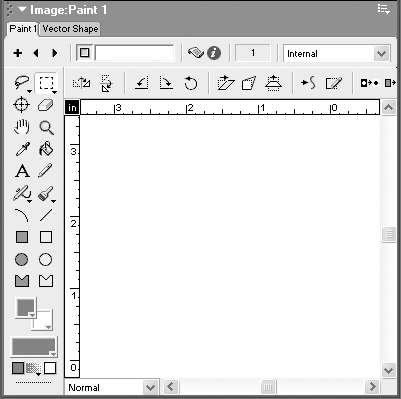
| This chapter assumes that you already have some experience using paint programs. (Even if you haven't used Photoshop, you've probably at least used Microsoft Paint, included with every version of Windows.) Based on that experience, you'll probably find most of the items on the Paint window's tool palette comfortably familiar ( Figure 6.1 ). Figure 6.1. The Paint Tool palette should look familiar to you if you've used any other paint or image-editing programs. 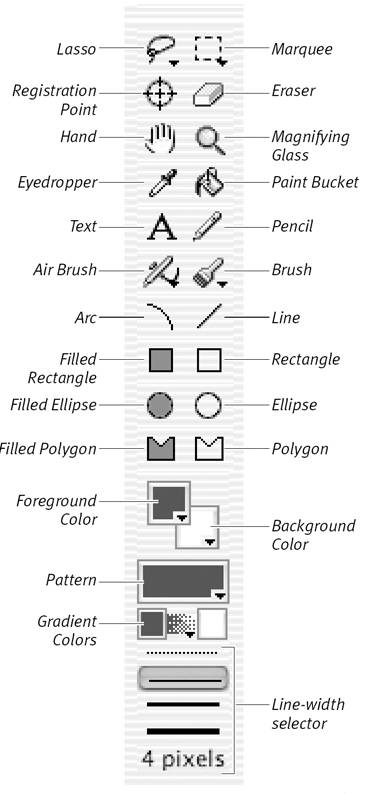 Just about all of the paint toolsthe Pencil, Paint Bucket, Rectangle, and so onwork the same in Director's Paint window as they do in other paint programs, and therefore won't be covered in this chapter. The Brush and the Air Brush, which do have some unique features in Director, will be covered. Nearly all of the tasks in this chapter take place in the Paint window ( Figure 6.2 ). Therefore, most of the directions for each task will assume you're already in the Paint window. Figure 6.2. If you've used previous versions of Director, you'll find the Paint window largely unchanged, save for the new MX interface.  Before you start using individual tools, you should become familiar with the general way the Paint window operates. To open the Paint window: To view or edit an existing bitmapped cast member: -
Double-click the cast member in the Cast window. The Paint window opens (if it's not open already) and displays the selected cast member. or If the Paint window is already open and displaying a different cast member, click the Next Cast Member or Previous Cast Member button ( Figure 6.3 ) to step through bitmapped cast members in the order they appear in the Cast window. Figure 6.3. Use these buttons to cycle through existing bitmapped cast members in the order they appear in the Cast window. 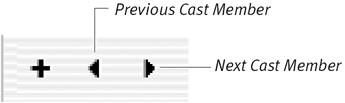 To create a new bitmapped cast member: -
Click the New Cast Member button in the Paint window ( Figure 6.4 ). Figure 6.4. Any image created in the Paint window becomes a cast member. 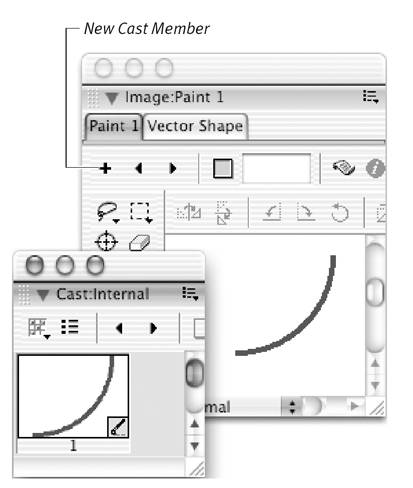 A new, blank work area appears. -
Create an image, using any of the paint tools. At the moment you begin to paint, your image occupies the first available position in the Cast window and becomes available for use in your movie. To turn an image in the Paint window into a sprite on the Stage: -
Create or open an image in the Paint window. -
Drag the Place button ( Figure 6.5 ) onto the Stage. Figure 6.5. Drag the Place button from the Paint window to the Stage to place the current image there. 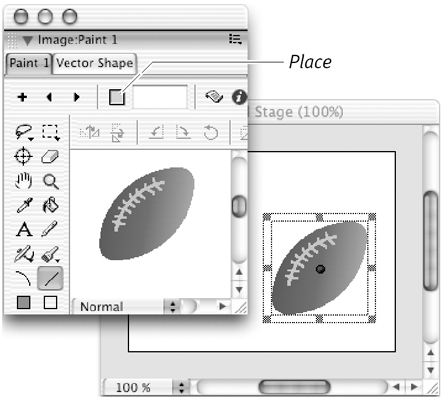 Director places the image from the Paint window on the Stage and in the Score. To show or hide the Paint Tools palette: To show or hide rulers:  Tips Tips -
You can set a ruler's zero point by dragging anywhere within the ruler and releasing the mouse button where you want the new zero point to be. -
To cycle the rulers' unit of measurement from inches to centimeters to pixels, click in the box where the two rulers meet ( Figure 6.7 ). Figure 6.7. Click the upper-left -hand box where the rulers intersect to change the unit of measurement. 
To zoom in or out: -
Select the Magnifying Glass in the tool palette ( Figure 6.9 ). Figure 6.9. Use the Magnifying Glass tool to zoom in and out, and the Hand tool to move your artwork around within the visible portion of the work area. 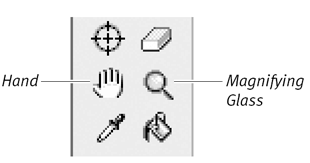 The mouse pointer becomes a magnifying glass. -
Click within the work area to zoom in, or Shift+click to zoom out. When you're zoomed in at any level greater than 100 percent, a navigation rectangle appears in the upper-right corner of the Paint window, showing the artwork at its actual size ( Figure 6.10 ). Clicking within this rectangle returns the zoom level to 100 percent. Figure 6.10. When you zoom into an image, the navigation rectangle at the upper right shows the same image at its actual size, to help you recognize the area you're editing. 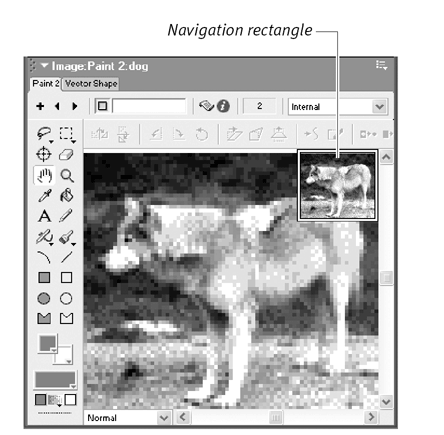 Tips -
If the navigation rectangle blocks part of your artwork, use the Hand tool to move the artwork around within the work area. -
To zoom in on an image at the maximum zoom level, double-click the Pencil tool in the Paint Tool palette.
|