AutoFormatting Worksheets
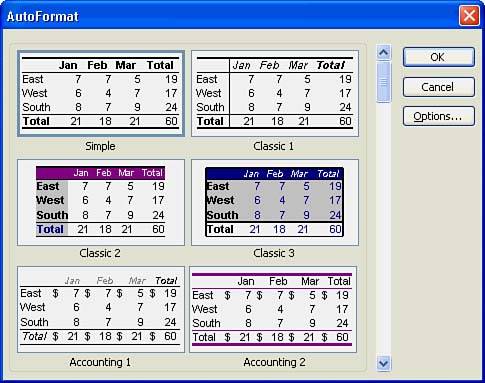
| Before diving into additional formatting commands, remember that the AutoFormat feature in Excel converts an otherwise dull worksheet into a nice-looking, professional one. You saw how simple it is to use AutoFormat in Hour 6, "Understanding Excel 2003 Workbooks," when you applied an AutoFormat to the simple worksheet you created. Your Excel worksheet's presentation is almost as important as the data within the worksheet. If your worksheet needs sprucing up, try using AutoFormat because it gives a good-looking , consistent dimension to your entire worksheet. After AutoFormat finishes, your worksheet will have a uniform appearance. You can then add finishing touches to the worksheet, such as highlighted totals that you want to make stand out. To use AutoFormat, select the data in your worksheet that you want to format. AutoFormat works on selected cells , so you need to select your worksheet data first. Select Format, AutoFormat to display the AutoFormat dialog box, as shown in Figure 9.1. Figure 9.1. Let AutoFormat improve your worksheet. Scroll through the AutoFormat samples and choose any format. When you click OK, Excel applies the format to your selected worksheet cells. Figure 9.2 shows that AutoFormat knows to highlight totals and also knows to separate headings from the data detail. Figure 9.2. AutoFormat improved the appearance of this worksheet.
|

EAN: 2147483647
Pages: 272