| The rest of this chapter takes you a little further in using FrontPage by adding some text and graphics to your Web page. Although the next Web chapter continues building your FrontPage skills, no advanced material is presented. There is no way to make you a Web-page master in 2 hours, even with a tool as powerful as FrontPage 2003, but you can get insight into what Web-page creation by working through examples, even simple ones. Follow these steps to add more material to the Web page you created earlier: -
To see how many of FrontPage's menus and toolbars work like those of the other Office products, type the following text in the Web page you're creating and then click the Bold toolbar button: The more books you read, the taller you grow! -
Select the entire sentence you just typed and click the Center toolbar button and then the Bold button to center and format the text. -
Select the text (if you don't still have it selected) and increase the font size by dropping the Font Size list and selecting 6 (24 pt) . Click anywhere on the page to remove the selection from the text. Your screen should look like the one in Figure Web 1.6. Figure Web 1.6. FrontPage's formatting tools work similar to the other Office products you know. 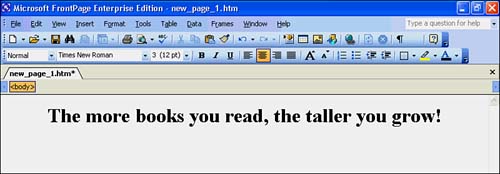  | Web pages don't allow as many font-size choices as Word documents and Excel worksheets. You're limited to 7 sizes, as the Font Size toolbar drop-down list shows. The actual sizes might change from computer to computer when viewed in a Web browser because they are based on the target Web browser's default font size. |
-
Insert a horizontal line below the heading. To do this, click at the end of the heading's exclamation point to anchor the text cursor there and press Enter to move the cursor to the next line. Select Insert, Horizontal Line. FrontPage places a horizontal line below the heading. -
Why not place a picture on the page? You can use the Office clip-art collection to get the art. Select Insert, Picture, Clip Art. In the Search for text box, type books and click Go. Several images will appear. Scroll down until you get to one you like. If you see the Mother Goose character reading, select her by clicking on her picture. Otherwise, pick a different one. When you select the picture, it appears in the center of the Web page. -
Leaving the text cursor to the right of the centered picture, type the following text (don't worry about the length or how the text looks): Reading is a lifelong pursuit because learning is a lifelong pursuit. Neither should end when you finish school. As you type, the picture moves around to adjust itself. -
Select all the text but not the figure. -
Change the text size by selecting 6 (24 pt) from the toolbar. -
Click the Left Align toolbar button. -
Right-click over the picture and select Picture Properties. Click the large Left button (one of three buttons toward the top of the dialog box with the icon), and you'll see the text adjust to the picture and look more planned than before, as Figure Web 1.7 shows. You've just instructed FrontPage to place the picture to the left of the text instead of trying to take a position on the same line as the first line of the text. Your font might or might not look smoother than that in Figure Web 1.7, depending on your FrontPage default font setting. Figure Web 1.7. Your first Web page is looking better. 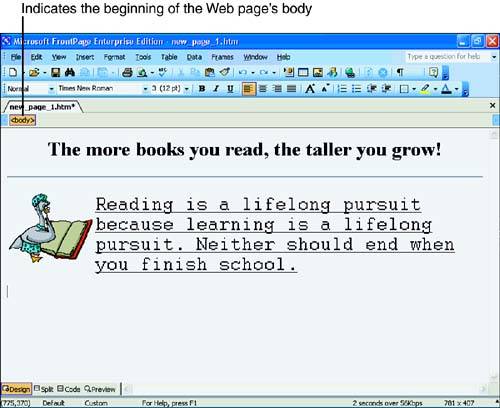  |