62 Attach a Note to a Cell
| < Day Day Up > |
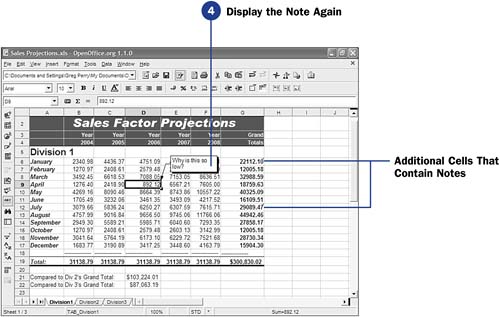
62 Attach a Note to a CellYou've seen the yellow sticky notes that some people plaster all over their desks. The reason for their popularity is that these notes work well for reminders. You can put them on just about anything, and although they stick for a while, they come right off without removing what's underneath and without leaving sticky gunk behind. Before You Begin See Also Calc offers the electronic equivalent of these notes. You can attach notes to cells inside your spreadsheets. The notes can remain yours alone, meaning you don't print them when you print the sheets, or you can print the notes for others to see when you print the spreadsheet's contents. TIP
|
 46 Print a Spreadsheet
  64 About Calc Styles and Templates
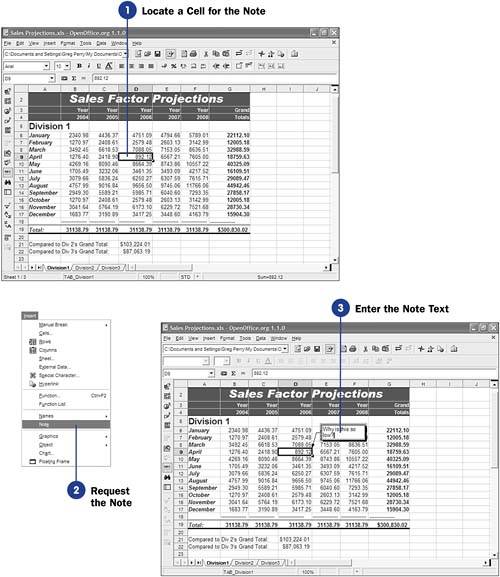
| < Day Day Up > |
EAN: 2147483647
Pages: 205