Adding Borders to Cells and Ranges
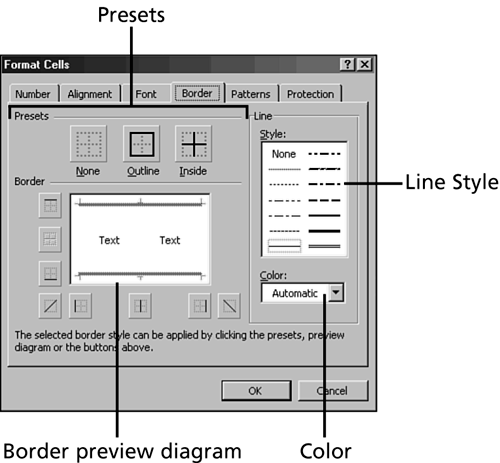
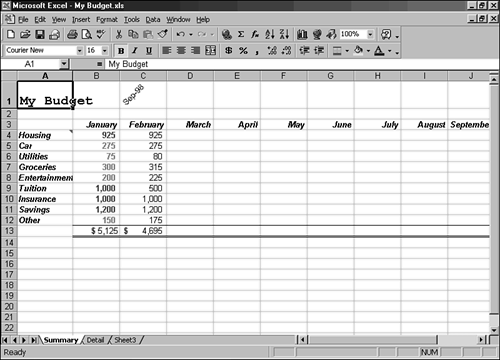
Adding Borders to Cells and RangesOne way to improve the appearance of a worksheet is to add borders to the data on the worksheet. You can add boxes around cells and ranges, add emphasis lines anywhere on the worksheet, and change the thickness and color of the border lines. As you work with your worksheet onscreen, each cell is identified by a gridline that surrounds the cell. In print these gridlines may appear washed out. To have better defined lines appear on the printout, you can add borders to selected cells or cell ranges. You can frame selected cells with a border to make your data stand out. Highlight parts of a table to emphasize the content by placing a thick border around the specific cells you want to attract attention to. Select the cells you want to use and then apply the border. Adding a border to a title, title and subtitle , total row, and total column are just some ways you can use borders. More specifically , you can have a single, thick, outline border that creates a box around a title for the worksheet. Or you can add a double underline on the bottom of cells to call attention to the totals. Applying a BorderThe Borders feature lets you manipulate the placement of the borders, the thickness of the lines, and color for any border lines. You can make borders a little more interesting by changing the thickness and color of specific border lines. You can have a different thickness and a different color for each border, or any combination of thickness and color. By combining border options, you get various results. Try combining border options with row-height and column-width options to get different effects. Experiment on your worksheets for best results. Applying a border is a cinch; it's making the decisions about the elements of the border that's difficult. The standard borders that Excel offers work just fine, but if you want to get creative, just click away on the Borders tab in the Format Cells dialog box until you get the border you want. In the following steps, you add a single-line top border and double-line bottom border to the totals in row 13 in the Summary sheet in the My Budget workbook.
To remove a border, select the cells that contain the border, click the Borders down arrow on the Formatting toolbar, and choose No Border. |
EAN: 2147483647
Pages: 474