Using Ranges
| If you know the cell address of the data you need to locate, you'll have no trouble moving to the spot. But unless you have a photographic memory, you probably won't remember the cell locations of all your important data. Even if you can spout cell locations, the cell addresses of your data change as you add and delete cells , rows, and columns . Ranges provide a better way to organize and describe your data. A range is a rectangular block of cells that can be named with a descriptive name. Instead of trying to remember where the Utilities budget is located, you can specify the range name that holds the information to have Excel whisk to the first cell of the range. You can also use ranges for formatting and printing, and you can use range names in formulas. A range can consist of one cell (after all, one cell is a rectangular block), or it can comprise the entire worksheet. Each range has two anchor points: the top-left and bottom-right cells. You can add or delete cells, rows, or columns within the body of the range, but you cannot make changes at either anchor point of the range. Assigning Range NamesInstead of calling a range by its coordinates, it makes much more sense to assign it a descriptive name. Follow the rules shown here when you assign names to your ranges:
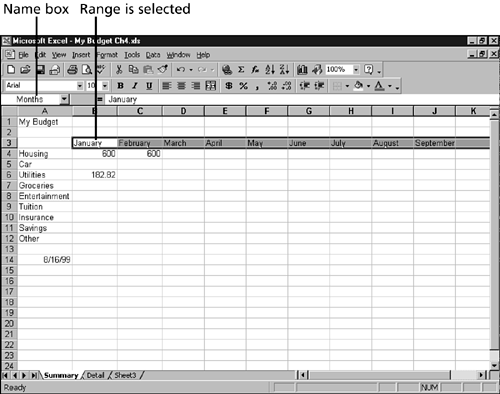
In the following steps, you learn to set up and name ranges in the My Budget workbook you created in the previous chapter. The workbook should be open and visible on the screen before you begin.
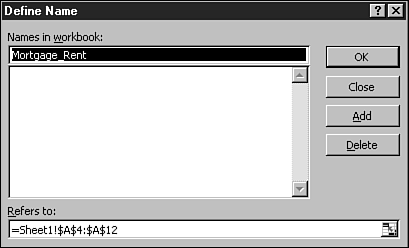
Editing Range NamesYou're never locked into the ranges you create. You can edit the range coordinates and rename or delete the range. Click the Insert menu, choose Name, and then choose Define to open the Define Name dialog box. When you click a range, the name appears in the Names in Workbook text box. To rename a range, type a new name in the Names in Workbook box. To delete a range, click the Delete button. The range coordinates appear in the Refers To text box and are represented by the worksheet and anchor cells of the range. A range name might look something like =Sheet1!$A$4:$A$12 . Although it might seem somewhat cryptic, each character has a distinct meaning. The column and row indicators appear after each $ character. If you want to change the range coordinates, replace only the column letters and row letters with the new coordinates for the range. Take care not to delete or change any other characters .
|
EAN: 2147483647
Pages: 474

