Adding Users


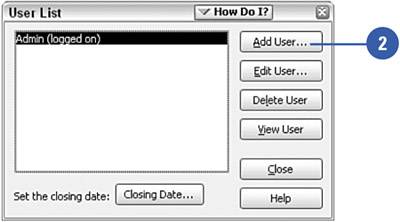
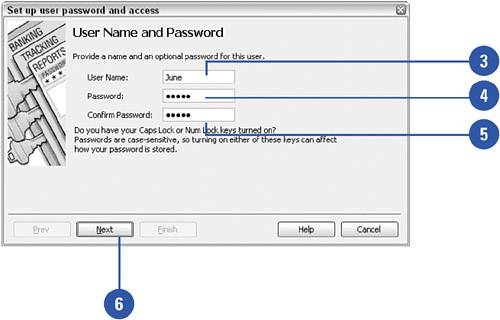
After you've set up the administrator for your QuickBooks company file, you're ready to set up the individual users and assign their rights for accessing and changing information. You can set a separate password for each user; you can assign separate rights to each user as well. Each user can create a password, or you can have the administrator assign passwords to each user. In any case, only a person logged on as the administrator has the right to initiate the setup of users.

Add a User
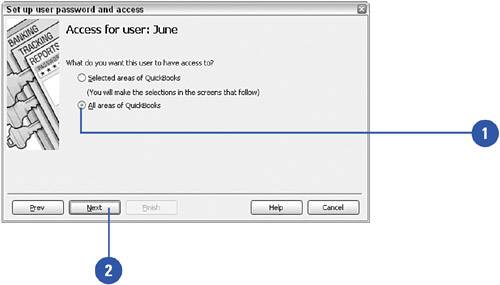
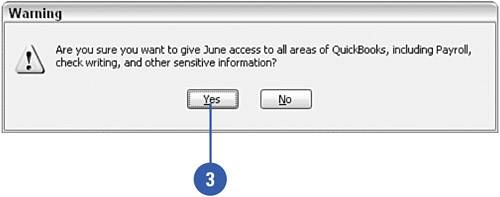
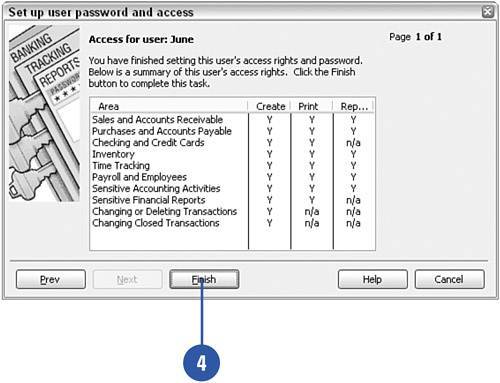
Select Company, Set Up Users from the Company menu. (Note: The User List will already be open if you just finished setting up an administrator. In that case, you can skip this step.)

Did You Know?

Only the administrator can set up new users. You must be logged in as the administrator to enter new users in your QuickBooks file.


Click Add User.

Enter a name for this user.

Enter a password (or have the user enter a password).

Reenter the password.

Click Next.

Assign All Rights

Click All Areas Of QuickBooks if this user is to have the ability to access and make changes in all areas of the program.

Click Next.

Click Yes.

Click Finish.

Did You Know?

Adding features might require adjustments to user rights. If you turn on certain features in QuickBooks after you've set up users, you might need to revise the users' rights. For example, if you turn on Inventory after you've assigned user rights, your users won't automatically have access to inventory features, even if you gave a user access to all rights.


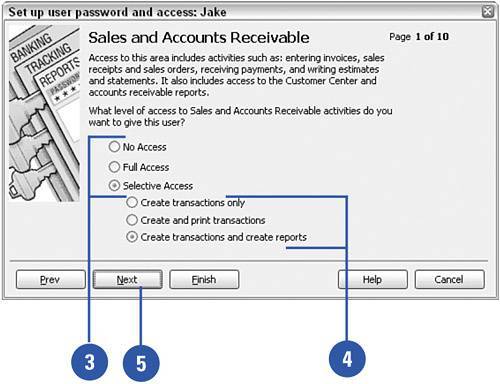
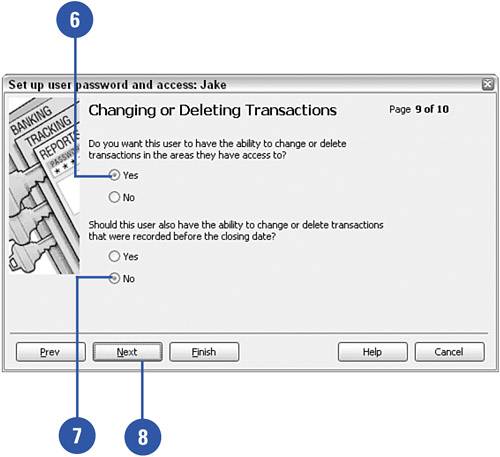
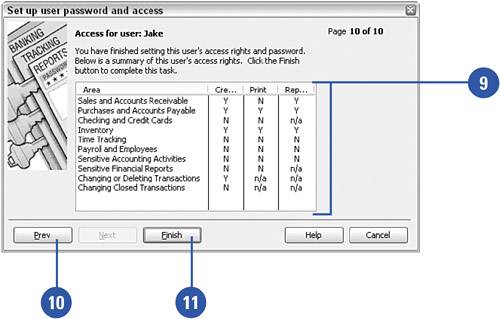
Assign Selected Rights

As an alternative to assigning all rights, as described in the previous task, you can identify which areas of the proram the user can access. After assigning a username and password, choose Selected Areas Of QuickBooks to designate specific areas of the program to which this user will have rights.

Click Next.

For each area of the program, indicate the level of access the user has by choosing No Access, Full Access, or Selective Access.

If you chose Selective Access, click an option to indicate whether the user has the right to create transactions, create and print transactions, or create transactions and reports.

Click Next.

Indicate whether the user has the right to change and delete transactions in the areas to which access has been assigned.

Indicate whether the user has the right to change and delete transactions that occurred prior to the company's closing date (addressed later in this chapter).

Click Next.

Verify all the access rights that have been assigned to this user.

Click Prev to return to a previous page and make changes.

Click Finish to complete the setup of this user's rights.


Show Me. QuickBooks 2006
Show Me QuickBooks 2006
ISBN: 0789735229
EAN: 2147483647
Year: 2005
Pages: 328
Authors: Gail Perry

flylib.com © 2008-2017.
If you may any questions please contact us: flylib@qtcs.net