Section 1.3. Toolbars
1.3. ToolbarsFlash lets you put all the menu options you use most frequently at your fingertips by displaying toolbars and panels like those shown in Figure 1-1. Toolbars and panels are very similar: they're both movable windows that display Flash options. The difference is that toolbars are small and show only icons; panels are larger and show whole rafts of settings you can change. (You can learn all about panels in the next section.) Toolbars pack some of the most commonly used options together in a nice compact space that you can position anywhere you like. (See the box on Section 1.4.1 for tips on repositioning toolbars.) Displaying a toolbar means your options are right there in front of you, so you don't have to do a hunt-and-peck through the main menu every time you want to do something useful. Tip: When you reposition a floating toolbar, Flash remembers where you put it. If, later on, you hide the toolbaror exit Flash and run it againyour toolbars appear exactly as you left them. If this isn't what you want, you can wipe away all your changes and return to the way Flash originally displayed everything by choosing Window  Workspace layout Default. Workspace layout Default. Toolbars Main (to display the Main toolbar) and Window Toolbars Controller (to display the Controller window). The checkmarks on the menu show when a toolbar is turned on. Choose the toolbars name again to remove the checkmark and hide the toolbar. 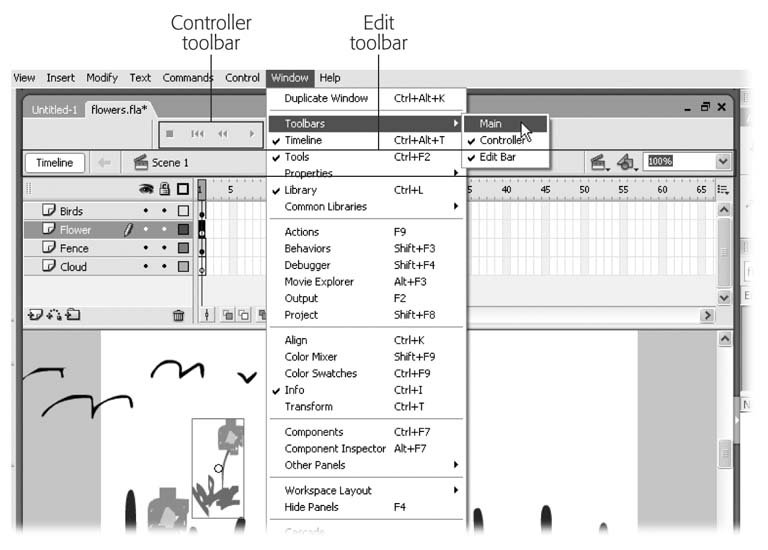 |
EAN: 2147483647
Pages: 126