| Internal styles are those that are defined and used only in the current document. If you need to create style definitions for only one page in your site, you can use internal styles. If you want your site to have a cohesive look across multiple pages, you should use an external style sheet and link that style sheet to each document that you want to use that look. Tip Using external style sheets is recommended whenever possible. External styles are beneficial because they enable you to use styles in other documents. Additionally, because the formatting code for external styles is contained in a common external document, the pages that use that style sheet do not have to continually reload the formatting information; this causes less code to be used, so the pages download more quickly. It also makes styles easier to update because they are all in one place. You learn to create external styles later in this lesson.
All the styles you created so far are internal styles. The style sheet that you looked at in the previous exercise is an internal style sheetone that is contained entirely within the index.html document. | | 1. | Open the CSS Styles panel located in the CSS panel group, and click the All button at the top of the panel.
Tip If the CSS Styles panel isn't open, you can access it by choosing Window > CSS Styles. 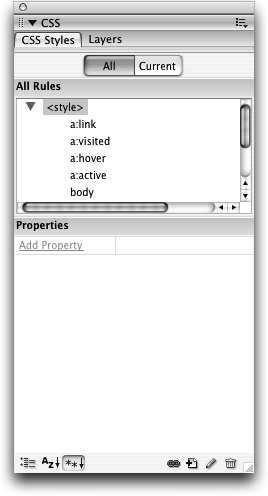 The CSS Styles panel displays a list of the styles that were created when you defined the page properties.
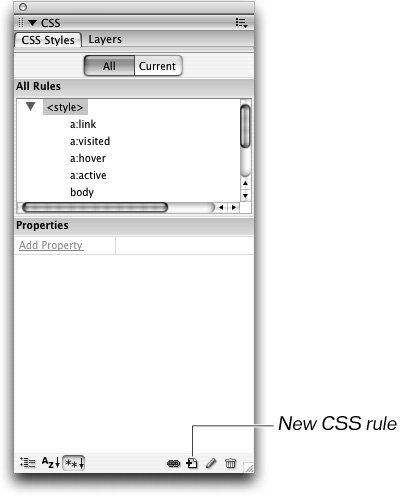
Tip You might need to expand the <style> group at the top of the CSS Styles panel to see the list of all internal styles. | | | 2. | Click New CSS Rule icon at the bottom of the CSS Styles panel.
 The New CSS Rule dialog box opens.
Tip You can also open this dialog box by choosing Text > CSS Styles > New. 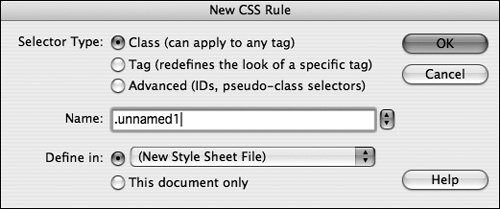 There are three different selector types (kinds of elements defined by styles) that you can use in Dreamweaver: There are three different selector types (kinds of elements defined by styles) that you can use in Dreamweaver:
- Class: This type of selector allows you to create classes that are not tied to any particular elements. You can apply a single class to many different elements. Classes are indicated by their initial period.
- Tag: This type of selector allows you to specify an HTML tag as the element that will be redefined by the style. The default appearance of the tag becomes modified by the style.
- Advanced: This type of selector allows you to create styles that are used for specific tag combinations (contextual selectors). This selector type also enables you to create IDs, which are similar to classes with one major exception: They can only be used once per page as a way of defining or uniquely identifying a particular element. Because of their unique nature, IDs are often used for scripting purposes and are indicated by #.
| 3. | Select Class from the Selector Type area of the New CSS Rule dialog box.
The text field becomes a Name text field for creating a custom style.
Dreamweaver assigns generic names automatically in a numeric order: .unnamed1, .unnamed2, and so on. These names are not very descriptive and they can be especially unhelpful when you are creating multiple classes. It's best to get in the habit of giving your styles short names that are descriptive of their purposes.
| 4. | Type .dayName in the Name text field for the name of your class.
A period before the name is required. If you delete the period, Dreamweaver automatically includes it at the beginning of the name, even if it isn't shown.
Getting into the habit of assigning names based on the function of the style rather than a description of style's appearance attributes is bestfunctionally descriptive names are more accessible, especially for speech based browsers.
| | | 5. | Select This document only in the Define in area and then click OK.
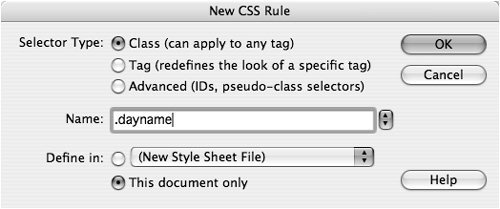 The document only option specifies that you are creating a new internal style. The CSS Rule definition for .dayName dialog box opens. The document only option specifies that you are creating a new internal style. The CSS Rule definition for .dayName dialog box opens.
| | | 6. | In the Type category of the CSS Rule Definition dialog box, set the size to 12 pixels, the Weight to bold, the Variant to small-caps and the color to black (#000000). Leave all other options undefined and click OK.
 You see the class you just created displayed in the list of styles on the CSS Styles panel. You see the class you just created displayed in the list of styles on the CSS Styles panel.
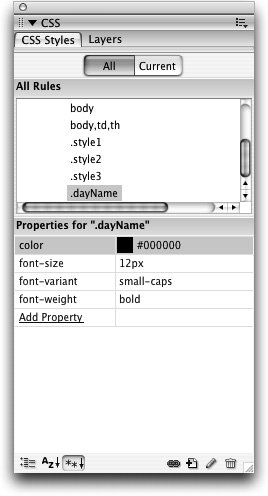 Because you just created the .dayName rule, it will now be automatically selected in the All Rules list on the top portion of the CSS Styles panel. In the lower half of the panel is a list of the properties for the selected ruleproperties are listed in the left column, and their values are listed in the right column. By default, the properties are displayed in the Show Only Set Properties mode, which lists only the properties for which values have been defined. There are two additional viewing modes for the properties: Show List View and Show Category View. Show List View displays the entire list of attributes, whereas Show Category View shows the list of attributes organized into the same categories that were available in the CSS Rule Definition dialog box.
There are a number of ways to edit the rule selected in the CSS Styles panel:
- Modify the values of existing properties. You can modify the property values directly in the properties list by clicking the value to access corresponding menus.
- Add a new property and value. When viewing the properties list in Show Only Set Properties mode, you can click the Add property link at the bottom of the list to access a menu from which you can select a new property. When viewing the properties list in either Show Category View or Show List View, you can add a value to a listed property by clicking in the value field for the desired property.
- Use the dialog box to edit the rule. You can click the Edit Style button at the bottom of the panel to open the CSS Rule definition dialog box.
Classes give you specific control over the formatting of your document. You can apply them the same way you apply styles in a word processor: by selecting the text and then applying the style. You can apply this style to text blocks or to individual words within blocks of text.
In the next steps, you'll apply the dayName class to certain items in the bulleted list.
| | | 7. | Select the word Monday in the Schedule list in the index.html document. Choose dayName from the Style menu on the Property inspector to apply the style. Continue to apply the dayName to the rest of the days in the list.
 The selected text changes to reflect the dayName class. The selected text changes to reflect the dayName class.
You might notice after applying the style, that the selected word in the Code view is preceded by <span >; span defines the selection of elements while class specifies which style is applied to the text enclosed by <span> (the opening tag) and </span> (the closing tag). The <span> tag is an inline element that defines items such as several words within a larger text block. It is similar to the <div> tag, which is a block-level element that defines entire blocks, similar to a paragraph.
Note If you want to remove the style formatting from text, place the insertion point within the text and choose None from the Style menu on the Property inspector. The style and its formatting are removed from the text, although the style will remain in the style sheet. | 8. | Click the New CSS Style button on the CSS Styles panel. Set the Selector Type to Class, type .highlight in the Name text field, and choose This Document Only in the Define In area. Click OK.
 The CSS Rule Definition for .highlight dialog box appears. The CSS Rule Definition for .highlight dialog box appears.
| 9. | In the CSS Rule Definition dialog box, choose Background from the Category list on the left.
The CSS Rule Definition dialog box changes to display background options.
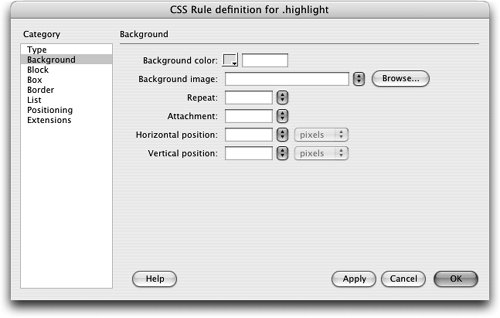 | | | 10. | Set the Background Color to white (#FFFFFF) and click OK.
The highlight class you just created appears in the rule list on the CSS Styles panel and is available in the Style menu on the Property inspector.
| 11. | In the Announcements section, select the first event title, Intro to Anusara Workshop, and apply the highlight style using the Style menu on the Property inspector.
|
 The text now appears to be highlighted with white. The new styles you created in this exercise, dayName and highlight, display in the Style menu with visual representationsjust like the styles that Dreamweaver created when you used Property inspector to set text properties earlier in this lesson. Note To delete an internal rule from the embedded style sheet, you can use the CSS Styles panel to select the rule you want to remove and click the Delete CSS Rule icon on the lower-right corner of the panel. The style will be removed from the style sheet. Because that style definition then no longer exists, any text that the style was applied to will not show the attributes defined by the deleted style. However, you should remember that deleting a style from the CSS Styles panel is not the same as removing a style from text by choosing None in the Style menu on the Property inspectorif a style is deleted from the style sheet the references to the deleted style which are inserted into the code whenever you apply a style will remain in the document. If you also need to remove the references, you can do so quickly with Find & Replace, which is covered is Lesson 17. You can also delete properties from rules by selecting a single property in the properties list and clicking the Delete CSS property icon.
You can save the index.html file and leave it open for the next exercise. |