| As you design your pages in Layout mode, you will want to move, resize, or add new cells while adding content. A layout cell cannot overlap other cells and cannot be moved outside the layout table. 1. | In the events.html document, select the cell by moving the pointer over the border and clicking the border when it turns red.
The cell border turns blue and handles appear. Drag the handles to resize the cell.
Tip You can also Cmd-click (Macintosh) or Ctrl-click (Windows) within a cell to display the resize handles. | 2. | If the cell is larger than the image, use the handles to drag the cell border to resize the cell, fitting it closely around the graphic. The cell should be the same size as the graphic.
Tip Use the selection handle on the lower-left corner of the cell to adjust the size if the table widths bar is obscuring the other selection handles on the bottom of the cell. Alternatively, you can use the keyboard shortcut Cmd +Shift+I (Macintosh) or Ctrl+Shift+I (Windows) to hide all visual aidsturn the visual aids back on by repeating the command when you are done resizing the cell. On the Table tab, the size listed in the parentheses replaces the old size display. If the cell you initially created was smaller than the size of the graphic, the cell will have enlarged automatically to fit around the image exactly, and you don't need to resize it. If the cell you created was larger than the graphic, you must resize the cell to make sure that the borders of the layout cell line up flush with the edges of the image.
| 3. | Click on the border of the cell (not on the resize handles) and drag the cell, moving it to the top and center of the page.
If you moved the cell to the right or left to center it, notice that the column numbers in the surrounding layout table change to display the new size.
| 4. | Use the arrow keys to move the cell to the left.
The arrow keys move the cell one pixel at a time. Hold down the Shift key to move the cell 10 pixels at a time. Leave some space in the column between this cell and the side of the table.
| | | 5. | Choose the Draw Layout Cell tool again, and draw three more cells in a single column down the middle of the page below the top cell, with a little space between them.
Your page should look similar to the example shown here. Don't be concerned about the sizes of the columns listed on the table width bar; they vary according to the exact placement of your layout cells.
 When you draw a cell on the page, white guides appear to help you place other cells that you want to align with the first cell. Use the horizontal guides to align the tops of the cells. When you draw a cell on the page, white guides appear to help you place other cells that you want to align with the first cell. Use the horizontal guides to align the tops of the cells.
Tip To draw multiple cells without clicking Draw Layout Cell more than once, hold down Cmd (Macintosh) or Ctrl (Windows) as you draw the first cell. You can continue to draw new cells until you release the modifier key. | 6. | Of the three cells you just created, expand the topmost cell so it's as wide as the cell that contains the yoga_sangha-title.jpg graphic. Open events.txt from the Lesson_06_Tables/Text folder. Copy the first header line and the paragraph below it, paste the text into the first cell below the yoga_sangha-title.jpg graphic.
The cell expands if necessary to fit the content.
| 7. | Insert the om.jpg image from the Lesson_06_Tables/Images folder into the empty cell beneath the one you pasted the text into. Adjust the cell so it is the same size as the image and move it to the center of the page. Copy the remaining text from the events.txt file and paste it into the last cell.
|
Your page should now look similar to the example shown here. 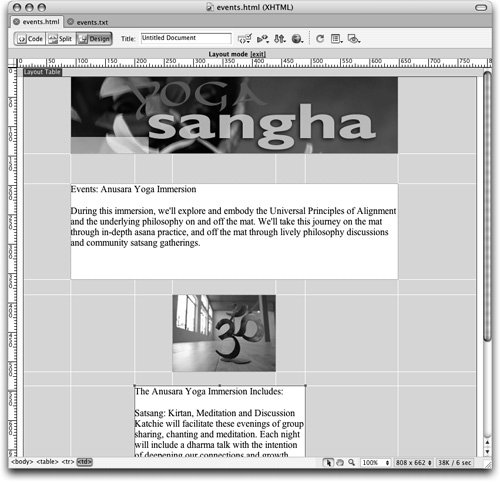 |