| Even after applying Pinnacle's wonderful styles, you still may have to resize and/or justify your text. When resizing, note that Studio will adjust your text differently depending on which scaling, shrinking, or word-wrapping option you've selected. See the preceding sidebar, "About Text Scaling and Word Wrapping," for details. To justify text, you use a control to place the text in one of nine divided areas, a simple way to ensure consistency among menus. To resize text 1. | Select the text that you want to adjust and click the gray bounding box to display the control points.
| 2. | If the Move, Scale, and Rotate tool isn't selected at the bottom of the Title Editor window, click the icon to enable the tool (Figure 10.36).
Figure 10.36. Click the Move, Scale, and Rotate tool to resize your title text. 
| 3. | To shrink or expand the text, do any of the following:
- Hold the pointer over a corner control point of the bounding box to convert it into a two-sided arrow (Figure 10.37). Press the mouse button and drag the control point in or out to shrink or expand the text as desired. If you've selected Shrink to Fit or Word Wrap On, you can freely resize the height and width of the text, but if you've selected Scale to Fit, Studio restricts your scaling so that the aspect ratio of the text doesn't change.
Figure 10.37. With this double arrow, you can adjust both the text height and width. 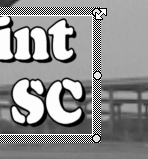
- Hold the pointer over the left- or right-side control point to convert it into a two-sided arrow (Figure 10.38). Press the left mouse button and drag the control point in or out to shrink or expand the text.
Figure 10.38. Note the small double-arrow pointer on the right control point. Drag this to adjust width but not height. 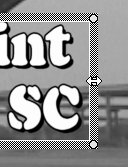
- Hold the pointer over either the top or bottom control point to convert it into a two-sided arrow (Figure 10.39). Press the left mouse button and drag the control point in or out to shrink or expand the text.
Figure 10.39. You knew this was coming. The small double-arrow pointer on the bottom is used to adjust height but not width. 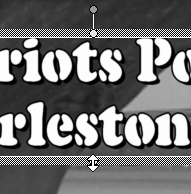
|
To justify text 1. | Select the text that you want to adjust and click the gray bounding box to display the control points.
| 2. | Do one of the following:
- On the Title Editor toolbar at the bottom of the screen, click the Justify tool, which looks like a tic-tac-toe board (Figure 10.40).
Figure 10.40. Use the Justify tool to place your text in one of nine positions. 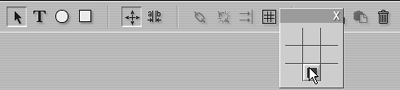
- From the Studio menu, choose Title > Justify.
| 3. | Select the desired area in the Justify tool.
Studio aligns the text accordingly (Figure 10.41).
Figure 10.41. Note that Studio respects the title-safe zone when it justifies the text. 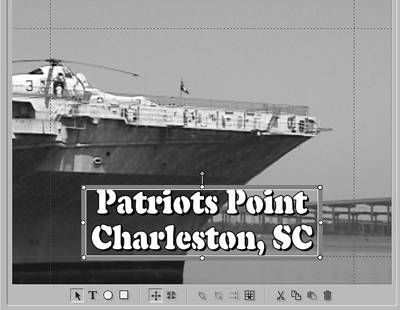
After positioning your text, the Justify tool displays a black dot in the selected spot, reflecting the current positioning.
|
 Tip Tip
The Justify tool is easily confused with the Text Justify (text alignment) tool discussed in "To change font, text attributes, and alignment" earlier in this chapter. The Text Justify tool justifies or aligns the text within the text object itself, like the alignment tools in a word processor. In contrast, the Justify tool aligns the text object to a location in the menu or title.
|