#33 Synching Clips with Markers Synching your clips is the first and often the hardest step of the Multi-Camera editing process, precisely because it's the only step that Premiere Pro can't help you perform. It's absolutely critical to get it right for many productions, since out-of-synch video is very easy to spot, especially for musicians and vocalists who are especially attuned to the audio elements of a video production. Creating and Finding a Synch Point The easiest visual clue to synch your clips is a camera flash, but sometimes they don't appear in all cameras (they occur very fast), and often where there's one flash, there are two or three, which can complicate finding the common flash. Otherwise, you can use hand motion (the start of a clap), lip motion (someone about to talk or sing), or any other movement that's discernible at all camera angles. |
The high-level workflow is simple; find a common point in all video files, insert a marker at that point, and use the markers to synchronize the clips on the timeline. You can find a common point using either the audio file or video frames. Let's cover them in that order. Common audio points are loud noises that are easily visible in the waveforms produced by all cameras. This can be the music starting, the last words of the announcer, the first peal of applause, or even a loud cough. Here's what you do: 1. | To find a common audio point, click the Toggle Take Audio and Video button in the Source Monitor. This brings up the audio waveform (Figure 33a).
Figure 33a. The audio waveform, shown here in the Source Monitor, is usually the easiest way to get your clips synchronized. 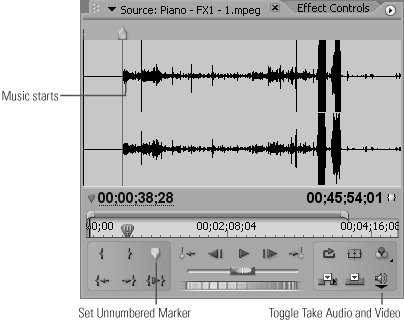
Bring a Flash Camera with You Some producers bring a flash-equipped still camera to use to help align the clips. Give the still camera to the camera operator closest to the front, and have her click a few pictures after you get your cameras rolling. For most events, however, you'll find using audio to synch your clips easier and faster. |
| | | 2. | Find the appropriate point and click the Set Unnumbered Marker button (Figure 33b).
Figure 33b. It's difficult to tell from the screen capture, but there's a flash going off in this frame. I'll use this to synch the three angles from this wedding video. 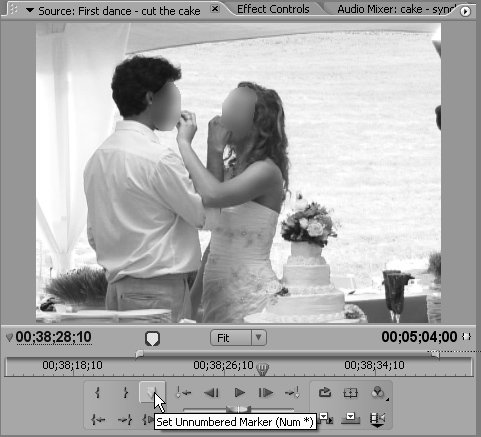
| 3. | Drag the audio and video track to the synch timeline, remembering to toggle the waveform back to both audio and video.
| 4. | Move on to the next camera angle.
Note Premiere Pro has two alternatives for managing the audio from Multi-Camera angles. Audio can follow the video as you switch camera angles, or you can use one audio track throughout. To use the latter option, place the video with the desired audio. See #35 to learn to switch audio with the camera angle. |
|