Entering and Selecting Text
In this topic, we will begin work on a business letter so that you can see how to enter text. We ll also show you techniques for selecting text so that you ll be ready to give Word some instructions in the next topic.
| |
Our screenshots depict the Office XP programs installed as part of a typical installation on a Windows XP computer with an 800-by-600 screen resolution, and our system is set not to display file extensions. If you re using a different version of Windows or a different resolution, your screens might differ slightly from ours, but you ll still be able to easily follow along.
| |
Entering Text
Let s start by writing a paragraph. The blinking insertion point indicates where the next character you type will appear on the screen. Follow these steps to enter some text:
-
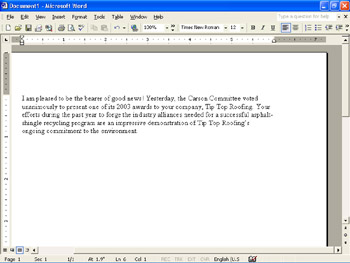
In the blank document currently on your screen, type the following text:
I am pleased to be the bearer of good news! Yesterday, the Carson Committee voted unanimously to present one of its 2003 awards to your company, Tip Top Roofing. Your efforts during the past year to forge the industry alliances needed for a successful asphalt-shingle recycling program are an impressive demonstration of Tip Top Roofing s ongoing commitment to the environment.
As each line of text reaches the right edge of the screen, the next word you type moves to a new line. This is called word wrapping . When entering text in Word or in Microsoft PowerPoint, you don t have to press the Enter key to end one line and start another; The programs take care of that chore for you, filling each line with as many words as will fit. (As you follow our examples, don t worry if your word wrapping isn t identical to ours. Word wrapping can vary, depending on the printer and page layout you are using.)
-
Press Enter to end the paragraph.
Your document should look like this:
Information about Automatically correcting typos, page 36
Spelling and grammar alerts, page 58
Editing techniques, page 21
| |
Word automatically corrects some simple typos, such as teh (the) and adn (and). If you spell a less common word incorrectly ” or if you use proper nouns or other correct but obscure spellings ”Word and PowerPoint point out the mistake with a red, wavy underline. If you make a grammatical mistake, you might see a green, wavy underline. We show you some editing techniques later in this chapter, but in the meantime, if you make a mistake and want to correct it, press the Backspace key until you ve deleted the error, and then retype the text.
| |
| |
By default, Word selects whole words. For example, if you start a selection in the middle of a word and drag beyond the last character, Word selects the entire word.
If you drag to the first character of the next word, Word selects that word, and so on. You can tell Word to select only the characters you drag across by clicking Options on the Tools menu, clicking the Edit tab, deselecting the
When selecting, automatically select entire word check box, and then clicking OK.
| |
Selecting Text
Before you can do much with the paragraph you ve typed, you need to know how to select text. In all Office programs, knowing how to select text efficiently saves time because you can then edit or format all the selected text at once, instead of one letter or word at a time. The simplest way to learn how to select text is to do it, so follow these steps to select some text blocks:
-
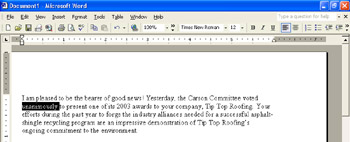
Move the pointer to the word unanimously.
Notice that the pointer is shaped like an I-beam when it is over text.
-
Double-click the word.
The word changes to white on black to indicate that it is selected (or highlighted ), as shown here:
-
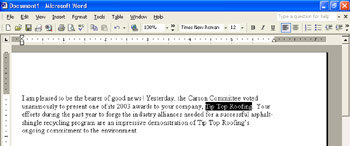
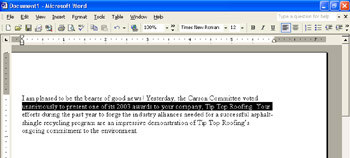
Point immediately to the left of Tip , and click the left mouse button to position the insertion point at the beginning of the word. Next point immediately to the right of Roofing , hold down the Shift key, and click the left mouse button.
This action is called s hift-clicking. Word highlights the words between the two clicks, as shown in this graphic:
-
Point to the left of the word recycling , hold down the left mouse button, drag to the right until recycling program is selected, and then release the mouse button.
Using this technique, you can easily highlight exactly as much or as little text as you need.
-
Click an insertion point to the left of the Y in Yesterday . Hold down the Shift key, press the Right Arrow key until the entire word is highlighted, and release the Shift key.
-
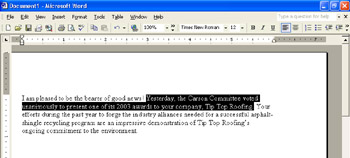
Without changing the selection, hold down the Shift key again, press the Down Arrow key, and then press the Right Arrow key until the entire sentence is highlighted.
The text now looks like this:
-
Try pressing different arrow keys while holding down the Shift key.
As long as you hold down the Shift key, Word extends the selection in the direction of the key s arrow.
-
Release the Shift key, and then press the Home key.
The insertion point moves to the beginning of the line where the selection started. Moving the insertion point anywhere in the text releases the selection.
With slight variations, the techniques we ve just covered can be used in all the Office programs. The following selection techniques, however, apply only to Word and PowerPoint.
-
Move the mouse pointer to the left edge of the document.
When the pointer changes from an I-beam to an arrow, it is in an invisible vertical strip called the selection bar .
-
In the selection bar, point to the line containing Tip Top Roofing , and click the mouse button.
Word highlights the line, like this:
-
Now highlight the entire paragraph by double-clicking in the selection bar next to the paragraph.
You can also drag the pointer in the selection bar to select multiple lines or paragraphs, or triple-click to select the entire document.
EAN: N/A
Pages: 116