| The Display Calibrator application is a simple assistant that walks you through the process of creating a profile for the monitors connected to your computer. If you didn't launch the calibrator through the Displays System Preferences panel, you can run it directly from /Applications/Utilities/Display Calibrator. The steps in the calibration process differ depending on the type of monitor you're using. Adjustments to CRT ( cathode ray tube) monitors, such as those in the eMac, follow these steps: set up, native gamma, target gamma, tristimuli values, target white point, and conclusion. For LCD monitors in flat panel displays and laptops, the calibration process skips over several of the steps that aren't applicable . Task: Calibrate your Display -
When the Display Calibrator Assistant starts, it provides a brief explanation of what it's about to do and gives you the option of turning on expert mode, as shown in Figure 8.5. Click the right arrow at the bottom of the window to begin. You can use the right and left arrows at any time to move forward and backward between the different steps. Figure 8.5. Turning on expert mode enables more precise adjustment; sticking with the normal mode limits your options to predefined settings. 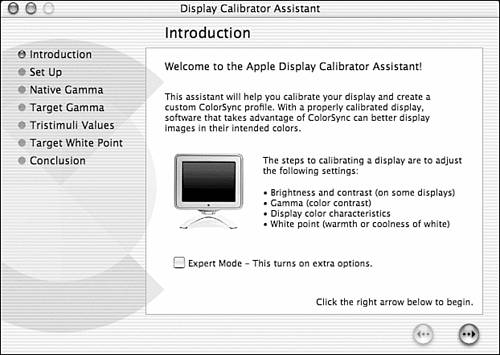 -
The first step, Set Up: Display Adjustments, matters for CRT monitors only. It helps you adjust the brightness on your display to achieve the right black levels. To begin, turn the contrast control on your monitor up as high as it goes. Next , take a close look at the block in the middle right of the window. At first glance, the block, shown in Figure 8.6, might look completely black. In reality, the dark block is composed of two rectangles with an oval superimposed on them. Figure 8.6. Adjust the brightness level on your display until the block blends together. 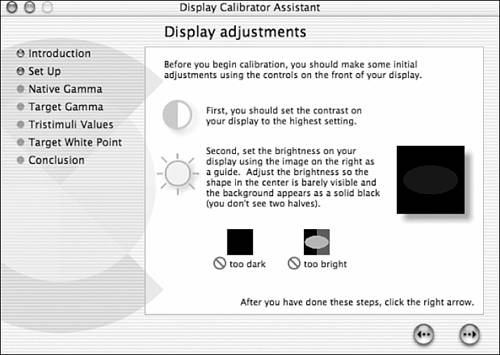 Using your monitor's brightness control, adjust the image so that the two rectangles blend together and the oval is barely visible. It's best to sit back a little, away from your screen, to gauge the effect. -
The next step, Determine Your Display's Current Gamma, also applies only to CRT monitors. Brightness does not increase linearly on computer displays. As the display increases a color 's brightness on the screen, it isn't necessarily the same size step each time. To correct this, a gamma value is applied to linearize increases in brightness. In the second step of the calibration process, you adjust the gamma settings for the different colors your computer can display. For more information about Gamma, visit http://www.bberger.net/gamma.html. As shown in Figure 8.7, the current gamma calibration shows a block containing the Apple logo. Using the sliders below the block, adjust the logo's brightness so that it matches the background color as closely as possible. It's impossible to get a perfect match, so don't worry if you can still see the apple. It's best just to squint your eyes until you can't make out the text on your screen, and then perform the adjustments. (If you're in expert mode, you're prompted to adjust lightness and darkness for each of the primary colors of light [red, green, and blue].) Figure 8.7. Match the apple color to the block background. 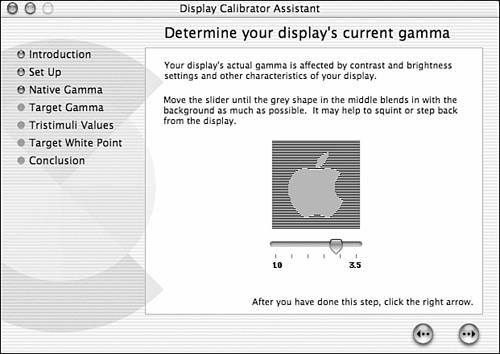 -
The next step, for both CRT and LCD monitors, is Select a Target Gamma. The target gamma for your display is useful for deciding what images on your monitor look like on other displays. PCs and televisions have varying gamma settings that don't match your Macintosh defaults. This makes it difficult to create graphics on your Mac that look right on a PC monitor. Using the target gamma settings shown in Figure 8.8, you can make your Mac's display look very much like that of a standard PC. Figure 8.8. Choose the gamma setting to use on your monitor. 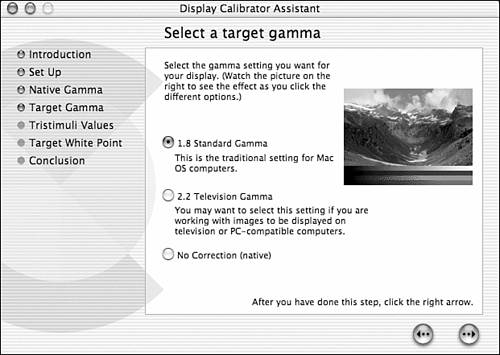 To adjust the gamma setting, select the radio button corresponding to your viewing needs. The picture in the upper-right corner of the window gives you an idea of what your choice does to your monitor's output. Choosing Uncorrected Gamma usually results in a very bright and washed-out image. (Those in expert mode use a slider to set the gamma, which offers more precise control.)  | If you have noticed that some video or computer games appear too dark on your screen, you can compensate for this by decreasing your monitor's gamma settings. |
-
For those with CRT monitors, the next step is Tristimuli Values, which relates to the variation in chemical phosphors used in tube monitors. Here, the goal is to select the menu item that most closely matches your monitor. -
The final calibration step for both CRT and LCD displays is Select a Target White Point. As you know, the color white is not a color, and is hardly ever truly white . When your computer displays a white image, it probably has tinges of blue, yellow, or even red. This variation is known as the white point . The white point settings are displayed in Figure 8.9. Figure 8.9. Choose the target white point setting to use on your monitor. 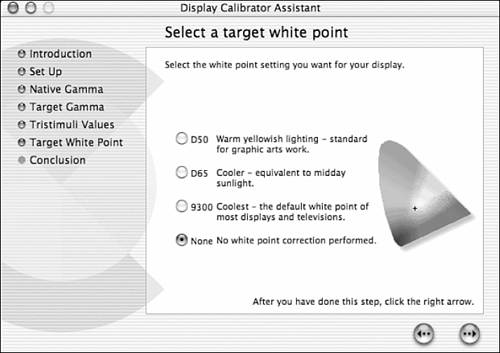 To set a white point, choose from the listed options by selecting the appropriate radio button. (Once again, those in expert mode have a slider to set a more precise level. The higher the white point value, the cooler the display; the lower it is, the warmer the display. You might need to uncheck the No White Point Correction [Native] check box before you can make any modifications while in expert mode.) -
At the conclusion of the calibration process (see Figure 8.10), you're prompted to name your profile. Entering descriptive names for your creations makes it simple to tell them apart. Save the profile by clicking the Create button. The new profile goes into effect immediately. Remember that you can switch between profiles in the Color tab of the Displays System Preferences panel. Figure 8.10. Enter a name for your calibrated profile. 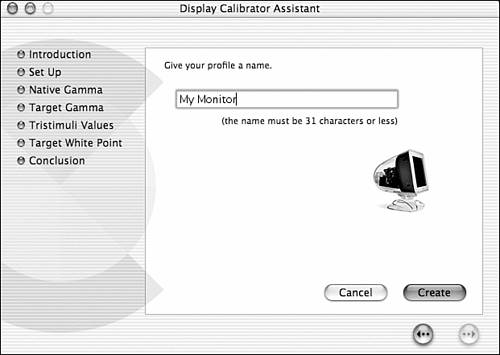 |