Straightening the Horizon


The crooked horizon line is one of the most common problems, and one of the easiest to fix.

Open an image that needs straightening. Figure 23.30, my example, can be downloaded from this book's page on the Sams Publishing Web site.

  1. With an image that's right up against the edges of the window like this one, it's typically easier to change the zoom level (and thus the size of the image in the window) to give you room to work. To do this, change the zoom percentage to a smaller number, drag the window border outwards, or simply maximize the window.

  2. Choose Image, Rotate, Free Rotate Layer. You'll be asked if you want to change the layer from a background layer to an ordinary one; click OK. Click OK again to finish the job.

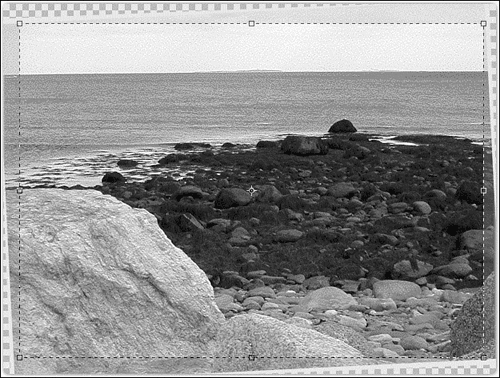
  3. Now you're ready to straighten the image. Move the pointer off the image and onto the canvas, and it will change to the rotation pointer, which is curved almost in a circle. Drag in the direction you want the image to move, until the part that should be horizontal (in this case, the horizon) is parallel to the top of the screen.

  4. When you're happy with the results, click the check mark button on the Options bar to commit your change.

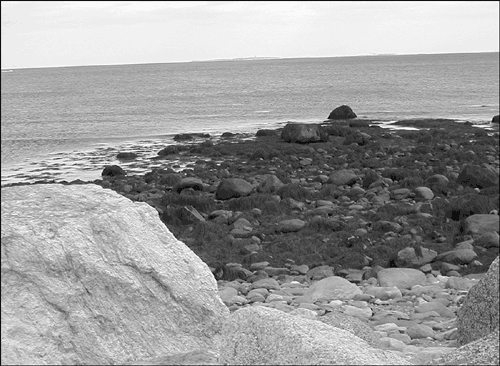
  5. With the Crop tool, crop away any revealed edges or other leftovers, as in Figure 23.31. You should now have a nice photo in which the ocean doesn't look as if it's falling off the Earth.

    Figure 23.31. When we're done with this, you won't get seasick looking at it.

    graphics/23fig31.gif

Figure 23.30. The horizon should not run downhill.

graphics/23fig30.gif

If you try this with an image of your own, you'll need to get the photo off the background layer just as we did in the example, because Elements can't straighten a background. Sometimes, you can simply choose Image, Rotate, Free Rotate Layer, and Elements will ask if you want to move the image from the background to a layer (as it did in our example), but if that doesn't happen to you and the Free Rotate command is unavailable, simply drag the image from the layer palette into a new file, which causes Elements to place the image on its own layer (and not a background layer). If your image has multiple layers and you want to straighten them in one step, link them by clicking the bottommost layer in the palette, and clicking the icon immediately to the left of each layer you want to link.

graphics/lightbulb_icon.gif

Remember that you can always attempt to straighten an image (even if it's on the background layer) with the Image, Rotate, Straighten Image command. It works in a lot of cases, but as I mentioned earlier in this chapter, sometimes it makes things worse .


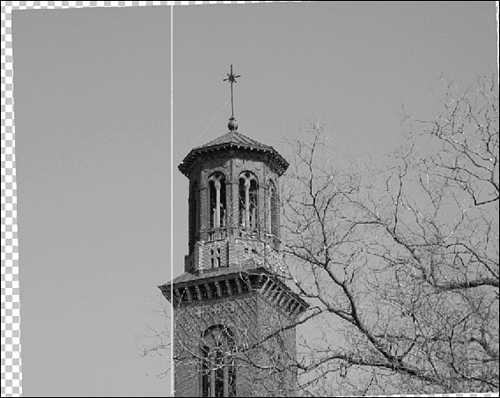
Use this same procedure any time you have to fix something that's out of kilter, vertically or horizontally. The same trick was applied to a steeple in Figure 23.32. If you have trouble telling when it's straight, add a layer to the picture and draw a line across or down as needed. Use a brush about three pixels wide and a nice, bright color ; hold down the Shift key as you draw the line so it stays straight. When you're finished, just drag the layer with the line onto the Trash button at the bottom of the Layers palette. Don't flatten the image until you have gotten rid of the line.

Figure 23.32. The green line gives me something to line it up against.

graphics/23fig32.gif


Sams Teach Yourself Mac OS X Digital Media. All In One
Sams Teach Yourself Mac OS X Digital Media All In One
ISBN: 0672325322
EAN: 2147483647
Year: 2003
Pages: 349

flylib.com © 2008-2017.
If you may any questions please contact us: flylib@qtcs.net