| In this chapter, you'll be modifying the Main.aspx page. So that you can refer back to this page later, if necessary, follow these steps to preserve your original page: -
In the Solution Explorer window, select Main.aspx. -
Right-click the page and select Copy from the context menu. -
Select the project, Northwind, in the Solution Explorer window. -
Right-click and select Paste from the context menu. -
In the Solution Explorer window, select Copy of Main.aspx, right-click, and select Rename from the context menu. Rename the page as MainOriginal.aspx. -
Right-click again and select View Code from the context menu. Modify the class name declaration, near the top of the file (Public Class Main), so that it contains the new class name (Public Class MainOriginal). -
In the Solution Explorer window, double-click MainOriginal.aspx to load it in the page designer. Click the HTML link at the bottom of the window to display the page in HTML view. -
Verify that the Page directive at or near the top of the file looks like this (if not, change it manually): <%@ Page Language="vb" AutoEventWireup="false" Codebehind="MainOriginal.aspx.vb" Inherits="Northwind.MainOriginal"%> -
Close all the designer windows. To get started creating user controls, in this section you'll create a simple control that contains an image and a label just the sort of thing you might want to place at the top of each page on your site. Figure 21.1 shows the completed control. Figure 21.1. A user control can contain multiple server or user controls.
Follow these steps to create the simple user control: -
Select the Project, Add Web User Control menu item. -
Name the file NWHeader.ascx and then click Open to open the new file. -
Using Windows Explorer, locate the Jumpstart\CreatingControls\Northwind.gif file. Press Ctrl+C to copy this file to the Windows Clipboard. -
In Visual Studio .NET, in the Solution Explorer window, select the Images folder inside your project. Press Ctrl+V to paste the Northwind.gif image file into the folder. -
From the Images folder, drag Northwind.gif onto the new user control. -
On the page, click to the right of the image to set the insertion point. Then double-click the Label control in the Toolbox and set its properties as shown in Table 21.1. Table 21.1. Use These Properties for the Label Control | Property | Value | | Text | Northwind Traders | | Font.Bold | True | | Font.Size | X-Large | -
Save the project.  | Now that you've created the user control, follow these steps to try it out: |
-
Open Main.aspx in the page designer. -
Delete the Label control at the top of this page. -
In the Solution Explorer window, select NWHeader.ascx. Drag and drop the user control onto the upper-left corner of Main.aspx. Your page should now look something like Figure 21.2. Figure 21.2. The user control provides little design-time information .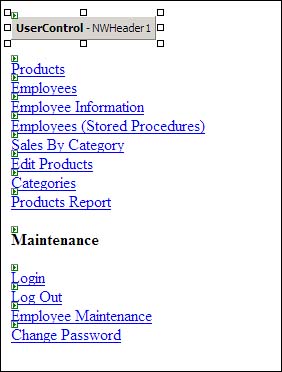
-
Run your application. The main page should now look like Figure 21.3. Figure 21.3. The finished page displays the user control at runtime.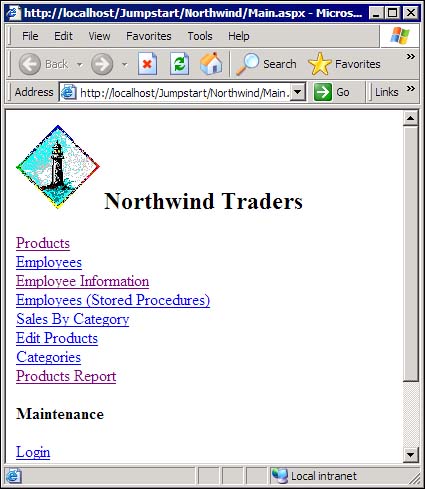
That's all there is to creating a simple user control! TIP One of the great features of adding user controls to your projects is that if you modify the design of the user control, all the pages that incorporate that control will automatically "see" those changes the next time anyone browses to the page. These controls provide a simple way to incorporate site-wide user interface changes.
|
