| Let's do a simple exercise that illustrates how different parts of a digital color production workflow speak different color "languages." 1. | Launch Adobe Photoshop CS2 and open the image Arboretum.tif.
| 2. | If Photoshop displays the Embedded Profile Mismatch alert, select the "Use the embedded profile (instead of the working space)" option. This tells Photoshop not to apply any color changes to the image.
Figure 1.1. 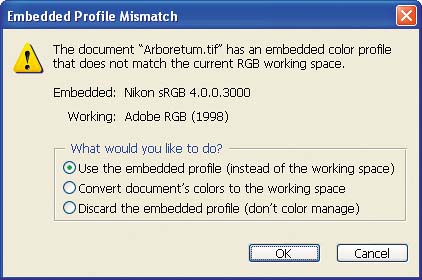
| 3. | Compare the image on your screen with the image printed on this page.
Figure 1.2. 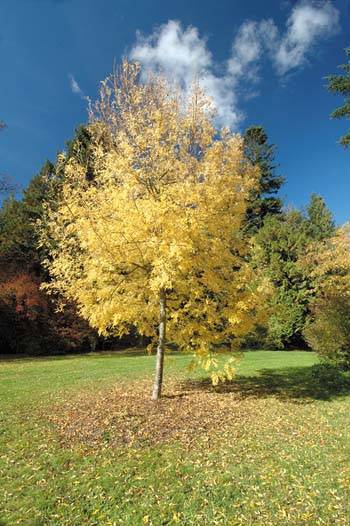
The image you see onscreen will likely appear to be more saturated and to have more contrast than the image printed in the book.
| 4. | In Photoshop, choose File > Print with Preview.
Figure 1.3. 
| 5. | In the Print dialog box, check the More Options button and choose Color Management from the pop-up menu below.
Figure 1.4. 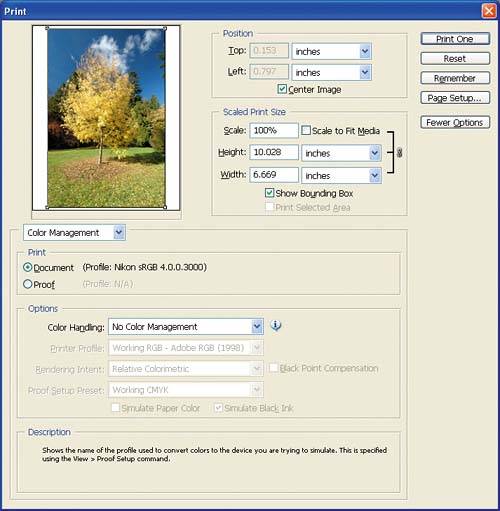
| 6. | In the Print area, choose Document: (Profile: Nikon sRGB 4.0.0.3000), and in the Options area, from the Color Handling pop-up menu choose No Color Management.
You're telling Photoshop not to color manage the file and instead to send it straight to the printer.
| 7. | Click Print One, and in the Print dialog box that appears, choose your printer from the Name drop-down list.
Figure 1.5. 
| 8. | Click the Properties button to display the Properties dialog box for your printer.
Figure 1.6. 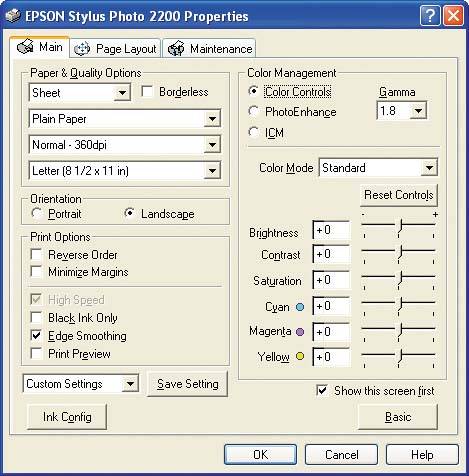
Be sure to select the correct paper type and resolution. This is an important step, as the paper type often tells the printer how much ink to put on the paper.
| 9. | In the same dialog box, find your printer's color management options and turn them off. The location of these options varies with each printer; look for them under section headings such as Custom, Advanced, or Color Management. Figure 1.7 shows the Color Management section on the right side of the Main tab of the Epson Stylus Photo 2200 Properties dialog box, with the No Color Adjustment option selected.
Figure 1.7. 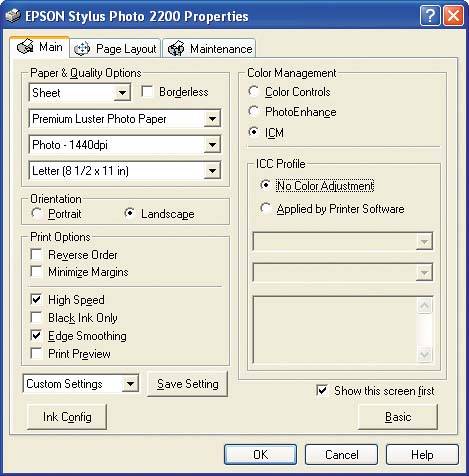
Note  | ICM, or Image Color Management, is the color management system built-into Windows XP. ICM will be covered in greater detail in Chapter 2. |
To select the No Color Adjustment option in the Epson printer dialog box, you first have to first select the ICM\up4 Color Management option. Your printer may have different options; however, for this exercise, you want to turn color management off in the printer or printer driver.
| 10. | Click OK to confirm the settings and print the image.
| 11. | Compare the output from your printer to the image in the book and to the image on your display.
|
The exercise you just completed does not use any color management in the process of displaying the image on your computer screen or printing the image using your printer. You probably noticed that the image onscreen doesn't match the image from the printer, and neither image looks precisely like the image printed in this book. Yet all were produced from the same digital file. This is likely not a new experience for you. Just about everyone who has printed a color image or document has uttered the fateful words, "It doesn't match!" Now let's examine the underpinnings of color management systems to understand how they work. |