Section 7.6.Validate Data
|
7.6. Validate Data Forms that use a database or web service as their primary data source can send data back to that source through the Submit action. You can call the Submit action by choosing File Figure 7-29. Checkbox in this dialog determines whether the database is queried at form load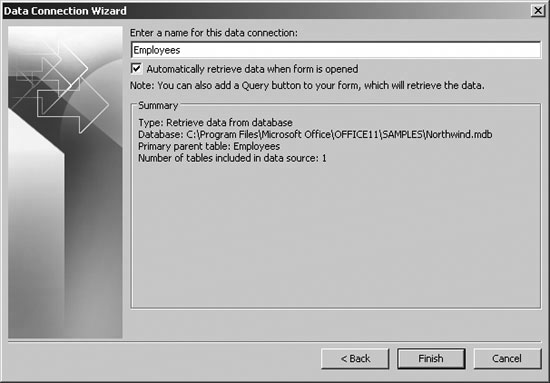 Figure 7-30. Adding a button to refresh lists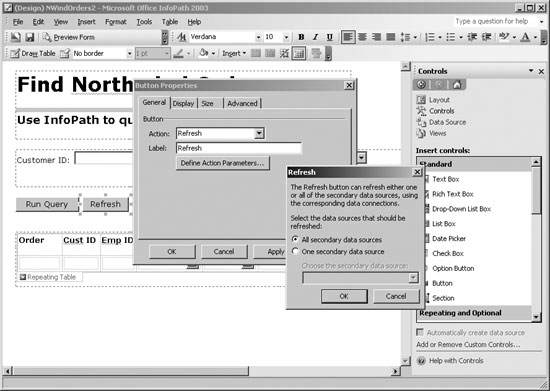 Before submitting, however, you should validate the data to make sure the entries are valid for constraints in the database (or web service). InfoPath can validate fields using a variety of criteria. Problems are flagged and must be fixed before continuing, as shown in Figure 7-31. Figure 7-31. InfoPath flags validation errors and highlights required fields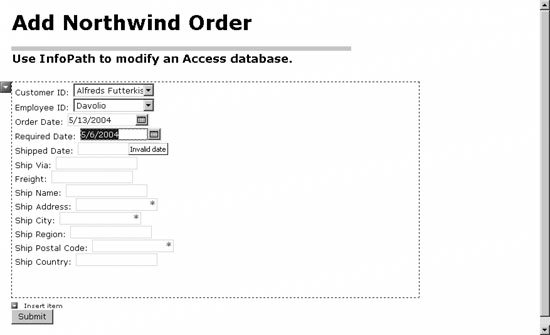 7.6.1. How to do itTo add validation criteria to a control:
You can combine multiple criteria by clicking And > in Figure 7-33; however, you can only have one ScreenTip and Message per control. 7.6.2. How it worksInfoPath stores simple validation rules (required fields and range-checking) in the schema component file of the form template. If you create a simple form with a single required text control, then extract the form files, the schema for the required control looks like the following code: Figure 7-32. Adding validation to a control (SP1)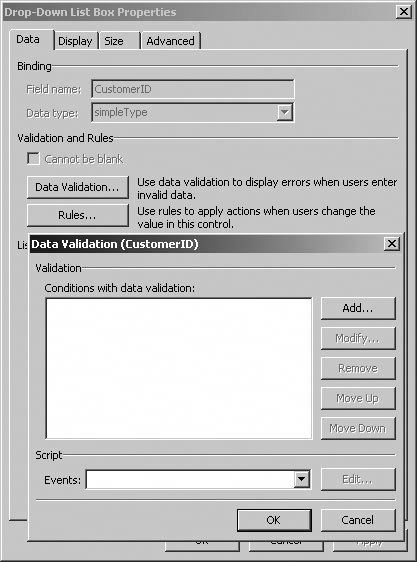 Figure 7-33. Setting the validation criteria (SP1)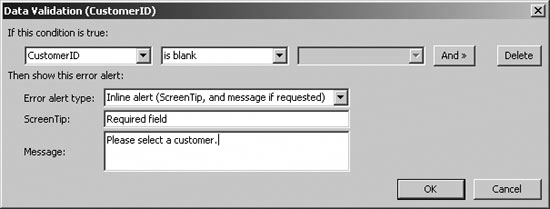 <xsd:element name="field1" type="my:requiredString"/> <xsd:simpleType name="requiredString"> <xsd:restriction base="xsd:string"> <xsd:minLength value="1"/> </xsd:restriction> </xsd:simpleType> More complex validation rules, such as pattern matching, are stored in the manifest file (.xsf). For example, the following XML fragment demonstrates a text control that requires a number in social security format: <xsf:customValidation> <xsf:errorCondition match="/my:myFields/my:field1" expressionContext="." expression="xdUtil: Match(string(.), "\d\d\d\-\d\d\-\d\d\d\d")"> <xsf:errorMessage type="modeless" shortMessage="Enter SS#.">Not a valid social security number.</xsf:errorMessage> </xsf:errorCondition> </xsf:customValidation> Validation rules are checked as the user enters data on the form. If an invalid entry is made in a control, that entry is flagged as soon as the focus moves to another control. There is no built-in way to delay validation until the user submits the data. Forms containing validation errors can't be submitted. Users receive a warning if they save or email a form containing validation errors. There is also no built-in way to prevent the user from saving, emailing without Submit, or printing a form containing validation errors. But you can disable those menu options by choosing Tools InfoPath creates an Error object for each validation error on a form. Within script, you can use the XDocument object's Errors collection to check whether or not a form is valid. For example, the following script checks if the form is valid each time the focus changes from one control to another: ' Do validation checking. Sub XDocument_OnContextChange(eventObj) If eventObj.Type = "ContextNode" Then ' Get check box control Set x = XDocument.DOM.DocumentElement.SelectSingleNode("my:chkValid") If xdocument.errors.count = 0 Then ' Set value to True (valid). ' This enables Submit button through ' conditional formatting. x.text = "true" Else ' Not valid, set to False (disables Submit). x.text = "false" End If Exit Sub End If End SubThe preceding code sets a checkbox value on a form to True if the form contains no validation errors. The value from that check box can then be used with conditional format settings to enable other controls that Submit, save, or print the form. Note: The OnContext Changed event is available in SP1. For Version 1.0, use the OnAfter- Change event instead. |
 Submit or by clicking a button on the form assigned to Submit.
|
EAN: 2147483647
Pages: 133