The Scripting Environment
| < Day Day Up > |
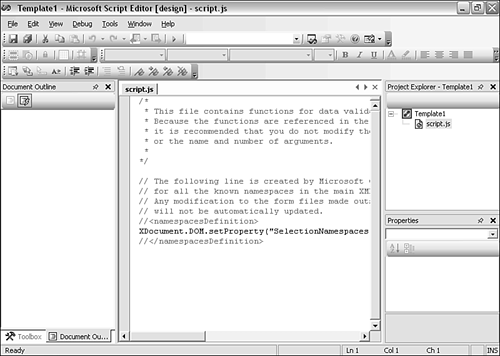
| The scripting environment in InfoPath 2003 is the Microsoft Script Editor. If you have used the Microsoft Script Editor when creating script with other Microsoft Office applications such as Word, the layout and functionality will be familiar. You might also have used the Script Editor when adding client-side script to ASP .NET pages. The Microsoft Script Editor is a powerful coding and debugging environment for both VBScript and JScript. This chapter describes several features of the Script Editor, but in the space available cannot attempt a comprehensive account of its capabilities. Opening the Microsoft Script EditorThe appearance of the Script Editor after a successful installation is shown in Figure 17.1. Figure 17.1. Appearance of Microsoft Script Editor after installation. Access from InfoPath 2003 to the Microsoft Script Editor is available only in design mode. There are several ways to open the Script Editor. The most widely accessible is to select the Tools menu, Script, Microsoft Script Editor. You can use a keyboard shortcut, Alt+Shift+F11, as an alternative. Alternatively, if you want to access the Script Editor specifically to code a handler for an OnLoad or OnSwitchView event, select Tools, Script, and then whichever of the two events is relevant to the form template you are designing. In addition, you can access the Script Editor from the Properties windows of several InfoPath form controls. For example, on the General tab of the Button Properties window for a button form control, you are offered a Microsoft Script Editor button that opens the Script Editor (see Figure 17.2). Figure 17.2. The Microsoft Script Editor button in the Button Properties window. For other form controls, such as a text box, you can open the Script Editor by clicking the Data Validation button (on the Data tab) and then selecting an event in the Script section in the Data Validation window. Click the Edit button, and the Script Editor opens with an automatically created skeleton function or subroutine appropriate to the form control and the relevant InfoPath event. The following JScript code is created for the event handler for a text box form control that handles the OnValidate event ( assuming that JScript is the default scripting language): function msoxd_my_FirstName::OnValidate(eventObj) { // Write your code here } You replace the comment line with JScript code appropriate to handling the OnValidate event.
Microsoft Script Editor WindowsAs you saw in Figure 17.1, the Script Editor displays several panes by default:
The Document PaneThe Document pane is where you will write your scripting code. Apart from times when I want to specifically make use of, for example, the Document Outline pane, I normally write code with the Document pane in full-screen mode. The techniques to toggle between full-screen mode and normal mode are described in the sidebar.
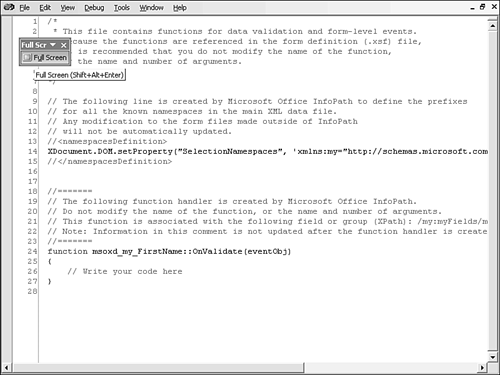
When the Script Editor is in full-screen mode (see Figure 17.3), a toolbar appears. Clicking on the toolbar returns the Script Editor to normal mode. Figure 17.3. The Script Editor in full-screen mode. Assuming you are familiar with the InfoPath Object Model (described in Chapter 18, "The InfoPath Object Model"), InfoPath events (described in Chapter 19, "Events in InfoPath"), and either JScript or VBScript, you can create your code. The Document Outline PaneThe Document Outline pane is invaluable when you have large quantities of scripting code in a single file. Figure 17.4 shows the Document Outline pane increased beyond what would typically be a convenient size , with many functions for a form template visible. Figure 17.4. The Document Outline pane in the Script Editor. The names of functions and subroutines in a script file are displayed in the same order that the corresponding code exists in the script file. For example, if you add a new event handler for the OnLoad event, it is added at the end of any existing code and is listed last in the Document Outline pane. There is no feature that automatically lists functions in alphabetical order. The Object BrowserThe Object Browser pane gives you convenient access to summary information about the objects, methods , and properties of the InfoPath object model. After installation, the Object Browser might be empty. To populate the Object Browser with the information relevant to InfoPath, follow these steps:
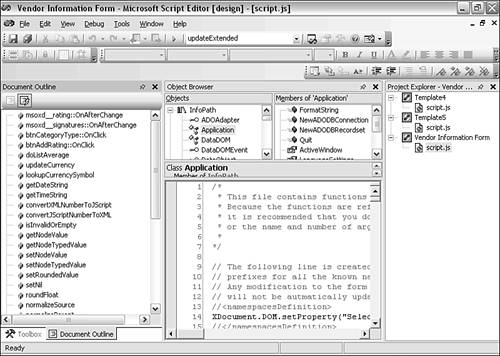
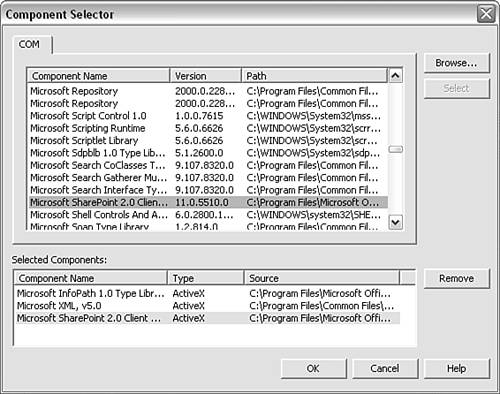
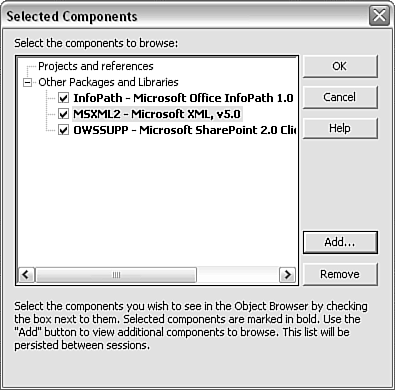
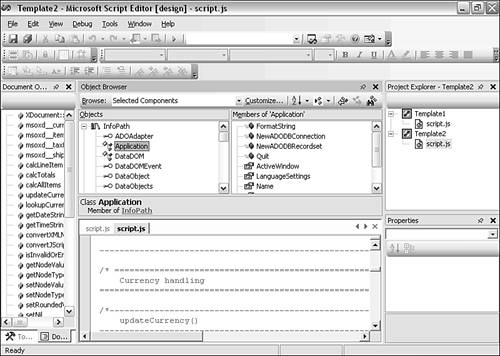
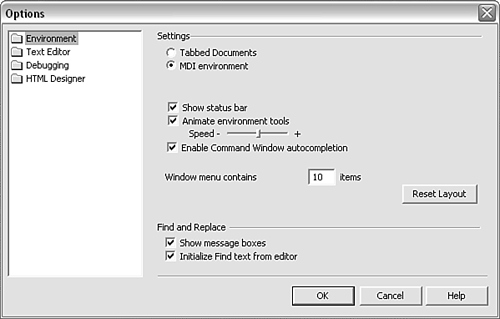
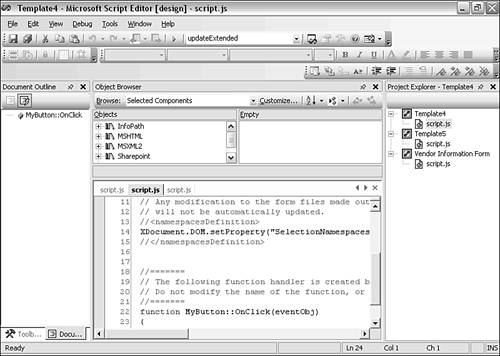
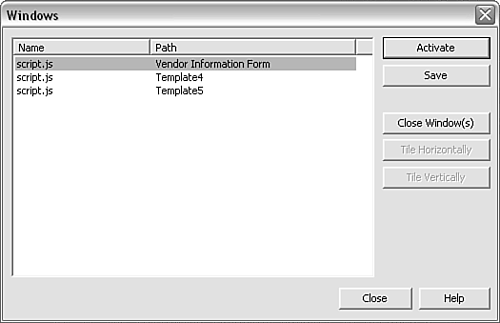
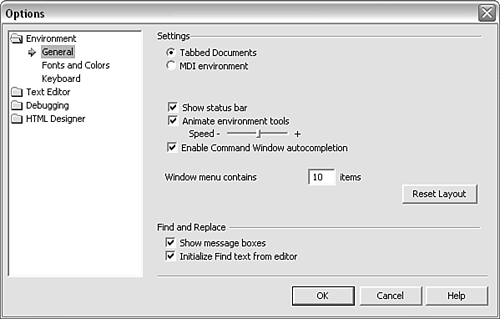
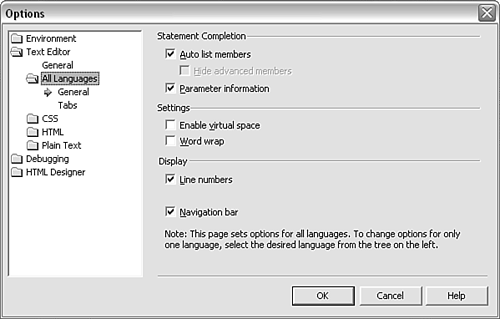
The components you selected should now be visible in the Object Browser. To see the objects, methods, and properties that are available, click on the InfoPath node, for example. Clicking on an object, such as the Application object in the left part of the Object Browser, displays the relevant methods and properties in the right part of the Object Browser (see Figure 17.10). Figure 17.10. Information on InfoPath objects visible in the Object Browser. Thus the Object Browser provides a convenient way to access objects, methods, and properties of the InfoPath object model. More detailed information about the InfoPath object model (introduced in Chapter 18) is provided in the Help files for the InfoPath client and the Script Editor. The Project Explorer PaneOn the right side of the Script Editor, the Project Explorer is displayed in default configuration. The Project Explorer displays the InfoPath form templates that are open and lists the script file(s) associated with each form template (see Figure 17.11). Figure 17.11. The Project Explorer displays open form templates. To open the Project Explorer if it isn't already, select View, Project Explorer. You can also use the keyboard shortcut Ctrl+Alt+L. The Project Explorer provides a convenient way to switch between script files. To switch to a file of interest, simply double-click the filename. The desired script file is displayed in the Document pane. Customizing the Script EditorMany options allow you to customize the Script Editor to suit your preferences. Some of the more useful customization options are described in this section. Customization of the Script Editor is carried out using the Options window, which you open by selecting Tools, Options. In the white area to the left of the Options window are four folders (see Figure 17.12) labeled Environment, Text Editor, Debugging, and HTML Designer. Figure 17.12. The Options window of the Script Editor. Further options are available inside each of the four folders. I will mention only a few of the customization options here. Tabbed Document or Multiple Document InterfaceThe Script Editor displays script files in the Document pane as tabbed documents by default (see Figure 17.13). In tabbed document mode, you can switch between code files by clicking on the relevant tab. Using the Project Explorer in practice is often easier because when double-clicking on a filename, you can see the form template to which the file belongs. Figure 17.13. Three form templates with script files in tabbed documents mode. Alternatively, you can select multiple document interface mode, which means no tab is visible in the Main Code pane (see Figure 17.11). To switch between windows in multiple document interface mode, select the Window menu and then the script file of interest. Unfortunately, the menu is not particularly helpful because if you have multiple files named script.js open at the same time, there is no easy way to differentiate between the files on the Window menu. However, the final option on the Windows menu is labeled Windows. Selecting that option opens the Windows window (see Figure 17.14), which allows you to select a script file while seeing which form template it belongs to. Figure 17.14. The Windows window when using multiple document interface mode. I find a more helpful way to switch between script files when in multiple document interface mode is to use the Project Explorer. Each script.js or script.vbs file is shown as belonging to a named InfoPath form template. Double-clicking the desired script file displays it in the Script Editor. To toggle between tabbed document and multiple document interface modes, select Tools, Options. In the Options window, select the Environment folder, then select the General option, and then select the Tabbed Documents or MDI Environment option button as appropriate (see Figure 17.15). You need to restart the Script Editor for any change to take effect. Figure 17.15. The Options window in Microsoft Script Editor. Line NumbersI find it very useful to have line numbers displayed, because JScript error messages will typically refer you to a line number.
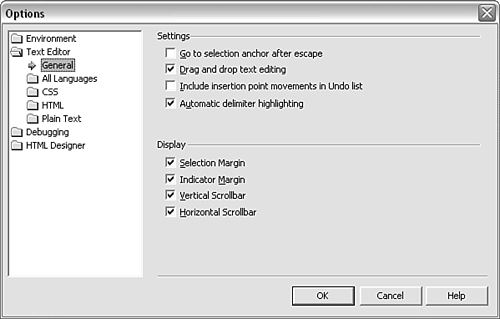
To display line numbers for all languages in the Script Editor, open the Options window, open the Text Editor folder in the left area of the Options window, and select the All Languages folder (which is inside the Text Editor folder). Line numbers can be turned on (or off) using a check box in the Display section of the Options window (see Figure 17.16). Figure 17.16. Turning line numbers on and off using the Options window. ScrollbarsScrollbars are, in my opinion, essential when using the Script Editor to edit InfoPath scripting files. For those developers who prefer to navigate via the keyboard, there are options to turn off both horizontal and vertical scrollbars. If you turn these off, you will have to navigate all but the most trivial InfoPath script files by extensive use of the cursor keys. Just in case you or someone else accidentally turn scrollbars off, you need to know how to restore them. Open the Options window, open the Text Editor folder, and click on the General option. In the Display section of the Options window, you will see two check boxes labeled Vertical Scrollbar and Horizontal Scrollbar. I suggest that both check boxes should be checked (see Figure 17.17). Figure 17.17. Check boxes to ensure that scrollbars are displayed. Additional LanguagesInfoPath 2003 is, as discussed in earlier chapters, primarily an enterprise forms tool. Therefore, the absence of .NET functionality in the initial release version of InfoPath 2003 was a surprise to some potential users. It is possible to use the Common Language Runtime (CLR) from InfoPath. The InfoPath Software Development Kit (available for download from http://www.microsoft.com/downloads/details.aspx?FamilyID=351f0616-93aa-4fe8-9238-d702f1bfbab4&displaylang=en) includes a CLR sample form template.
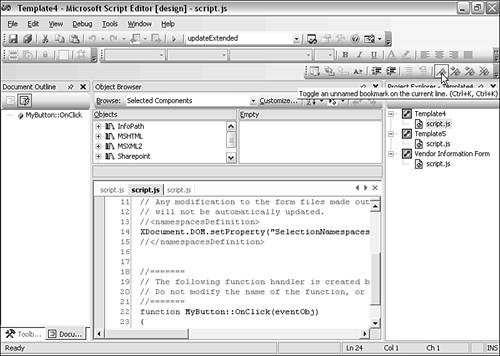
Using BookmarksWhen you create script code for the production of InfoPath form templates, you will likely use substantial amounts of JScript or VBScript code. Navigating around large quantities of text, particularly when you might need to scroll horizontally to find the relevant part of an associated function or other code, can be tedious . The Microsoft Script Editor allows you to insert temporary bookmarks to enable you to move easily between two pieces of code (see Figure 17.18). Figure 17.18. The Bookmarks button on the Script Editor toolbar. To the right of the button that toggles a single bookmark on and off are further buttons that navigate, one bookmark at a time, forward or backward. The right-most of the four default bookmark buttons clears all bookmarks from a script file.
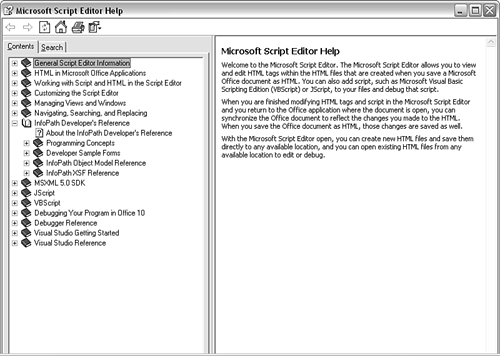
Script Editor HelpThe Microsoft Script Editor comes with copious Help Files that cover a large amount of information relevant to coding behind the scenes in InfoPath. Not all of the help information provided is directly relevant to InfoPathsome of it deals more with the use of the Script Editor with HTML files that contain scripting code. To access Script Editor Help files, select Help, Microsoft Script Editor Help, or press F1. If the cursor is in the Document pane and you have written some code the Script Editor can recognize, you will be taken to the help for that particular object or method. For example, typing XDocument at the beginning of a line of code and then pressing F1 should open a Help window that provides information about the properties and methods of the XDocument object.
The Script Editor Help includes several "books" of help files covering general Script Editor information, an InfoPath Developers Reference (with nested books providing an InfoPath object model reference and a reference on the manifest), MSXML 5.0, JScript, and VBScript (see Figure 17.19). Figure 17.19. The Script Editor Help window. |
 To learn more about the OnLoad event,


| < Day Day Up > |
EAN: 2147483647
Pages: 206