Overview of the Login Controls
Overview of the Login ControlsYou won't have any fun using the Login controls unless you have confidential information to protect. Therefore, let's start by creating a page that needs password protection. Create a new folder in your application named SecretFiles and add the page in Listing 20.1 to the SecretFiles folder. Listing 20.1. SecretFiles\Secret.aspx
There is nothing special about the page in Listing 20.1. It just displays the message This Page is Secret!. To password-protect the Secret.aspx page, you need to make two configuration changes to your application: You need to configure both authentication and authorization. First, you need to enable the proper type of authentication for your application. By default, Windows authentication is enabled. To use the Login controls, you need enable Forms authentication by adding the web configuration file in Listing 20.2 to the root of your application. Listing 20.2. Web.Config
The web configuration file in Listing 20.2 contains an authentication element that includes a mode attribute. The mode attribute has the value Forms. Note Authentication and authorization is discussed in more detail in Chapter 21, "Using ASP.NET Membership." By default, all users have access to all pages in an application. If you want to restrict access to the pages in a folder, then you need to configure authorization for the folder. If you add the web configuration file in Listing 20.3 to the SecretFiles folder, then anonymous users are prevented from accessing any pages in the folder. Listing 20.3. SecretFiles\Web.Config
The web configuration file in Listing 20.3 contains an authorization element. This element contains a list of authorization rules for the folder. The single authorization rule in Listing 20.3 prevents anonymous users from accessing pages in the folder (the ? represents anonymous users). Visual Web Developer Note If you prefer, you can use the Web Site Administration Tool to configure authentication and authorization. This tool provides you with a form interface for performing these configuration changes. When using Visual Web Developer, you can open the Web Site Administration Tool by selecting the menu option Website, ASP.NET Configuration. If you attempt to request the Secret.aspx page after adding the web configuration file in Listing 20.3, then you are redirected to a page named Login.aspx automatically. Therefore, the next page that we need to create is the Login.aspx page. (By default, this page must be located in the root of your application.) The Login.aspx page in Listing 20.4 contains a Login control. The Login control automatically generates a login form (see Figure 20.1). Figure 20.1. Displaying a Login form.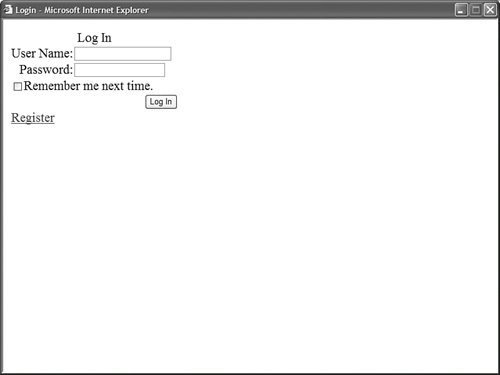 Listing 20.4. Login.aspx
Notice that the Login control includes a CreateUserText and CreateUserUrl property. Adding these properties to the Login control causes the control to display a link to a page that enables a new user to register for your application. The Login control in Listing 20.4 links to a page named Register.aspx. This page is contained in Listing 20.5. Listing 20.5. Register.aspx
The Register.aspx page contains a CreateUserWizard control. This control automatically generates a user registration form (see Figure 20.2). After you submit the form, a new user is created and you are redirected back to the Secret.aspx page. Figure 20.2. Displaying a registration form.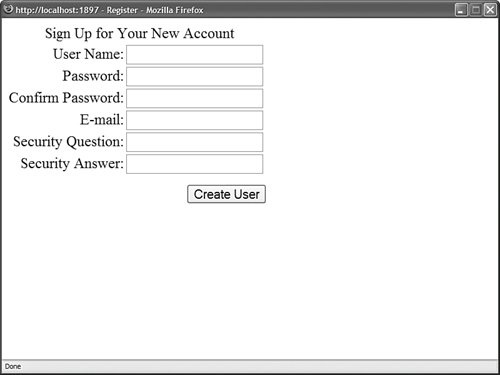 Warning The default ASP.NET Membership provider requires you to create a password that contains at least seven characters, and at least one of the characters must be non-alphanumeric (not a letter and not a number). So, secret_ is a valid password, but not secret9. In the next chapter, you learn how to change these default passwords requirements. That's all there is to it. Notice that we have created a complete user registration system without writing a single line of code. All the messy details of storing usernames and passwords are taken care of by the ASP.NET Framework in the background. |