create the portals
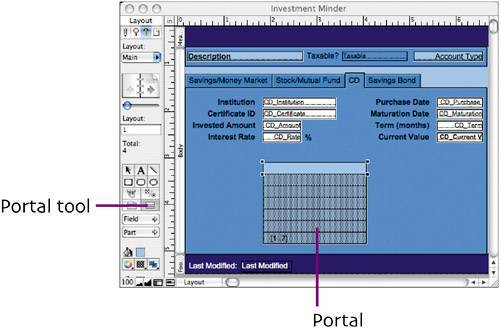
| One of the advantages of a relational database is that a layout can display data from the current table, as well as data from related tables. There are two ways to accomplish this. You can place related fields directly on the layout or create portals on the layout. You place individual related fields on a layout when there's a one-to-one or many-to-one relationship. For example, a bookkeeping database might have separate Invoice and Address tables, related by a Customer ID. By placing the related fields (Name, Address, City, State, and Zip) from the Address table on an Invoice layout, you could display the customer's address on all her or his invoices but only have to enter the data once (in the Address table). You place portals on a layout when you have a one-to-many relationship, as we do in Investment Minder. Any single investment in Main can have many related records in the Savings, Stocks, or CD table. A portal is designed to display a series of fields for multiple related records, giving you a window into the related table. You can also specify a sort order for the portal records, as well as edit the portal data (simultaneously changing the data in the related table). CD portal. Because the CD portal is the simplest oneit has only two fieldswe'll create it first.

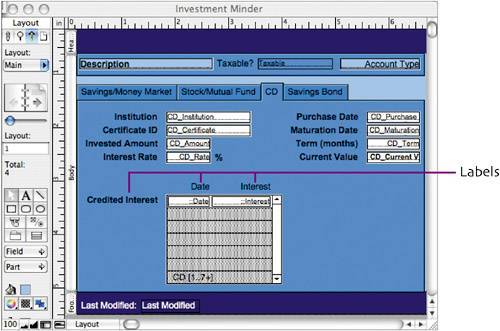
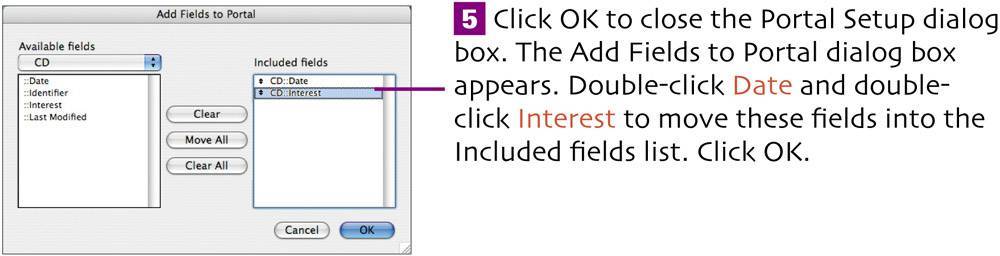
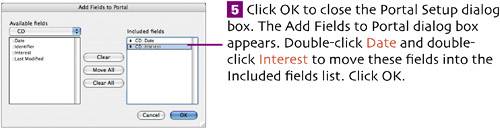
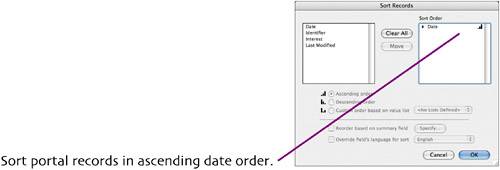 When viewed in the portal on the Main layout, CD interest records will be listed in date order.
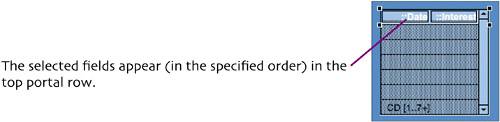
 When viewed in Browse mode, this portal will show all interest credited to a particular CD, sorted in date order. Stock/Mutual Fund portal. Follow the instructions for creating the CD portal, but use the following fields from the Stocks table (in order): Dividend Date, Dividend, and Interest. Sort the portal records by Dividend Date. 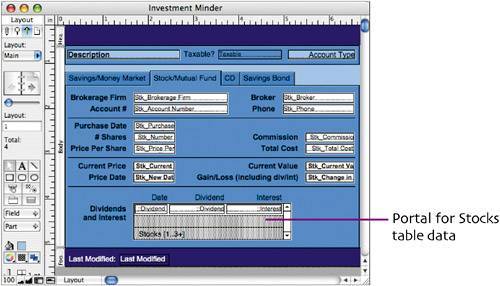 Savings/Money Market portal. Follow the instructions for creating the other portals, but use these fields from the Savings table (in order): Transaction Date, Check Number, Description, Deposit, and Withdrawal. Sort the portal records by Transaction Date and Check Number. Portal for Stocks table data 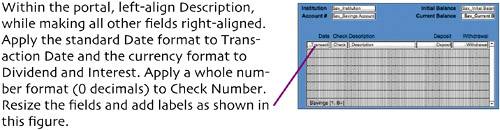 |
EAN: 2147483647
Pages: 115