| You can avoid the conversion process described in the preceding section by creating graphics directly in symbol-editing mode. This practice makes all the tools, frames , and layers of the Flash editor available, but Flash defines the element you are creating as a symbol from the start. To create a new symbol: -
To enter symbol-editing mode, do one of the following: -
From the Insert menu, choose New Symbol, or press  -F8 (Mac) or Ctrl-F8 (Windows). -F8 (Mac) or Ctrl-F8 (Windows). -
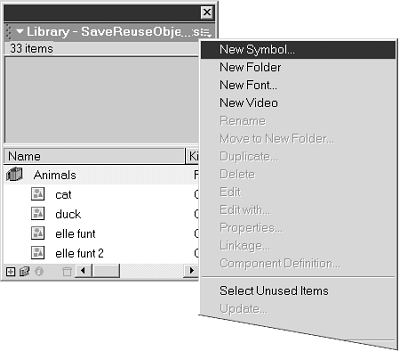
From the Library window's Options menu, choose New Symbol (Figure 6.15). Figure 6.15. From the Library window's Options menu, choose New Symbol to create a symbol from scratch.  -
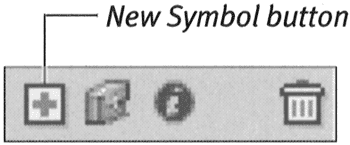
In the bottom-left corner of the Library window, click the New Symbol button (Figure 6.16). Figure 6.16. Click the Library window's New Symbol button to create a symbol from scratch.  The Create New Symbol dialog box appears. -
Type a name for your symbol. -
Choose Graphic as the behavior for your symbol. -
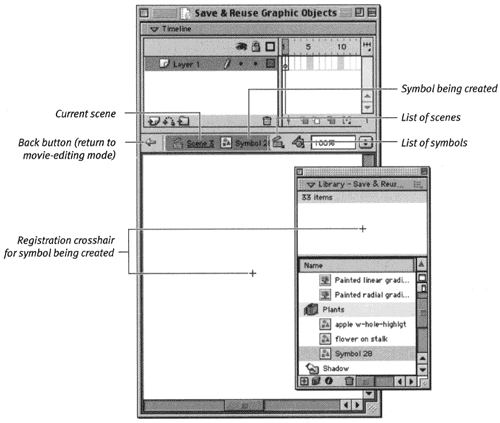
Click OK. Flash enters symbol-editing mode. Flash displays the name of the symbol you are creating in the info bar above the Stage and places a crosshair in the center of the Stage (Figure 6.17). The crosshair indicates the symbol's center and acts as a registration mark. Figure 6.17. In symbol-editing mode, the name of the symbol being worked on appears in the info bar just above the Stage.  Where Am I? When you edit symbols, Flash simply switches the current window to symbol-editing mode. It's easy to get confused about whether you're editing the main movie or a symbol. Learn to recognize the following subtle visual cues; they are the only indication that you are in symbol-editing mode. In symbol-editing mode, Flash displays the name of the scene and symbol you are editing in the info bar above the Stage. Also, a small crosshair, which acts as a registration point for the symbol, appears on the Stage. Apart from these changes, the Timeline, the Stage, and the tools all appear and work just as they do in the Flash editor. | -
Create your graphic on the Stage of the symbol editor as you would in the regular editing environment. -
To return to movie-editing mode, do one of the following: -
From the Edit menu, choose Edit Document. Flash returns you to the current scene. -
In the info bar above the Stage, click the Back button or the Current Scene button (Figure 6.18). Flash returns you to the current scene. Figure 6.18. Click the Back button or the Current Scene button to return to movie-editing mode.  -
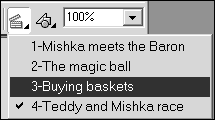
From the Edit Scene pop-up menu in the info bar, choose a scene (Figure 6.19). Flash takes you to that scene. Figure 6.19. Choose a scene from the Edit Scene pop-up menu to return to movie-editing mode.   Tip Tip -
When you enter symbol-editing mode, the central crosshair registration mark may be outside the current viewing area. To bring the registration mark to the center of your window, choose View > Magnification > Show Frame.
|


