Using the Timeline
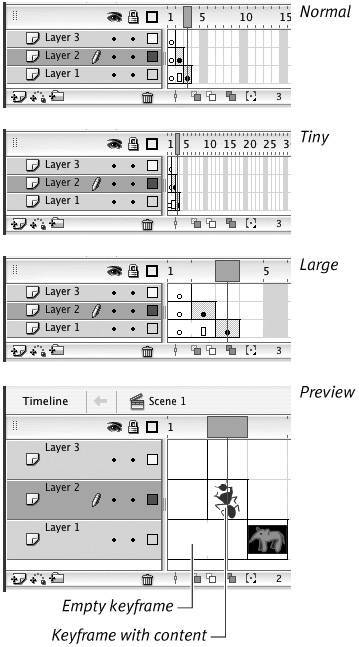
| In the Timeline, you have five size options for viewing frames and two options for previewing thumbnails of frame contents. A Flash movie may contain hundreds of frames; the Timeline's scroll bars enable you to access frames not currently visible in the Timeline window. You can also undock the Timeline so that it floats as a separate window and resize it to show more or fewer frames. Figure 8.1 shows the Timeline for a movie with one layer and 15 defined frames. Figure 8.1. Similar to an interactive outline, the Timeline represents each frame of your movie. Click any frame, and Flash displays its contents on the Stage.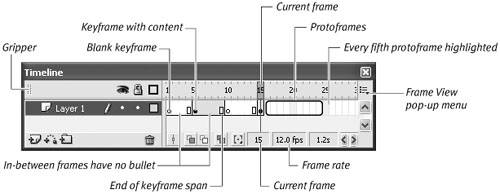 To resize the Timeline's area
To view frames in the Timeline at various sizes
|
 Tips
Tips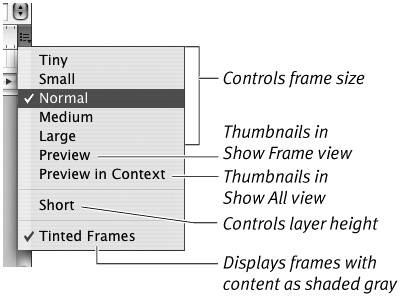
EAN: 2147483647
Pages: 204