| Throughout this chapter we have established arrays entirely from within a PHP page. You can, however, send an array of data to a PHP script via an HTML form. The coding is only slightly trickier than you've witnessed so far. You can rewrite the feedback page from Chapter 3, HTML Forms and PHP, so that it generates an array instead of individual variables . To create an array with an HTML form: -
Create a new HTML document in your text editor. -
Create the standard HTML header (Script 7.8). <HTML><HEAD><TITLE>HTML Form </TITLE></HEAD><BODY> Script 7.8. This is the HTML form with an array for INPUT names . You don't even have to specify keys for each array, you could label every field Array[] in which case HandleForm.php would hold the first name data in Array[0], the last name in Array[1], the email address in Array[2], and the comments in Array[3]. 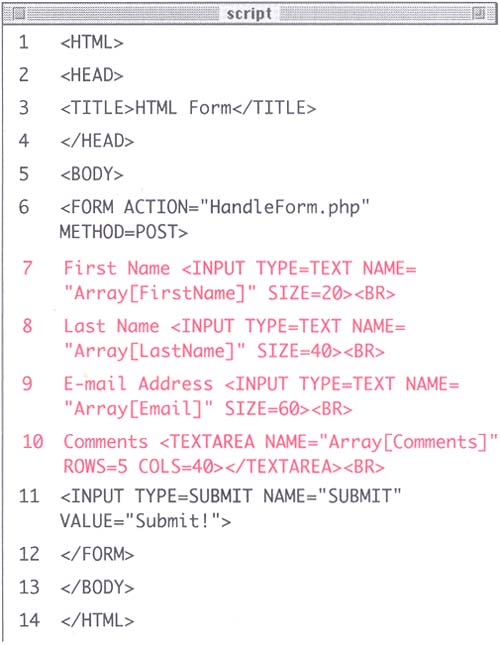 -
Begin the HTML form. <FORM ACTION="HandleForm.php" METHOD=POST> -
Create three TEXT input boxes with arrays for the NAME attributes. First Name <INPUT TYPE=TEXT NAME= "Array[FirstName]" SIZE=20><BR> Last Name <INPUT TYPE=TEXT NAME= "Array[LastName]" SIZE=40><BR> E-mail Address <INPUT TYPE=TEXT NAME= "Array[Email]" SIZE=60><BR> When you created your form before, the HandleForm.php script received variables such as $FirstName and $LastName. Now it will receive $Array[FirstName], $Array[LastName], etc., which will automatically create the array, indexed accordingly . I've omitted the quotation marks around array's key (e.g., Array["LastName"]) which is perfectly acceptable and helps to avoid syntactical errors in this situation. -
Create a TEXTAREA that is also part of the array. -
Comments <TEXTAREA NAME= "Array[Comments]" ROWS=5 COLS=40></TEXTAREA><BR> -
Save your script as form.html and upload it to your server. -
You'll also need to write a new HandleForm.php page to reflect your changes to form.html. -
Create a new PHP document in your text editor. -
Begin with the standard HTML header, followed by the initial PHP tag (Script 7.9). <HTML><HEAD><TITLE>Form Results/ Using Arrays</TITLE><BODY><?php Script 7.9. It doesn't matter to the PHP whether it receives a number of strings from an HTML form or just one array as it does here. However, using an array leaves you with fewer variables to manage. 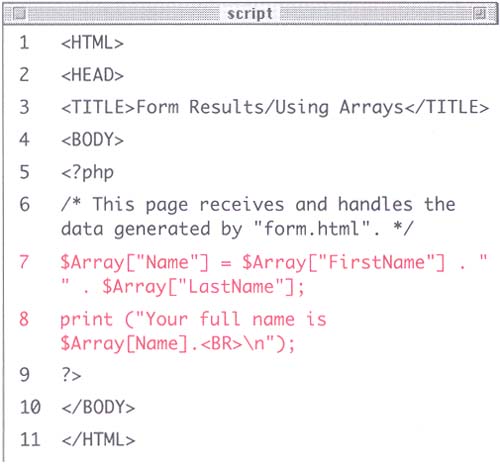 -
Take the two name elements of the array and join them together to form a new array element. $Array["Name"] = $Array["FirstName"] . " " . $Array["LastName"]; Now you've added another piece of infor-mation to the array but you can still handle all the data with just the one variable. -
Print the submitted complete name to the Web browser to confirm successful receipt of the form data. print ("Your full name is $Array[Name].<BR>\n"); -
Save the page as HandleForm.php, upload it to your server (in the same directory as form.html ), and test both pages in your Web browser (Figures 7.10, 7.11 and 7.12). Figure 7.10. This is the source of the form.html page, now that it uses an array for the input names. 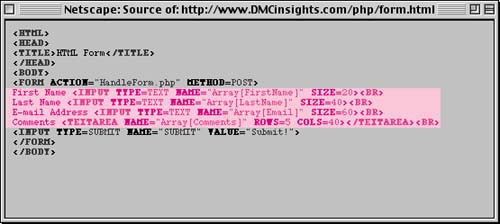 Figure 7.11. It will make no difference to the user what names you use in your form as a user normally only sees this view. With this in mind, choose names that will make your programming job easier. 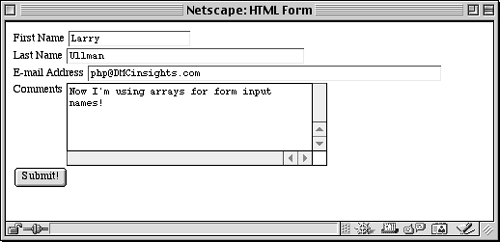 Figure 7.12. To confirm that the data from the form (Figure 7.11) successfully made it to the HandleForm.php page, a simple message is printed. 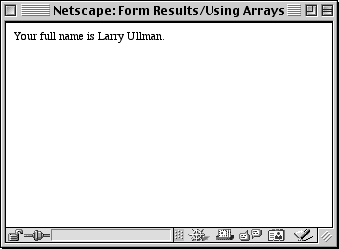 Tip Another great time to use arrays in HTML forms is when using multiple checkboxes or a pull-down menu where several options can be selected.
 |