Running Tomcat
| I l @ ve RuBoard |
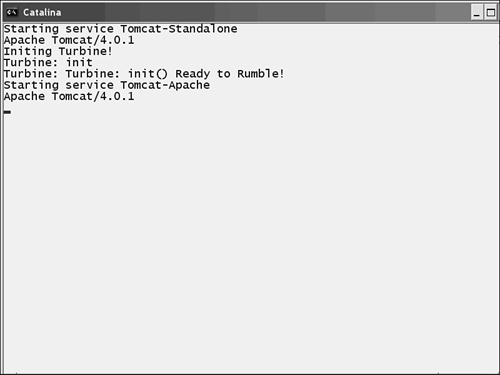
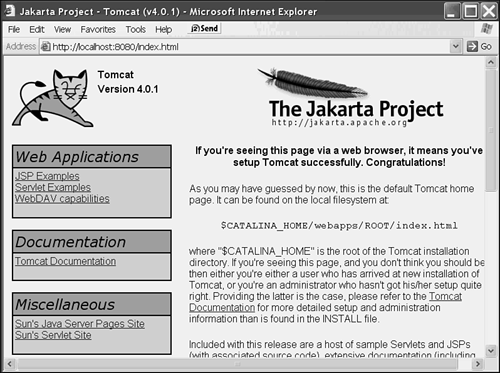
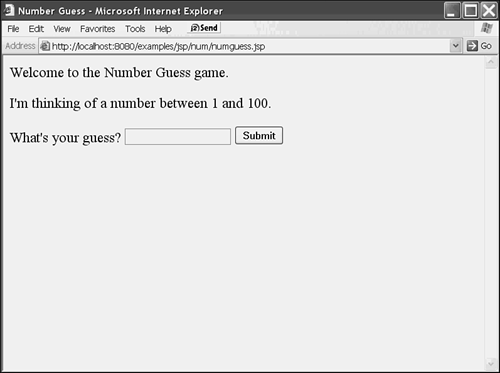
| Before you can start playing with Tomcat for real, you'll need to set it up. Refer to Appendix A,"Getting and Installing JDK and Tomcat," for the appropriate walkthrough for your operating system and setup for Tomcat. Under Linux, you won't see much because the process is running in the background. Under Windows, you'll see the startup window shown in Figure 1.1. Figure 1.1. The Tomcat startup window. By default, Tomcat listens on port 8080, so if you open up a browser and cruise to http://localhost:8080 , you'll see the Tomcat splash page (shown in Figure 1.2). Figure 1.2. The Tomcat splash page. Poking around in the JSP examples section is a nice way to see some sample JSP code, and to "smoke-test" the environment to make sure that it works. We'll click on examples and then run the numberguess program (see Figure 1.3). Figure 1.3. The numberguess program. If the initial page displays correctly, Tomcat is set up correctly and you're ready to roll. We could develop our JSP code under the ROOT Tomcat context (that's the one that displays the splash page), or even under the examples context. However, to keep things clean and, again, prevent lost work if we reinstall Tomcat, we'll set up a separate context to work in. To do this, edit the server.xml file in the C:\Tomcat\Conf directory. This file looks complicated, but for these purposes, all we need to do is add a new context entry; it should go directly before the </Host> XML tag, which will lead to that portion of the file that looks like Listing 1.5. The new XML is highlighted. Listing 1.5 Changes to server.xml</Context> <! Tomcat Book Context > <Context path="/cartapp" docBase="c:\CARTAPP" debug="0" reloadable="true"> <Logger className="org.apache.catalina.logger.FileLogger" prefix="localhost_cartapp_log." suffix=".txt" timestamp="true"/> <Environment name="maxExemptions" type="java.lang.Integer" value="15"/> <Parameter name="context.param.name" value="context.param.value" override="false"/> <Resource name="mail/session" auth="CONTAINER" type="javax.mail.Session"/> <ResourceParams name="mail/session"> <parameter> <name>mail.smtp.host</name> <value>localhost</value> </parameter> </ResourceParams> </Context> </Host> We are creating a context called /cartapp (which means that the URL of JSP served from this context will be http://localhost:8080/cartapp ). Then we tell it to look for its files in the C:\CARTAPP directory. After Tomcat is restarted, put a simple JSP file (such as the "Hello World" example) into C:\CARTAPP\jsp\hello_world.jsp and look at it by browsing to http://localhost:8080/cartapp/jsp/hello_world.jsp . If everything's set up right, you'll see the Hello World page. |
| I l @ ve RuBoard |
EAN: 2147483647
Pages: 203