C.3 Connecting to a Public Folder on Windows XP
| < Day Day Up > |
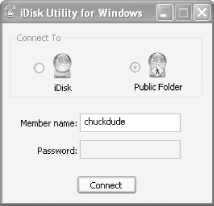
| Mounting a Public folder using the iDisk Utility for Windows XP is very similar to mounting an iDisk. To mount another .Mac member's Public folder, follow these steps:
If the .Mac member's Public folder isn't password-protected, it will promptly mount on your system. However, if it is password-protected, you will be asked to enter a password to gain access, as shown in Figure C-14. Figure C-14. If the Public folder you want to connect to is password-protected, you will see this alert window.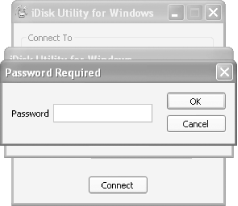 If you know the password, enter that in the Password field and click OK. If the password you entered is correct, the Public folder will mount as a Network Drive; however, if you enter an incorrect password, the window shown in Figure C-15 alerts you to that fact. Figure C-15. Enter a bad password, get another try. There's no limit to the number of times you can try connecting to a password-protected Public folder.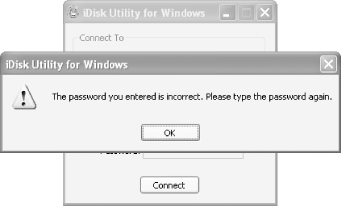 There is no limit to the number of times you can be challenged for a Public folder's password. You can keep trying until you either get it right or turn blue in the face. When you're finally connected to the Public folder, the iDisk Utility for Windows XP informs you of that, as shown in Figure C-16. Figure C-16. The iDisk Utility for Windows XP will let you know when you've finally connected to the Public folder to which you've requested access.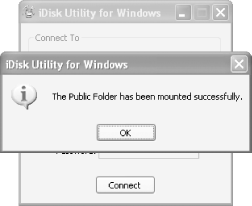 Once you've connected to the Public folder, use the Windows Explorer to view its contents. The My Computer view, shown in Figure C-17, shows the Public folder mounted as a Network Drive. Unlike Public folders mounted on a Mac OS X system, Public folders mounted on a Windows XP system also tell you to which .Mac member the folder belongs. Figure C-17. The My Computer displays the Public folder's .Mac member name as part of the directory path , shown here as chuckdude-Public.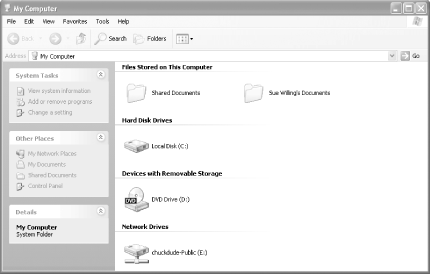 To view the contents of the Public folder, double-click on its icon, or enter E:\ membername -Public in the Address field and then click on the Go button or hit Return. To download a file or folder from a Public folder, simply drag the appropriate item to your Windows XP desktop and the item will be copied to your machine. Likewise, to upload a file or folder from your Windows XP system to a .Mac Public folder, drag the item to the Public folder's view. However, this assumes that the Public folder has read-write access turned on. If the Public folder is read-only, you will not be able to copy items to the Public folder. When you've finished your business with the Public folder, you can unmount it by going back to the My Computer view in the Windows Explorer. Once there, right-click on the icon for the Public folder in the Network Drives section and then select Disconnect from the menu, as shown in Figure C-18. Figure C-18. Unmounting a Public folder is as simple as right-clicking on its icon in the My Computer view and selecting Disconnect from the menu.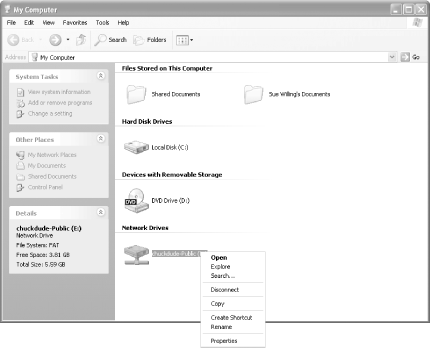 |
| < Day Day Up > |
 All Programs