Agent Kits
| < Day Day Up > |
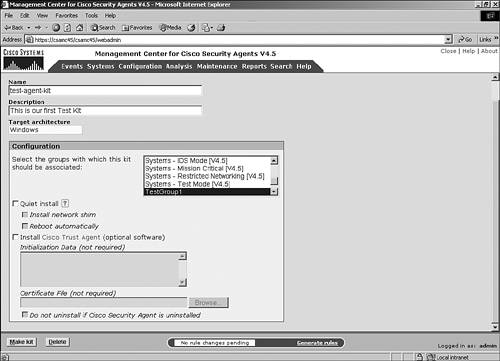
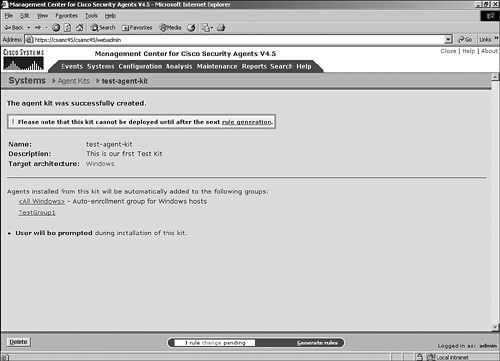
| Agents are initially installed on endpoints via an executable install file. You can download and install this file directly from the CSA MC itself from an SSL-protected web page. Other methods of installation include locally executing the EXE file manually or via many other scripted and automated installation procedures such as an enterprise software installation system. Creating an Agent KitBefore you can install an agent kit on a workstation, you must accomplish a few tasks. First you must create the appropriate initial modules, policies, and rules that the agent will use. Then you must define the group and attach policies to it. Then you must create the agent kit and define a few installation kit parameters. This section describes these tasks and explains the options along the way.
To Shim or Not to Shim?With regard to the CSA operation and ability to protect a host, the network shim provides the following capabilities:
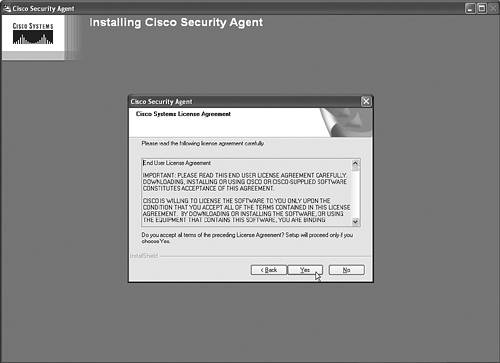
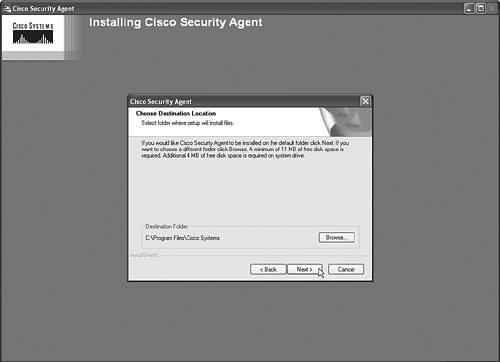
Now, you may say, "I want all of that. Why would I not load the network shim with every agent kit?" Good question! The reason is that other network shims might already be loaded on the workstation. These other network shims typically take the form of VPN or personal firewall software. Quite often, these shims can conflict and cause problems with endpoint operation. The solution is to either not load the CSA network shim or remove the other software that is in conflict. NOTE The Cisco Secure VPN Client does not conflict with the CSA network shim. Disabling the network shim does not stop network access control rules from running; it only stops the network hardening features from being active, such as SYN flood protection and port scan detection. As a best practice, it is advisable to continue to use the network shim on Internet-facing servers or systems that might be targeted by such attacks as listed previously. Servers do not tend to use the type of software that conflicts with the network shim provided by the CSA, and you would therefore have few conflicts to resolve in this case. Desktop and laptop systems regularly use applications that could conflict, and you should cautiously test the shim on these systems to prevent unnecessary outages. Because desktop systems are not often targeted for denial-of-service (DoS) attacks, these preventive and alerting mechanisms in the shim can often be better served by well-placed network IDS sensors. Installing Agent KitsAgent kits, once created, still need to be installed on the remote systems you are attempting to protect. The installation package created varies according to the intended operating system architecture onto which it will be loaded. The installation procedures vary between the Windows, Linux, and Solaris implementations of the product. The next few sections cover the installation processes and procedures necessary to successfully load the agent on these systems. Installing a Windows Agent KitAfter you have created the Windows agent kits, they are ready for installation. First look at how the remote endpoints can install the software directly from an SSL-protected web page on the CSA MC. Perform the following tasks on the endpoint:
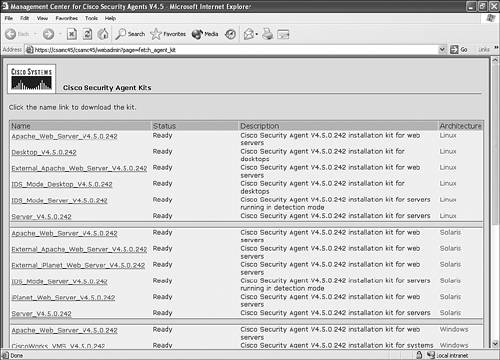
Upon completing Step 7, a summary screen displays before final installation continues, as shown in Figure 6-9. After you verify that the summary information regarding the installation to be performed is correct, the actual agent installation begins, as shown in Figure 6-10. Figure 6-9. Pre-Installation Summary Screen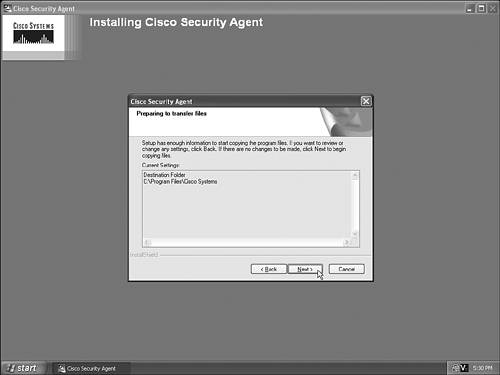 Figure 6-10. Installation Begins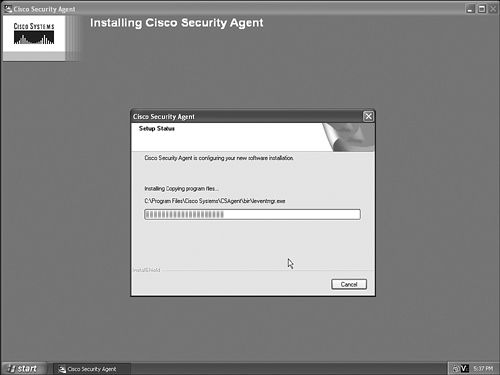 After completing the installation, the system presents you with a reboot request. A reboot is not required for most agent functionality to become active; however, for a more detailed look at the functions available after a successful reboot, see the "Immediately Rebooting the System After Installation" section later in this chapter. Figure 6-11 shows a sample reboot request. Figure 6-11. Reboot Request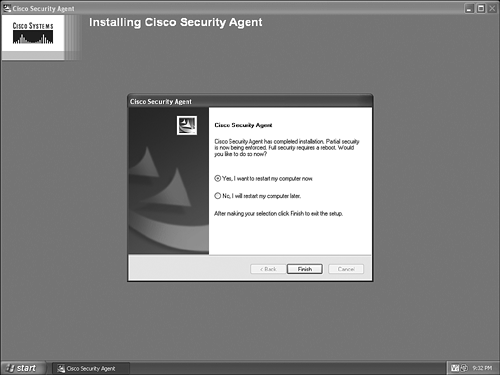 As an alternative to sending the user to the URL that includes every possible agent kit, you can go back to the Cisco Security Agent Kits page and choose the specific kit you want the user to install. When this page opens, you will see a specific link that you can send to the user via e-mail or another method. This link is to the direct download for that kit and enables the user to install that specific agent kit when clicked. You are also given the Copy to Clipboard option, which places the specific link in your Windows clipboard so that you can craft an e-mail and then just paste the link into the message from your clipboard. Installing a Solaris Agent KitThe installation of a Solaris agent kit is a command-line process that requires the installer to be a super user on the system. To install a Solaris agent kit, retrieve the agent installation kit as per the Windows agent kit retrieval process described earlier or manually copy the kit from the CSA MC. Continue the installation process by unpacking the archive and installing the package to the default directory, which is /opt/CSCOcsa, using the following two commands on the Solaris system:
To complete the Solaris installation process, verify the package to install is the intended package as per the system response that displays as a result of your command entry above and acknowledge that you want to continue the installation. Press q when the installation completes. Finally, reboot the system by typing shutdown -y i6 g0. Installing a Linux Agent KitThe installation of a Linux agent kit is a command-line process. To begin the process, you must first obtain the Linux agent kit file from the CSA MC. After retrieving the installation kit, you unpack the compressed agent kit using the following command entered at a command prompt:
You should now change directories to the CSCOcsa directory that was created during the unpacking process. This directory is the location from which you install the Red Hat Packet Manager (RPM). When in the correct directory, type the following to install the Linux RPM: ./install_rpm. NOTE Because of the access required to various system and file resources, you must be a root user to install the Linux agent. As an alternative to using the command-line installation procedure, you can use the graphical interface of Red Hat to download, extract, and install the CSA. (See Figure 6-12.) Figure 6-12. Linux Agent Installation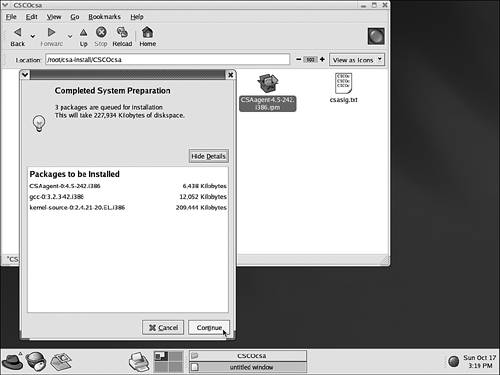 Immediately Rebooting the System After InstallationMost CSA protective mechanisms take effect immediately after installation, even before a reboot. CSA is not fully functional, however, until a reboot has occurred. Here is a list of functionality that does not take effect until after a reboot:
Scripted InstallationAs an alternative to the manual installation processes described previously for each operating system, you can install the CSA agent automatically via a script when the user logs in to the network. The CSA agent self-extracting EXE is located in %Program Files%\CSCOpx\CSAMC45\bin\webserver\htdocs\deploy_kits on the CSA MC server. You can move this file to an appropriate location and use it in scripts or other automated installation mechanisms. For a script to install the executable successfully, be sure to create the kit as a quiet install and with the appropriate options, such as network shim and automatic reboot. Installing Software UpdatesAs with any software product, various software updates will become available for the CSA product over time. You should install these updates to add new functionality or provide fixes to CSA components. When you receive a new update to the CSA product, read the release and installation notes provided with the software update. When you are familiar with the reason for the update and the procedures necessary to complete the update, proceed with updating the CSA MC application. This update will also update the agent software that is available to the agents in the form of future agent kits or updates to currently deployed agent installations. To see a listing of the available software updates on the CSA MC, as shown in Figure 6-13, choose Systems > Software Updates from the navigation bar. Figure 6-13. Available Software Updates Page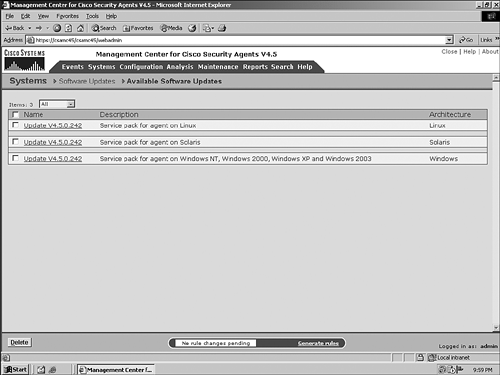 You can obtain the information regarding each update by following the link in the Name column. Figure 6-14 shows an example of the information that displays. Figure 6-14. Specific Available Update Information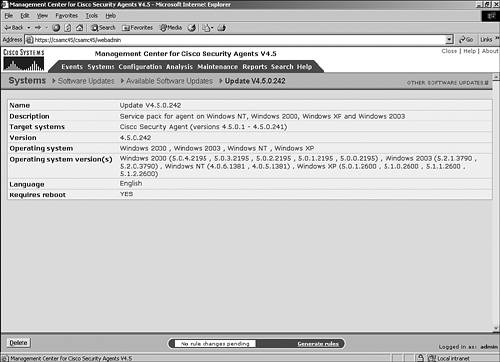 Currently, two different types of scheduled updates are available to CSA: automatic and manual. With automatic updates, an agent polls as expected, and as part of the transaction it receives and installs the updated software silently. Figure 6-15 shows a typical screen that displays in a CSA MC regarding scheduled software updates that have been configured for deployment. Figure 6-15. Scheduled Updates Screen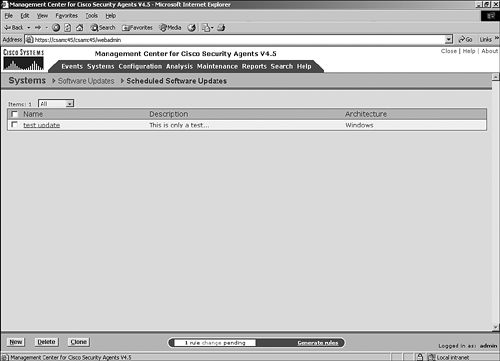 With a manual update, the installation is not silent. The user is prompted to either install the update immediately or postpone the update for up to 10 days. NOTE Regarding Solaris updates, because there is no GUI for the Solaris client, you need to manually check for updates using the csactl client interface. To configure a new update with parameters specific to your environment, follow these steps and refer to Figure 6-16:
Figure 6-16 . Update Configuration Screen NOTE If the update requires a reboot, a reboot occurs 2 minutes after installation completes and cannot be stopped. This is true for both automatic and manual updates. NOTE If users decide to postpone the update, they can wait to be prompted again to install or they can click the Update Available button that appears on the first page of the CSA agent GUI. Uninstalling an Agent KitIf you want to script an uninstallation of a security agent, you can use a pre-installed Cisco-provided BAT file to aid in the process. On Windows systems, the script is csa_uninstall.bat and is located in the system32 directory. If you want to script the uninstall as a quiet uninstall, you should add a parameter to the BAT file. For an automated scripted quiet uninstallation, execute csa_uninstall.bat 3 in the agent s local system32 directory. You might need to disable any rules that relate to service control prior to attempting to uninstall the agent. A query rule could easily foil your attempt to script an uninstallation of the agent. The process to uninstall an agent running on Solaris is also very simple. From the Solaris server, enter pkgrm CSCOcsa. This process can be stopped by agent control rules that might be active. Disable any of these preventive rules before attempting uninstallation. Uninstalling the agent in Linux is also a command-line feature. Before you can proceed, you must make sure you have the correct version number and then type the following from a command line:
When that completes, type the following:
As always, if any rules would prevent agent installation, you must disable those first before proceeding. |

| < Day Day Up > |