| It's just as easy to send an e-mail message from Word as it is from an e-mail program. To create and send an e-mail message from Word, follow these steps: -
Choose File, New to display the New Document task pane, and click the E-mail Message link (see Figure 22.1). Figure 22.1. Click the E-mail Message link in the New Document task pane to start an e-mail message in Word. 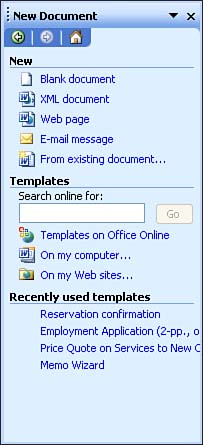 -
The new message opens in the Word window. You use the e-mail header to address the message. Type the recipient's e-mail address in the To text box, and optionally enter the e-mail address of a person to whom you want to copy the message in the Cc text box. Then type a subject in the Subject text box. (If the recipient is in your e-mail program's address book, you can just type his or her name in the To text box instead of the e-mail address.) -
E-mail messages that you create in Word are sent in HTML format by default. (HTML is the format used to display Web pages, and it permits you to add text formatting to your messages.) Most e-mail programs can read HTML-formatted messages. However, if you know your recipient's e-mail program can't handle HTML messages, or if you don't feel a need to beautify your text, you can display the Message Format drop-down list and choose Plain Text instead. Plain text messages cannot include any text formatting.  | If you're using Outlook, you'll also see an option for Rich Text in the Message Format drop-down list. This format also enables you to apply formatting to your messages, but it can only be read by recipients who use the Microsoft Exchange Client or Outlook. If you send a Rich Text message to someone across the Internet (as opposed to across a company intranet), Outlook automatically converts it to HTML format. |
-
Type the e-mail message itself in the blank area below the Subject line (see Figure 22.2). When you're finished, click the Send button to send the message. (If you don't see a Send button, you have probably not yet set up an e-mail account in your e-mail program. When you have an account, the Send button will appear.) Figure 22.2. Fill in the e-mail header information, choose your message format, and type your message. 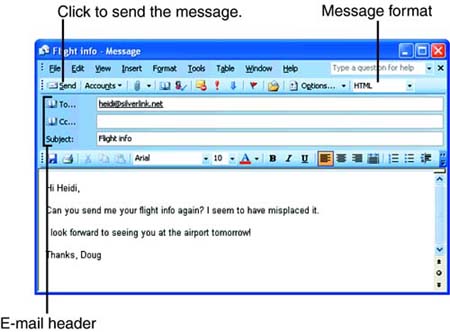 If you're not currently online, you may see a message prompting you to go online or informing you that your computer is connecting. After you're online, the message is sent out. The Word window remains open so you can continue using it. When your recipient receives the message, it will look something like the one shown in Figure 22.3. Figure 22.3. This message was composed and sent from Word. 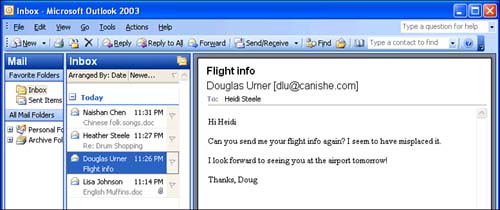 Adding a Signature An e-mail signature is a block of text that is automatically appended to all of your outgoing messages. Typically, people include their names and contact information in their signaturethe content is up to you. If you want to create a signature that Word (and your e-mail program) will add to all of the e-mail messages that you send from Word, follow these steps: -
Choose Tools, Options , and click the General tab. -
Click the E-mail Options button. -
In the E-mail Signature tab of the E-mail Options dialog box, type a title for the signature at the top of the dialog box, and then type and format the signature itself in the bottom half of the dialog box. -
Click the Add button (see Figure 22.4). And then click OK . Figure 22.4. You can create a signature that Word adds to all your e-mail messages. 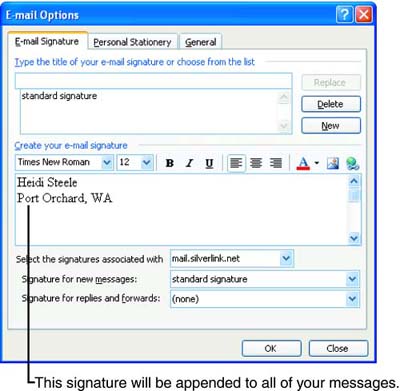  |