| Word knows how to "talk" to the software that manages scanners and digital cameras . If you have one of these gadgets, you can easily insert a scanned image or digital photograph into your Word document without first saving it as a separate image file on disk. If you want to insert an image directly from your digital camera or scanner, first make sure you've installed the software that came with the camera or scanner, and connect the device to your computer. Depending on the device, you may also need to turn it on. Then follow the steps in one of the next two sections.  | If you don't have a scanner or digital camera (or if you haven't installed the software or connected the scanner or camera to your computer) don't even bother with these steps. If you try to issue the Insert, Picture, From Scanner or Camera command, Word displays an error message telling you that it can't connect to a scanner or camera. |
Inserting a Photograph Directly from a Digital Camera To retrieve a photograph from your digital camera's memory card and insert it in your document, follow these steps: -
Move the insertion point to the approximate place where you want to insert the image. -
Choose Insert, Picture, From Scanner or Camera . -
In the Insert Picture from Scanner or Camera dialog box (see Figure 16.3), select your camera. Figure 16.3. Select your digital camera in the Device list. 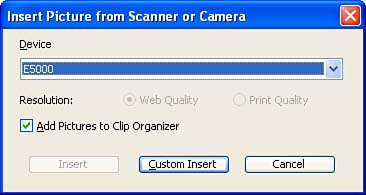  | If you're using the Clip Organizer (discussed later in this hour ), you may want to mark the Add Pictures to Clip Organizer check box so that you'll be able to access the image more easily in the future, either via the Clip Art task pane or in the Clip Organizer window. If you mark the check box, the Clip Organizer stores a copy of the image in the Microsoft Clip Organizer folder, which is a subfolder of the My Pictures folder. |
-
Click the Custom Insert button. -
Follow the directions in the next dialog box that appears (these will vary with the device). In Figure 16.4, the software for the digital camera displays a dialog box that enables you to browse the photographs stored in the camera's memory card and select the one you want to retrieve. Figure 16.4. Use your camera's software to select the photograph you want to insert.  As soon as you issue the command in your camera's software to retrieve a photograph, the image appears in your document (see Figure 16.5). Figure 16.5. When you select a photograph from your camera's memory card, it appears in your document. 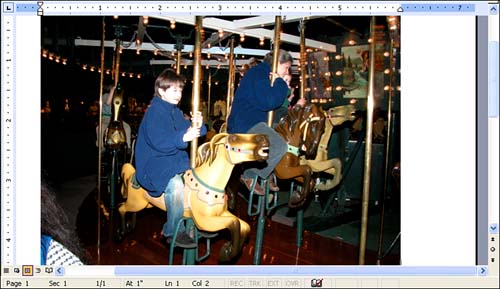 | | Some cameras appear to Windows as additional disk drives . If you have one of these, it will not appear in the Device list in the Insert Picture from Scanner or Camera dialog box. To insert images from this type of camera, simply follow the steps in "Inserting Images from Your Disk or Network" earlier in this hour. |
Inserting an Image Directly from a Scanner To insert an image from your scanner, place the image in your scanner, and follow these steps: -
Move your insertion point to the location where you want the image to appear in your document. -
Choose Insert, Picture, From Scanner or Camera . -
In the Insert Picture from Scanner or Camera dialog box (see Figure 16.6), select your scanner. Figure 16.6. Select your scanner in the device list. 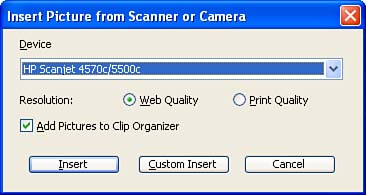 -
Depending on the software that runs your scanner, the Insert button and the associated Web Quality and Print Quality option buttons may be active or dim. (If these buttons are dim, skip to steps 5 and 6.) If they're active, as they are in Figure 16.6, the software knows how to send an image to Word with no more participation from you after this dialog box. Select Web Quality (poorer quality and smaller file sizegood for images you'll send via e-mail or include in Web pages) or Print Quality (better quality and larger file sizebetter for documents that you will print). (See Figure 16.7.) Figure 16.7. The image appears in your document as soon as it's scanned. 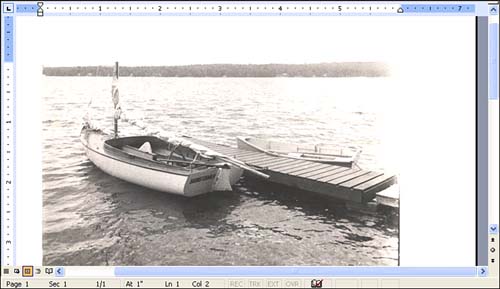 -
Click the Custom Insert button to launch the software you use for your scanner. -
Issue the command to scan the image. After a moment, the image appears in your document.  |