To insert a hard page break, click where you want to break the page and press Ctrl+Enter .
Word inserts a hard page break at the insertion point, and moves the text below the break onto the next page.
To remove a hard page break, click at the beginning of the first line underneath the break, and press the Backspace key. The page break disappears.
Page breaks look different in Normal view. To see how they appear, choose View, Normal .
INTRODUCTION
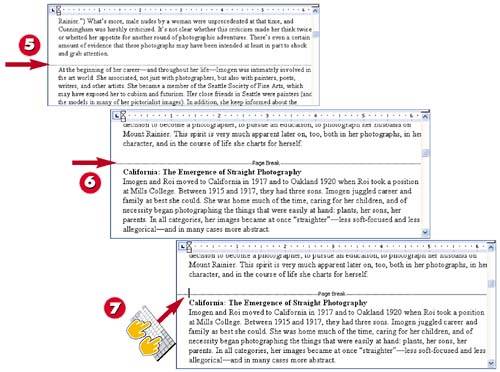
When you fill up a page with text, Word inserts a soft page break to end the page and wrap text to the next page. There are times, however, when you need to end a page before it's filled with text. To do so, you insert a hard page break . For example, you can use a hard page break to separate a title page from the text that follows , or to start a new section of a report at the top of the next page.
In Normal view, a soft page break appears as a horizontal dotted line running across your document.
A hard page break appears as a horizontal dotted line with the words Page Break in the middle of it.
To remove a hard page break while in Normal view, click on the dotted line and press Delete .
TIP
Previewing Page Breaks
You can see the results of inserting a hard page break most clearly by switching to Print Preview or by changing the Zoom setting in Print Layout view to Whole Page. (See "Previewing a Document" and "Magnifying a Document" in Part 5.)