| 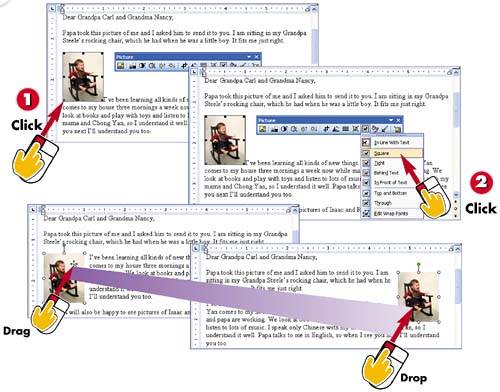 -
 | Click the image to select it. When a image is selected, small squares (called selection handles ) appear around the image. When the image is in-line, the squares are black. | -
 | To move the selected image, click the Text Wrapping button in the Picture toolbar, and click Square . (You can always choose a different option later.) | -
 | The selection handles become white circles. Point to middle of the image (the mouse pointer changes to a four-headed arrow) and drag the image to the desired location. | -
 | Release the mouse button when the image is in the desired place. | INTRODUCTION After you've placed an image in your document, you need to adjust its size and move it to the correct place. By default, Word places images in-line , meaning that they are in the same "layer" of the document as the text. You can resize an image when it's in-line. However, if you want to move an image, it's easier if the image is not in-line. The best way to make this change is to set a text wrapping option. (You'll learn more about text wrapping in "Controlling the Text Flow Around an Image" later in this part.) | CAUTION In general, the quality of an image decreases as you increase the image size. This may not be noticeable if you enlarge an image a little bit, but if you enlarge it a significant amount, it may become quite obvious. | 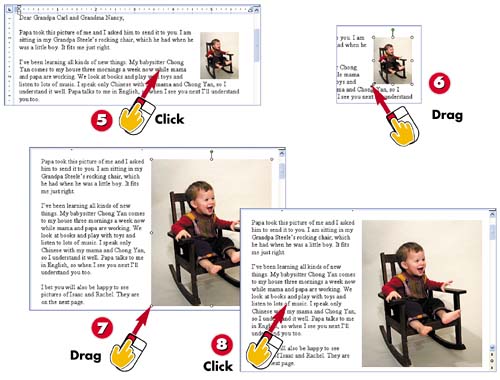 -
 | Click outside of the image to deselect it. This makes it easier to see how the image looks in its new location. | -
 | To resize the image, select it, and then point to a corner selection handle (the mouse pointer becomes a diagonal double-headed arrow). | -
 | Drag to enlarge or shrink the image, and release the mouse button when the image is the correct size. (You can use the same method when an image is in-line.) | -
 | Click outside of the image to deselect it so you can see whether the image is the size you want. | TIP Positioning the Image To position an image precisely, select the image (after you've set a text wrapping option) and then double-click it to display the Format Picture dialog box. Click the Layout tab, mark the Left, Center , or Right option button, and click OK . | TIP Sizing Your Image More Precisely If you need to make your image a precise size, double-click it to display the Format Picture dialog box. Click the Size tab, enter the desired height and width in the Height and Width text boxes, and click OK . (If you need to measure the image in pixels instead of inches, first open the Tools menu and choose Options , click the General tab, mark the Show pixels for HTML features check box, and click OK .) | |