Chapter 15. The Web
Chapter 15. The Web!Getting your forms on the Web takes us now into new territory. If you've gotten this far, you've already done a load of guerrilla work, so tackling another mini-guerrilla task will be nothing! We're going to move away from the world of the Oracle database, SQL*Plus, and the database server world, to the world of browsers, "middle tier ," and a host of new terminology (such as applet ). You can do it, and believe me, when you're done, you'll be rather proud. To make the quantum leap from your client/serverbased application to the world of the Web, you have to do several things:
Regarding the Web technology, I'm going to give you just enough information here so that the next couple of pages make sense. To make your system work, and then to support it, you have to know some of the architecture, buzz-words, and how the parts fit together. Briefly, here's what a three-tier system is:
Because Oracle has given us a pretty good tool for creating three-tier systems, without much ado we're going to create one ourselves . Let's see what we already have. We all have a client PC with a browser, right? We've already created a significant computer waiver exam database. And we've created a rather nice Forms-based GUI system for the user . What's next? Right! Build the middle tier , the Web server. As I said, Oracle has handed us a great product, 9 i Application Server, that we can use for our Web deployment. 9 i AS is the latest in a series of Web products. It is Oracle's attempt to bundle all the parts into one package. One major feature is that 9 i AS includes the Apache Web server, the de facto industry standard. In addition, 9 i AS does automatic configurations and provides an easy way to test the installation. Let's get started. In a nutshell , here are the steps:
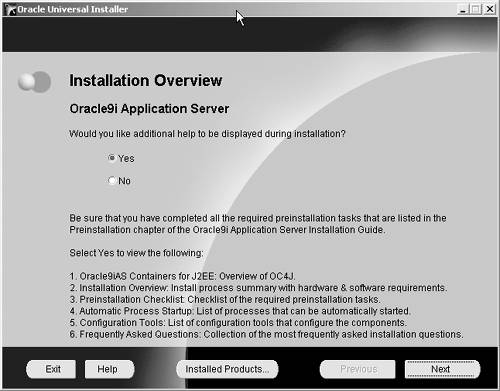
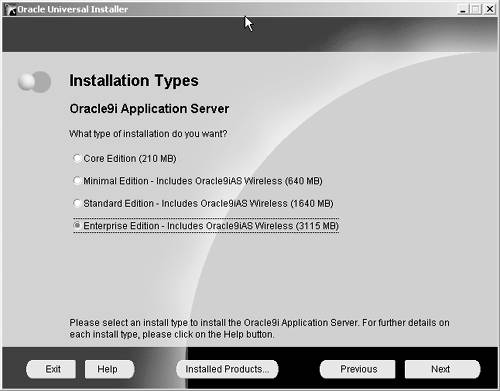
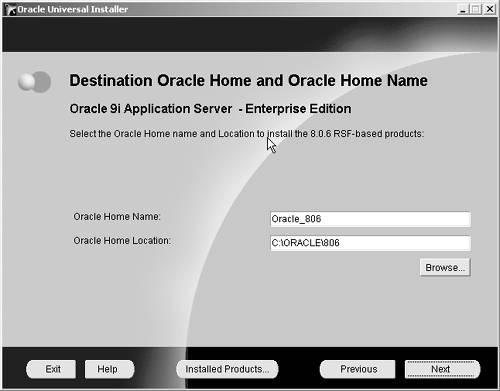
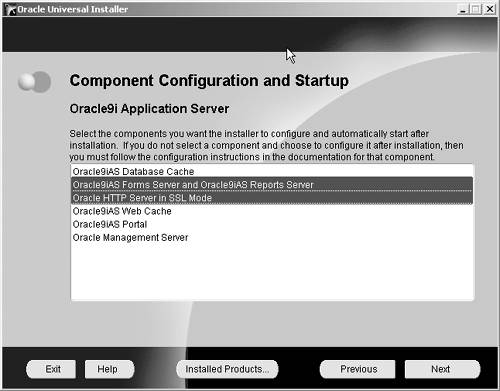
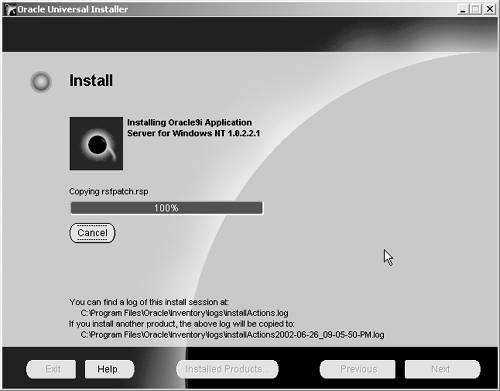
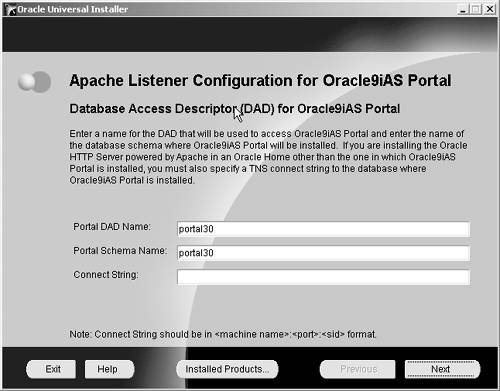
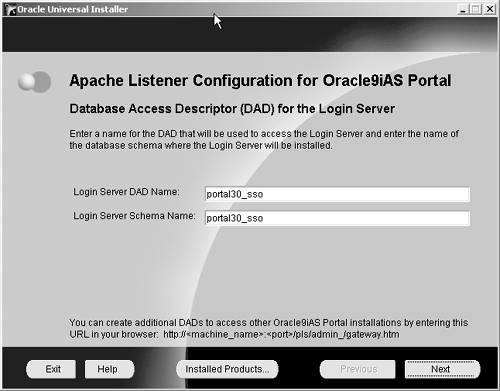
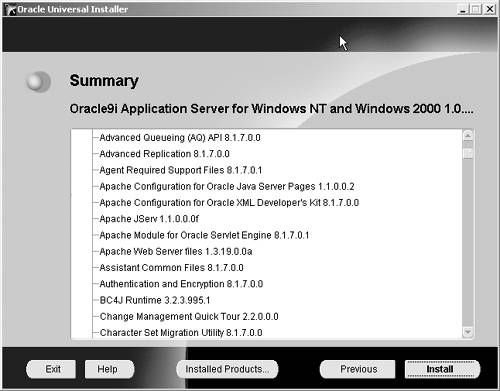
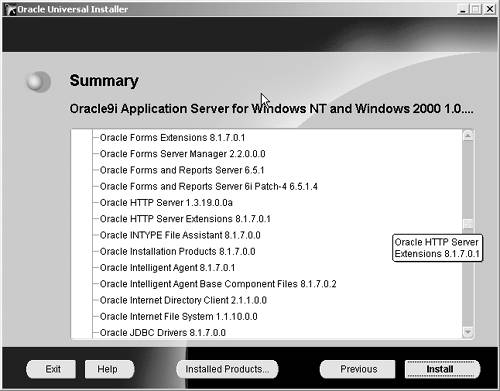
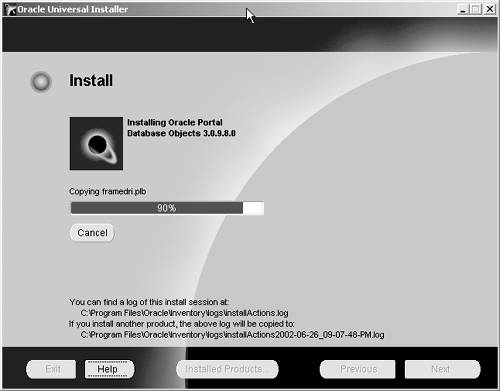
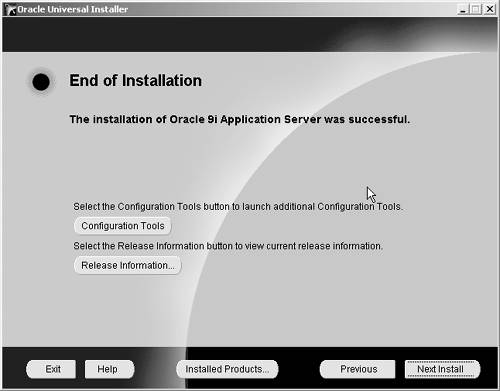
I'll explain the details as we go along. Remember, we're going after the missing piecethe middle tier. This tier has to listen to both the client and the database server, and then do work for both. In effect, it is the middleman in the entire schema. Warning Unlike Oracle Web, the 9 i AS server has to be on its own machine. Do not put it on the same server with your database! If you do, it won't work and you'll end up having to redo everything. Also make sure that no other Oracle products are installed. If you have any doubts , take a look at your registry under Local Machine Software , and also scan your drives looking for "Oracle," "ORA," or "ORAINST." Again, if there are any other products or residue, you will run into all kinds of problems during the installation. If necessary, completely rebuild your server. That's what I did! Before you do anything with 9 i AS, you need a server, whether NT or W2K. So build or find one, and make sure it has nothing on it. You do not want to run any other Oracle or office-type applications with your 9 i AS server, or serious Web degradation will happen. Now install your licensed 9 i AS CD, start it up, and after the standard, gray Universal Installer screen, you'll see this: If you select Yes , you'll get a bit more documentation as you go through the installation. Hit Next , and you'll see the standard Welcome screen, then a brief status bar followed by the selection screen. Choose the full-blown system, Enterprise Edition , to get the Forms server components : Warning Notice that you need 3GB of disk space! Next take the default directories for the various 8.06 and 8.07 components: For now, just select two products to install: (1) Oracle9iAS Forms Server and Oracle9iAS Reports Server and (2) Oracle HTTP Server in SSL Mode : Then for the next couple of minutes, watch the installation screens and status bars: Note that CPU usage may hit 100 percent or close to it at times: Take the defaults for the portal screens, since we're not installing the portal product. Skip over the "Wireless Edition" screens: On the Summary screen, notice the Apache Web server, HTTP, and Forms server entries. (If these entries are not shown, go back and start over. These are about the only things we want from 9 i AS for our purposes.) Now click on Install , and the fun will begin. This can take some time, and you will see "Copying" and then "Installing" messages flashing constantly. (It may seem as if the system has stalled, but just be patient.) Toward the end of the installation the screen will refresh a couple of times, and various displays will appear: Note Those of you with supersharp eyes will notice that the screens change between using the Oracle Universal Installer and the Oracle Installer. This causes problems only if later you have to deinstall, because the Universal Installer cannot uninstall products installed by the Oracle Installer! Notice that even though you did not select the portal package, some portal components will be installed: The installer will stay at 100 percent for a bit, while it wraps up the installation. Just leave it alone. The final screen gives you a chance to add additional features (I suggest just taking a look at what has been installed, and then hitting Exit ): Since we do not want any additional features, just exit by clicking Close : Now check your Programs directory and notice all the new Oracle programs: Note also that you now have new services for the Oracle tasks you just installed: Now test your work. Oracle provides a neat tool for this purpose. Just go to Start Programs Forms 6i Run Form on the Web , and then take the defaults and run the test form: You should see the following message: That's all there is to building a basic 9 i AS server that will manage our forms on the Web. As many of you know, quite a bit goes into making this product so solid and easy to installitems such as HTML, Java, configuration files, and a host of other things. But using and modifying these are topics for another time; these are some of the things that will be covered in the next book. What I want to do here is get you going on using the Web without too much confusion or head banging. If you have received the message shown in the last screen shot, you're almost there! Take a moment and look at the URL in the previous test screen. You'll see the Web server name , followed by a series of parameters. Every parameter means something: http://Guerrilla_Oracle/
Tip For added testing, I suggest that you now build a quick and dirty form using one table, run it, fix errors, and then compile it. When it's ready, move it (the .fmx file) to the Web server ( <ORACLE HOME>/FORMS60 ), test it on the server, and then run your new form again on a client PC . To test, use the same URL but use your form name instead of "TEST.FMX", and test on all operating systems that will access your forms. If it works, read on in the text. Otherwise debug your program until it runs cleanly. Then read on. (One reason I want you to run a test on a local PC is to make sure that the local broswer is 9 i AS compatible. Using Internet Explorer, version 5 or higher, is required . Check the Oracle documentation for more details if necessary. Also you'll feel good if your test works the first time, and this will give you a confidence boost to continue.) Here's an example of a quick and dirty form that was created through use of only the STUDENTS table. It was called WEBTEST.fmx . We just used its name instead of TEST.fmx once we moved it into the <ORACLE HOME>/FORMS60 directory. Here's the URL, using a made-up IP address: http://111.111.11.11/dev60cgi/ifcgi60.exe?form=webtest.fmx&userid=&otherparms=useSDI=yes&lookAndFeel=generic&colorScheme=teal) Note Oracle 9 i AS is very Java-oriented, and it defaults to using Java programs for the Web interface. The first time a client PC tries to run a forms program, you may get a screen asking if you want to install JInitiator. Say yes, and then just take the defaults as the product is installed. There is a lot more to this, but installing JInitiator is enough for now. The last step, as I said, is to tweak the forms you've developed. Splash screens are handled differently on the Web (actually they become part of the Web configuration files, but that is beyond the scope of this chapter). So all we're going to do is to disable the logic for the splash screen and remove the screen. What do we do? We have a very successful client/server system running, and we don't want to make the programming too complicated. What I suggest for this book is that you copy CWE1P_MAIN.fmb as WEBCWE1P_MAIN.fmb .Then make your changes to the "web" file. Why? This way you will maintain the integrity of your client/server product. After your copying, your Guerrilla Oracle folder should look like this: Now remove the splash screen, including the timer code and triggers. This is easy:
Now how do we get this thing onto the Web? All we have to do is copy the .fmx and .mmx files to your new Web server. But here's where it gets a little tricky. The general rule is to put your main .fmx module into the <ORACLEHOME>/FORMS60 directory. Why? Because that's the default spot. (For those of you who are experienced at working with the Web, you can put the files anywhere as long as you have the path specified in the registry under FORMS60PATH . I'll get into much more on this in the next book.) However, remember that we have globals that point to D:\GUERRILLAORACLE? Well, we had two choices. For our Web files we could change the globals to point to somewhere else, or we could just make a GUERRILLA ORACLE folder on the Web server D: drive and put all the other files there. To keep things simple, I suggest that you do make a folder on the D: drive, and put a full copy of the GUERRILLA ORACLE folder there. If you have the .fmb files, don't worry; they won't hurt anything. When you're all done with your testing, you can delete the .fmb and .mmb files. You have now done two things:
You're ready to test! Note There is one other very important step: Check the keyboard file on the Web server. Oracle has a file ( fmrweb.res ) that it uses to map the keyboard. However, this map assumes that the keyboard emulates the VT-100. What this means is that some PC function keys may not work unless you change the map file. However, Oracle has included another keyboard map file ( fmrPCweb.res ) designed for the 101-key PC keyboard. If you find that the function keys F8 and F9 do not work, go to the Web server, look in the <ORACLE HOME>/FORMS60 directory, and find the file fmrweb.res . Rename it original_fmrweb.res .Now find the file fmrPCweb.res in the same directory, make a copy of it, and then rename it fmrweb.res .The function keys should now work fine. To test, go back to the Web server and choose Run Form on the Web under Start Programs Forms 6 i , and put the name"WEBCWE1P_MAIN.FMX"on the form. You should see the main Guerrilla Exams screen. If not, you'll get a form error, and you can look it up (rememberunder Help in Forms, type in "FRM", and you'll get a list of all error codes). Most likely you'll run into misspellings or something similar. Just make one change at a time, or you're asking for trouble. Now for the grand finale, run your form from a client PC:
Select EXAMS , enter the necessary data, and you should then see the "take test" screen. After you enter a test ID, hit F9 and the pop-up list will appear. Select the test you want: Click Register and Continue to the test , and the actual exam screen will appear: Put the cursor in the Question Id block, hit F8 , and the first question will appear. Use the scroll bar to go through all the questions. Did you notice that we also tweaked the message on the "take test" screen to tell the user to use F8 and the scroll bar? Good. Make those changes on your own screen. I also suggest that you now go back and create another menu bar for this screen that has only a few items, such as Help , Save , and Exit . Also I stronglyvery strongly advise that you actually take a waiver test and try everything before turning your system loose. You may find some odds and ends that need correcting; you may find some things that are quirky in your environment. Try to make the system as bulletproof as possible because your users will push it to its limits. There are some shortcomings in the system I've shown you, but I'm sure you will take the examples and enhance them to fit your own design and environment. I've given you the basics; now go to specific manuals on forms and dig through them to make your Guerrilla waiver exam system even better! What's that I hear? Is it the graduation march ? Well, you may not have realized it yet, but you're at the end of the book. Congratulations! I don't have any profound quotes or wise sayings. You've shown incredible tenacity and intellectual acuity to have reached this point, and I hope your journey has been rewarding . |


EAN: 2147483647
Pages: 84