Installing the Add-in
|
| < Free Open Study > |
|
After you've debugged your add-in (debugging an add-in is the subject of Chapter 4), you can do a build and installation of your add-in.
| Note | If you create an add-in using the Add-in Wizard, and you only want to run it on your computer, you don't have to worry about installation. The Add-in Wizard will make all of the registry entries and so forth. However, if you give your add-in to someone to use on another computer, she will have to go through an installation to get all of the registry entries to make it run and to get it listed in the Add-in Manager dialog box. |
Although you probably won't see any difference in the registry, I'll illustrate how to do a complete build followed by an installation. To create an installation and install the new add-in on your computer, do the following:
-
Click the Build menu item in the Build menu. You can follow the progress of the build in the Immediate window, just below the main code window. If there are no errors, a series of success messages will be displayed in the window. If there are build errors, they will be listed in the window, and you will have to correct the errors and rebuild the application. If coding errors are encountered, they will be listed in the window. Double-clicking the error will cause the IDE to position to the error in the respective code window.
-
If the build is successful, go to the Solution Explorer and right-click the MyAddinTest1 solution project. From the pop-up menu, select Install. The Setup Wizard will be invoked and display its welcome window, as shown in Figure 2-13.
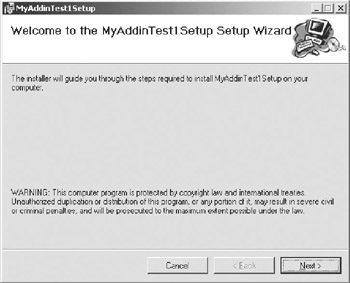
Figure 2-13: Setup Wizard welcome window -
Click the Next button to proceed with the setup. The Setup Wizard will display the first step of the setup process, as shown in Figure 2-14. This step prompts you to select a directory in which to install the add-in.
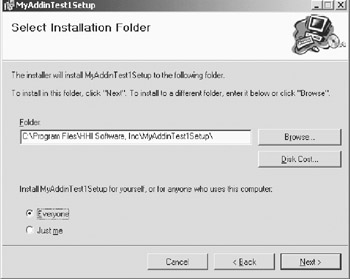
Figure 2-14: Selecting the setup directory -
You may enter the folder in which you want the add-in installed. I have entered a path different from the one the wizard suggested. Again, you have the option to choose who will be able to use your add-in on the computer on which you are installing it. Let's let everyone use it. When you click the Next button to proceed, the wizard displays a window in which you can confirm the installation directory, or you can click the Back button and change the directory. That window is shown in Figure 2-15.
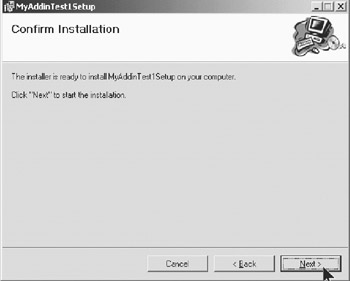
Figure 2-15: Confirming the installation path -
Click the Next button to proceed. While the Setup Wizard is creating and executing the installation, a progress box is displayed. When the setup and installation process is complete, the completion window shown in Figure 2-16 is displayed.
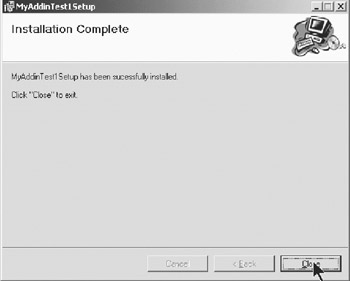
Figure 2-16: The setup is complete.
|
| < Free Open Study > |
|
EAN: 2147483647
Pages: 172