THE DOCUMENT WINDOW
| The Document window is where your web pages are displayed when they're open in GoLive. The Document window contains a number of tabs along the top that enable you to view your document in a variety of ways. The Layout Editor is enabled by clicking the Layout tab of the Document window, and it is the visual editing environment for web pages, as shown in Figure 33.11. At the top of the Layout Editor window, the Head information for your document can be displayed by clicking the right-pointing triangle next to the word Head, as shown in Figure 33.12. All the head elements are displayed as icons in the Head section. You can easily edit the information in the Head section by double-clicking the appropriate icon and editing the settings in the corresponding palette, such as the Inspector palette shown in Figure 33.13. Figure 33.11. When creating web pages, do most of your work in the Layout Editor tab of the Document window.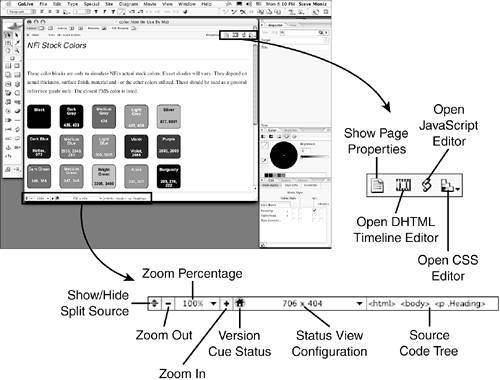 Figure 33.12. The Head section of your HTML code is depicted as icons at the top of the Layout Editor window.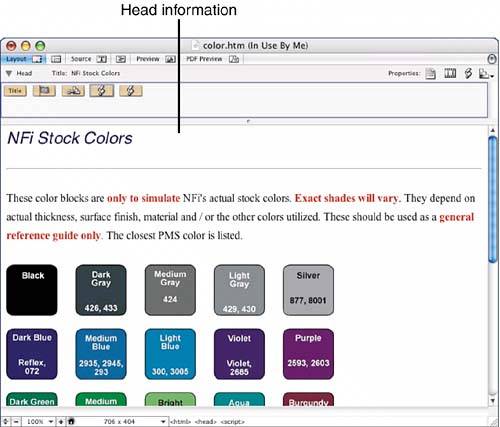 Figure 33.13. Double-clicking the Title icon in the Head section displays the Page Inspector palette where the title can be edited.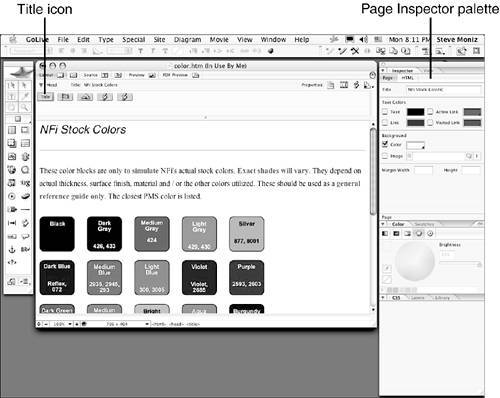 The buttons in the upper-right corner of the Layout Editor window enable you to access some of the features in GoLive quickly. The Page Properties button displays the Page Inspector palette in the Inspector palette group where you set the page attributes, such as title, colors, margins, and background images. The filmstrip button opens the DHTML Timeline Editor where you can animate layers. The Script button opens the JavaScript Editor where you can create and edit JavaScript code. The stair-step button opens the CSS editor.
You can edit the HTML title of your page by clicking the title name to the right of the word Title at the top of the Layout Editor window. At the bottom of the Layout Editor window are a number of helpful features that enable you to work more efficiently (refer to Figure 33.11):
The Frame EditorThe Frame Editor enables you to create, edit, and manage framesets and frames (see Figure 33.16). All the attributes for the frames and framesets are edited using the Frame Inspector and FrameSet Inspector palettes, respectively. You can double-click inside a frame to open the corresponding page in the Layout Editor, or click the Preview Frame button in the Frame Inspector palette to preview the frame content, as shown in Figure 33.17. Preview the entire frameset by clicking the Preview Set button in the FrameSet Inspector palette, as shown in Figure 33.18. Figure 33.16. Create, edit, and manipulate framesets and frames using the Frame Editor.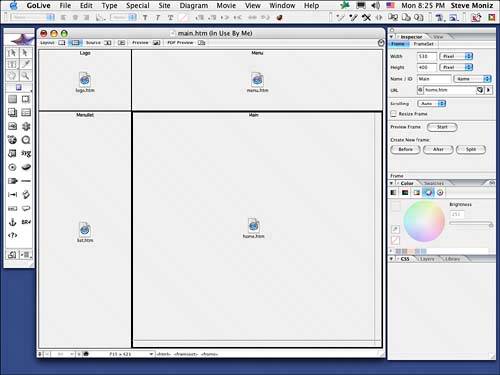 Figure 33.17. Use the Frame Inspector palette to set the attributes for your frames.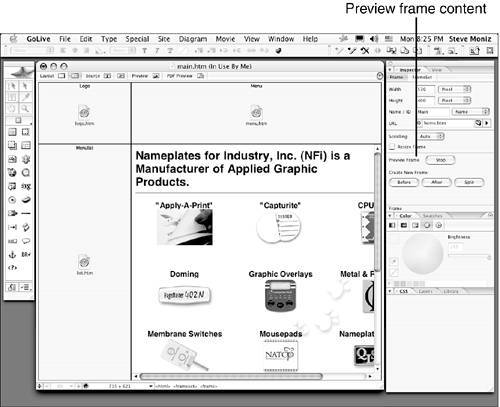 Figure 33.18. Use the FrameSet Inspector palette to set the attributes for the frameset.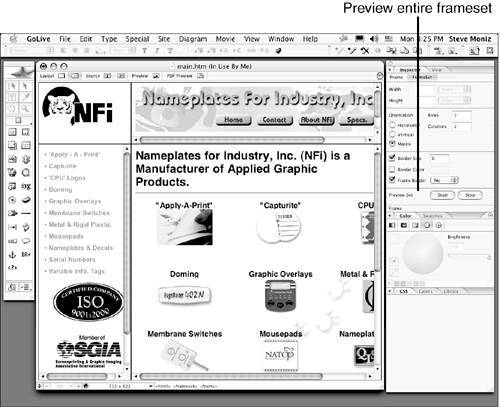 The Source Code EditorThe Source Code Editor enables you to navigate the source code used in an open document easily. The buttons and pull-down menu along the top of the Source Code Editor window determine how the source code is displayed (see Figure 33.19). See Chapter 38, "Working with Source Code in GoLive," to learn more about the source code window. Figure 33.19. The Source Code Editor window.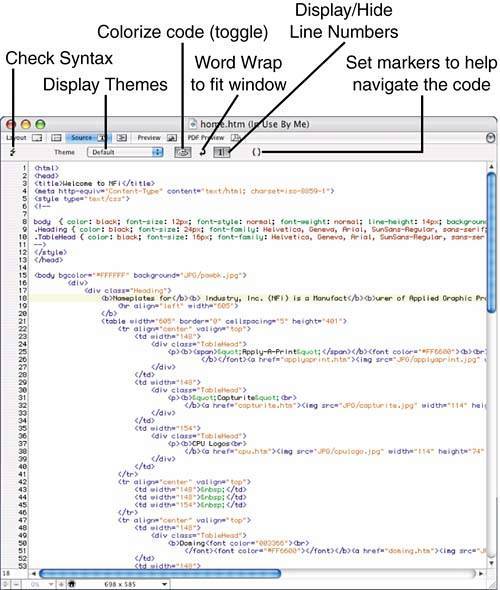
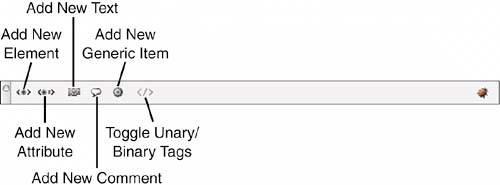
If you want to familiarize yourself with HTML code, create elements in the Layout Editor. Select an element in the Layout Editor and click the Source Code tab to see the highlighted corresponding HTML code. The Outline EditorThe Outline Editor offers an interactive outline view of the source code where you can expand or contract any section of the code selectively (see Figure 33.20). The Outline Editor is a handy tool for getting an overall view of the basic structure of your code, especially if your pages contain lots of DIV tags. Simply click the triangles to expand and contract the sections of code. You can even edit the code and web content by clicking first and then editing. If you prefer to reduce the amount of code by showing only the opening tag of HTML tags that have both opening and closing tags, click the Toggle Unary/Binary Tags button in the Main toolbar to hide or show the closing tags. The Main toolbar changes to contain buttons that help you edit your HTML code in the Outline Editor, as shown in Figure 33.21. Figure 33.20. The Outline Editor makes working with long pages of code a breeze.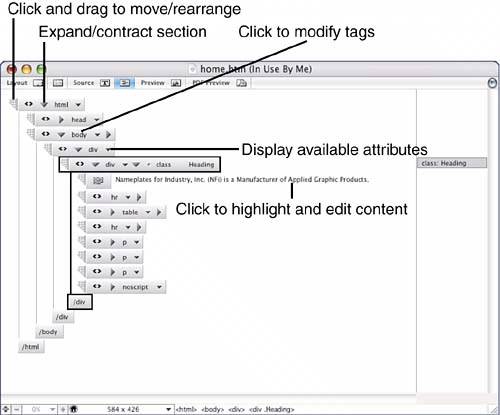 Figure 33.21. The Main toolbar changes to display the editing tools for the Outline Editor.
The Layout Preview
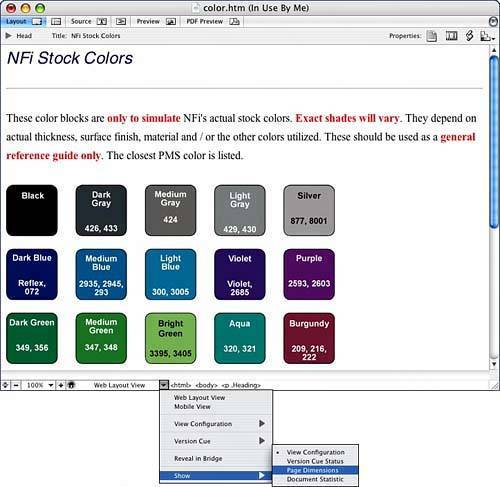
You can set the Basic Profile in the View palette (choose Window, View to display the View palette). Even when you select a Basic Profile besides Adobe Golive, the Adobe GoLive profile is still used in the Layout Preview window. Preview your web pages in the Layout Preview window by clicking the Preview tab, as shown in Figure 33.22. The Layout Preview window uses the GoLive Browser Profile to emulate the latest browsers. You can click links to navigate through your site in the Layout Preview window as well. Figure 33.22. The Layout Preview window is great for doing a quick check of your web pages and the links on the pages.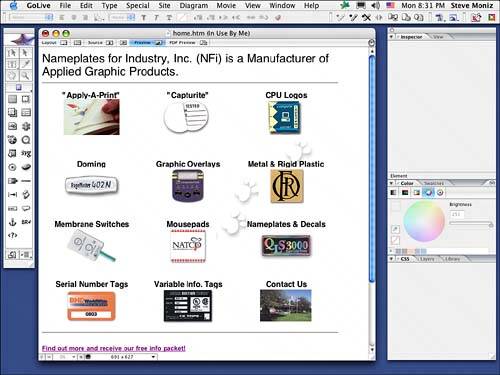 The PDF PreviewThe PDF Preview tab enables you to preview your layout as an Acrobat PDF file (see Figure 33.23). The Main toolbar changes to display buttons to save, print, or email the PDF file. These features offer a quick way to proof a web page for client approval, or to help build a presentation to present to the clients. Settings for the PDF file and navigation aids are found at the bottom of the PDF Preview window. Figure 33.23. The PDF Preview window generates a PDF of your web content and enables you to save, print, or email the PDF.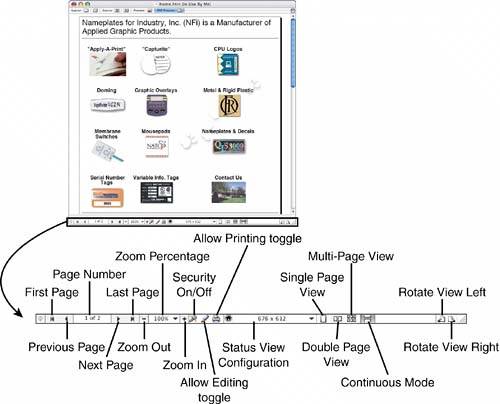
It's a good idea to always check your web pages on multiple platforms and in multiple browsersand even multiple versions of browsers, depending on your target audience. Install as many of them as you can on your computer and then add them to the Browser list in the Preferences window. As you can see, the GoLive interface is a very well-structured adaptable environment. When you become accustomed to the basic way things work, you'll find your way around with ease. Many of the basic interface features are also found in other Adobe applications, making it easier to adapt to one program when you already know another. Try to stick with all Adobe applications for every aspect of web development, and you will find that you work faster and more efficiently. Don't forget to check Adobe's online help (look in the Help menu) and visit the Adobe website often for the latest cool stuff. |

EAN: 2147483647
Pages: 426