Installing the iPod's Software (Including iTunes) note  | If you'd rather, you can download and install a "fresh" copy of iTunes from the Internet. This is usually a good idea so you get the latest version. To get help doing that, see the section "Downloading and Installing iTunes on a Windows PC" on page 193 or "Installing and Configuring iTunes on a Macintosh" on page 198. Then come back here and complete the iPod software installation. |
Included in the iPod's box is a software installation CD. On this CD is the software your computer needs to be able to communicate with your iPod, along with the iTunes application you will use to manage the music you place on the iPod. You'll learn all about iTunes in Part II, "iTunes." But for now, install the software by using the steps in the section that is appropriate for the type of computer you are using (a Windows PC or a Mac). Installing the iPod's Software on a Windows PC If you have installed even one application from a CD, you won't have any trouble with the iPod CD, as the following steps will confirm: 1. | Insert the Installation CD in your computer. The disc will be mounted on your computer, the software will begin to run, and the Choose Setup Language dialog box will appear.
| 2. | Choose the Language you want to use on the drop-down list and click OK. Because I am linguistically challenged and can only read English, that is the language I use throughout this book. You can choose the language that works best for you.
After you click OK, the InstallShield Wizard window will appear, and you can watch the initial installation process. When that is complete, you will see the iPod for Windows dialog box (see Figure 2.1). This dialog box might have a slightly different title depending on the iPod model you have, but it will work in the same way.
Figure 2.1. You might see a slightly different window depending on the model of iPod you are using, but in any case, the Next button is the same. 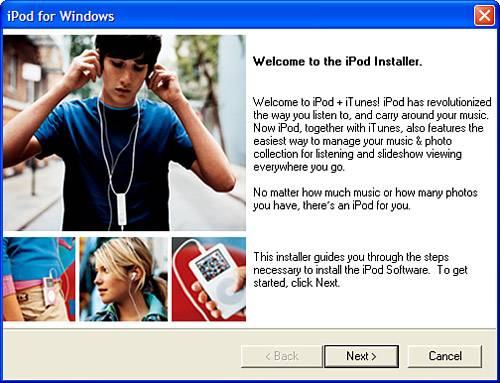
| 3. | Read the information in the installer window and click Next.
| 4. | If you have a lot of time and patience, read the license agreement; when you are done (if you are like me, you will realize it is incomprehensible and will just assume you aren't giving away your firstborn), click Yes. You'll see a screen recommending that you connect your iPod to your computer to see whether it needs to be formatted for your computer. You can do so if you'd like, but for now you can skip this by performing the following step.
| 5. | Check the Click on This Checkbox If You Wish to Continue Without Connecting Your iPod check box and click Next. The iPod Serial Number dialog box will appear.
note | If you have trouble reading the serial number, you aren't alone. The text is very small! |
| 6. | Enter your iPod's serial number, which can be found on the back of your iPod, and click Next. You will see the Select Country or Region dialog box.
| 7. | Select the country or region that is most applicable to you and click Next. You will see the Registration Information dialog box.
| 8. | Complete your registration information. Most of it is optional; however, you do have to provide at least a name and an email address. When you are done, click Next. You will see the second screen in the registration process.
tip  | If the country or region you want to choose isn't listed, check the Show All check box and hopefully it will be then. |
| 9. | Complete the fields about where you will use the iPod and what best describes what you do, if you'd like to. These are both optional. (Speaking of which, given how easily you can carry an iPod around with you, which is the whole point, how much sense does a question about where you will use it make?)
| 10. | If you want to receive email from Apple, click the Yes radio button, or click No if you don't want to receive email.
note | A pet peeve of mine is forced registration like Apple requires with the iPod. One shouldn't have to register to make a product they purchased work. Ah well, what can we do? |
| 11. | Click Next. You'll see the Choose Destination Location dialog box.
| 12. | If you want to accept the default installation location (which is C:\Program Files\iPod\), skipto the next step. If you don't want to accept the default installation location, click the Browse button and choose the location you do want to use.
| 13. | Click Next. As the installer starts to work, you will see the Setup Status window. This window provides information about the installation process.
When the iPod software installation process is complete, you'll move on to the iTunes installation process.
caution  | If you have other open applications with unsaved changes, make sure you save any open documents before you restart your computer. |
If you already have a later version of iTunes installed on your computer, such as if you downloaded a copy from the Internet, you'll see an error dialog box that explains you already have a newer version of iTunes installed on your computer. Click OK to close the dialog box. You'll move to the InstallShield Wizard Complete dialog box, which prompts you to restart your computer.
tip | If you installed iTunes from the iPod CD, you should immediately update the application to ensure you are working with the most current version. For information about updating iTunes, see "Keeping iTunes Up-to-date on a Windows PC Manually" on page 347. |
If you don't have a newer version of iTunes installed already, the iTunes installation software will guide you through the installation of the iTunes software. To see the details of this installation software, see "Downloading and Installing iTunes on a Windows PC" on page 193. When iTunes has been successfully installed on your computer, you'll move to the InstallShield Wizard Complete dialog box, which prompts you to restart your computer.
| 14. | Leave the Yes radio button selected and click Finish. Your computer will restart and you'll be ready to start working with your iPod.
|
Installing the iPod's Software on a Macintosh You can install the iPod's software on a Macintosh using the following steps: 1. | Insert the installation CD in your Mac. It will be mounted.
| 2. | Using the Finder, open the installation CD so you can see it folders.
| 3. | Open the iPod Installer folder.
| 4. | Double-click the icon you see in the folder, which will be the installation application.
| 5. | Click Continue to allow the installer to check for the appropriate software. The install window will appear (see Figure 2.2).
Figure 2.2. This is the initial screen of the iPod installer on a Mac. 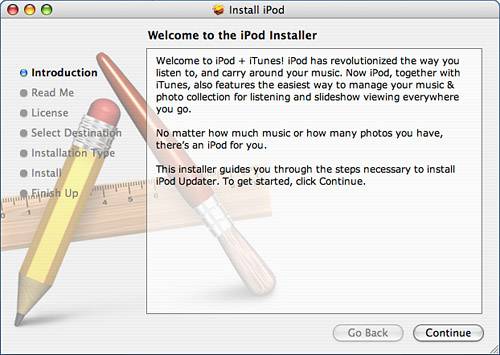
| 6. | Click Continue. The installer will start and you will see the next screen in the process.
| 7. | Read the information on each screen that appears and click Continue to move to the next screen.
| 8. | When you get to the license agreement prompt, click Agree. You'll see the Select a Destination screen.
| 9. | Click the destination on which you want to install the iPod software. Typically, you should install the software on your active startup drive, which will be selected by default. When you select a drive, it will be marked with a green arrow to show you the drive you have selected. In the lower part of the screen, you will see information about the drive on which you have elected to install the software.
| 10. | Click Continue.
| 11. | Click Install.
| 12. | If prompted to do so, authenticate yourself as an administrator and click OK. The installer will run. When the process is complete, you will see the installation complete screen (see Figure 2.3).
Figure 2.3. When you see this screen, you are done installing the iPod software on your Mac. 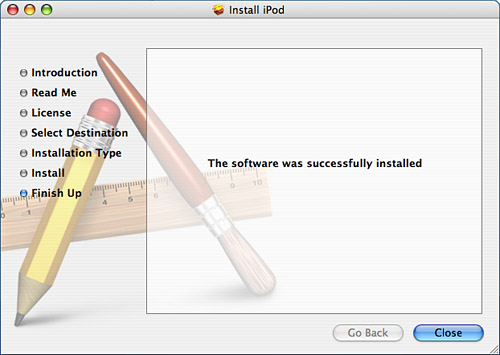
| 13. | Click Close. The installer will quit, and the iPod Updater application will launch. To update the iPod's software, you will need to connect the iPod to your computer. You'll learn how to do that in the next section.
| 14. | For now, quit the iPod Update by selecting iPod Updater, Quit iPod Updater.
|
You also need to have iTunes installed on your computer. Because you are using a Mac, you probably already have a copy installed because iTunes is installed on new Macs and as part of the Mac OS X installation. You should update the version you have installed to ensure you are using the most current version of the application. For the steps to do this, see "Keeping iTunes Up-to-date on a Macintosh" on page 347. If you don't have a copy of iTunes installed on your Mac already, you can install it from the iPod installation CD or by downloading a copy from the Internet. For help with those tasks, see "Installing and Configuring iTunes on a Macintosh" on page 198. |