Section 9.3. Applying Participants to a Timing Diagram
9.3. Applying Participants to a Timing DiagramFirst, you need to create a timing diagram that incorporates all of the participants involved in the Create a new Regular Blog Account interaction, as shown in Figure 9-4. The full participant names have been left out of Figure 9-4 to keep the diagram's size manageable, although you could equally have included the full <name>:<type> format for the title of a participant. Another feature that is missing from Figure 9-4 is the participants that are created and destroyed within the life of the interaction: the :AuthorDetails and :RegularBlogAccountparticipants. Details of these participants have been left out because timing diagrams focus on timing in relation to state changes. Apart from being created and/or destroyed, the :AuthorDetails and :RegularBlogAccount participants do not have any complicated state changes; therefore, they are omitted because they would not add anything of interest to this particular diagram.
Figure 9-4. The names of the main participants involved in an interaction are written vertically on the lefthand side of a timing diagram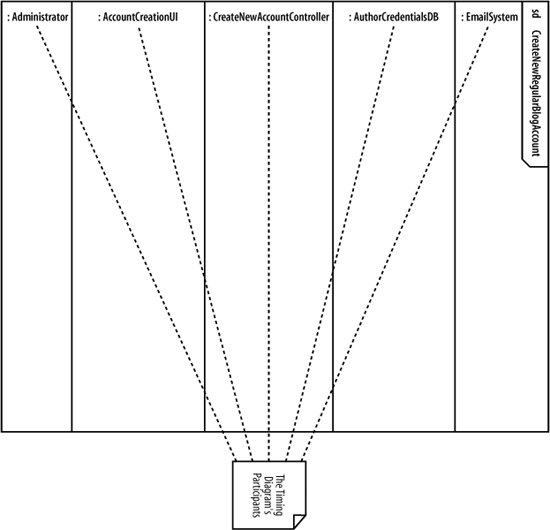 |

EAN: 2147483647
Pages: 175
- Understanding SQL Basics and Creating Database Files
- Using SQL Data Manipulation Language (DML) to Insert and Manipulate Data Within SQL Tables
- Working with Queries, Expressions, and Aggregate Functions
- Using Data Control Language (DCL) to Setup Database Security
- Working with SQL Database Data Across the Internet