Chapter Six: Page Setup and Printing
Lesson 1: Printing Your Work
Previewing your Document
After saving your worksheet or before finally printing your work, it is better to view your sheet to see on how will it appear on the page. Previewing your document before printing will help you to at least make last-minute corrections before you print it.
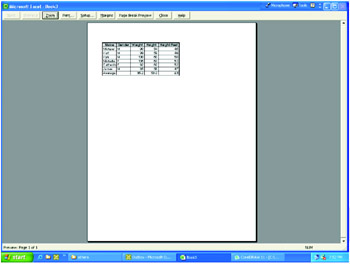
By default, the Print Preview command gives you a full page view of your document. In the Print Preview window, your pointer becomes a magnifying glass. To take a closer look on a portion of a worksheet, position the magnifying glass and click the left mouse button. To return to a full-page view, click the mouse again.
To view your document before printing, follow these steps:
-
Do any of the following:
-
On the File menu, click Print Preview.
-
Click the Print Preview button
 in the Standard toolbar.
 -
Press ALT + F + V
The window changes to Print Preview.
-
-
The Print Preview window has buttons that allows you to do the following:
-
Click Next to go to the next page.
-
Click Previous to go to the preceding page.
-
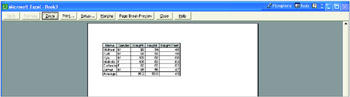
Click Zoom or the magnifying glass to enlarge the view of the document. Click again the Zoom button or anywhere around the document to return the screen to whole page view.
-
Click Print to display the Print dialog box and print the document.
-
Click the Page Setup button to display the Page Setup dialog box.
-
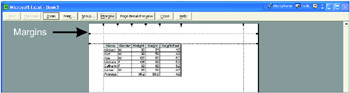
Click Margins to display the margins of the document. You can drag the markers to change the margins of the column width. Click again the Margins button to hide the margins.
-
Click the Page Break Preview to see where the pages will break.
-
Click the Close button when finished with the Print Preview window.
-
Printing your Document
The output that the printer produces is called a hardcopy. When you are ready printing the active worksheet, follow these steps:
Printing a Worksheet
To print a worksheet, follow the steps below:
-
Select the sheet to be printed.
-
Do one of the following:
-
Click the Print button.
-
Press Ctrl+P and then click OK.
-
On the File menu, click Print and then OK.
-
Printing a Workbook
Printing a workbook means that the whole worksheet in the workbook will be printed.
To print a workbook, do the following:
-
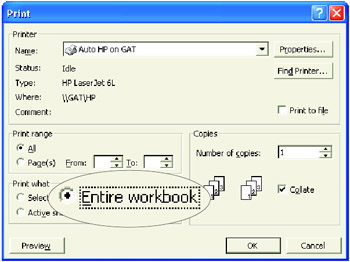
On the File menu, click Print. The Print dialog box appears.
-
Click the Entire Workbook option.
-
Click OK if you do not have any more corrections.
Print a Selection
There are times that you don't want to print the whole content of your worksheet. In Excel, you can select a range to be printed. Do the following:
-
Select the range you want to print by doing any of the following:
-
Drag the mouse pointer across the range.
-
Hold down the Shift key and use the arrow keys to select the range.
-
-
From the File menu, click Print.
-
From the Print What category, choose Selection.
-
Choose OK.
Preview and Print Non-adjacent Selections of Worksheet in a Workbook
To Preview and Print non-adjacent selections of worksheets, do the following:
-
Click the sheet that you want to be active.
-
Hold down the CTRL key to select another worksheet that are not adjacent to each other.
-
Click the Print Preview.
Notice that the preview shows two selected worksheet successively
-
Click File, then Print. The selected worksheets will automatically be printed.
Whiz Words
| | Print Preview |
| Print Preview Window | |
| Hardcopy | Workbook |
Lesson Summary
-
To see the preview of your work, click on the Print Preview button for the Standard toolbar or go to the File menu, click Print.
-
Press Ctrl+P.
-
Click the Print button in the Standard toolbar.
Study Help
-
Why do we have to preview our document before printing?
-
What are the steps in printing a selection?
-
Enumerate the ways to print a document.
-
Open the file Freeze.xls
-
Preview the file to see how your document will look like before printing.
-
Make necessary changes if needed.
-
Print your work.