Uninstalling STS
A clean STS uninstall is a prerequisite to getting a second chance to install. Therefore, I’ve included it in this troubleshooting chapter. The steps you are most likely to miss are the manual ones. To uninstall STS from your server, follow these steps:
-
Click the Start button and select Settings
 Control Panel.
 -
Double-click the Add/Remove Programs icon.
-
Select Microsoft SharePoint as shown in Figure 6-7 and click the Remove button.
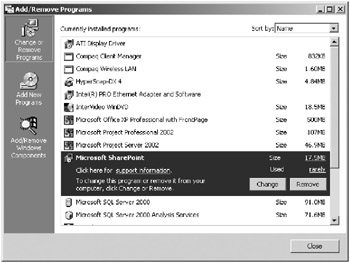
Figure 6-7. Highlight Microsoft SharePoint to select it for uninstall. -
When the uninstall process completes, stop IIS by opening a DOS command window and typing iisreset /stop.
-
When the system reports a successful stop, navigate to drive:\Program Files\Common Files\Microsoft Shared\Web Server Extensions\50 and delete the contents of the folder.
-
Restart IIS by typing the command iisreset /start at a command prompt.
-
In SQL Enterprise Manager, verify that the STS database has been deleted.
-
Open Internet Services Manager, expand the Web site on which you installed STS, and manually remove any lingering STS subdirectories, including the MS_ProjectServer_PublicDocuments folder. A typical Default Web Site tree is shown in Figure 6-8.
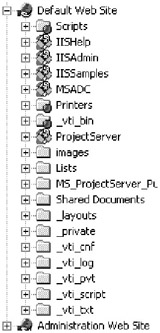
Figure 6-8. Typical Default Web Site tree. You must manually remove lingering STS folders. -
Verify that the system has removed the STS database. A normal uninstall should remove the database. If not, remove it manually.
EAN: 2147483647
Pages: 185
- Structures, Processes and Relational Mechanisms for IT Governance
- Integration Strategies and Tactics for Information Technology Governance
- Assessing Business-IT Alignment Maturity
- Technical Issues Related to IT Governance Tactics: Product Metrics, Measurements and Process Control
- Governance Structures for IT in the Health Care Industry