Previewing Print Colors by Soft-Proofing
| You can anticipate and avoid the most dramatic color printing surprises by taking advantage of soft-proofing (simulating printed colors) in Photoshop. Soft-proofing takes knowledge about your monitor and your final print conditions and adjusts the monitor image to display only the color range available under the targeted printing conditionsthe device, the inks, the paper, and the print settings. What about the display you normally see? The normal monitor display in Photoshop and most other programs represents the full range of colors in the file itself, not how the colors are limited by particular printing conditions like CMYK inks on uncoated paper. That's why you often see a mismatch between colors onscreen and in print from the same file. Before you can soft-proof successfully, your system must be using an accurate color profile of your monitor, and you must also have an accurate color profile of your final printing conditions. You create an accurate monitor profile using monitor calibration hardware (the PANTONE Huey is a simple, affordable device of this type). You typically get an accurate print profile by obtaining it from your output service provider. It's also possible for you to use a calibration product to create your own printer profile but that is usually best done by trained professionals. Photoshop includes some profiles, and your printer driver probably came with some, too, but those are generalized profiles that don't represent the actual behavior of specific devices such as the printer on your desk. The simplest way to soft-proof is to choose View > Proof Setup and, from the Proof Setup submenu, choose the preset that matches the output condition you want to preview, if you have one. If you don't see a preset for your printing conditions on the Proof Setup submenu, you can add one by doing the following:
If shadows are blocking up in the soft-proof, you can typically lift shadow detail back up into a zone that's easier for the printing conditions to reproduce by choosing Image > Adjustments > Shadow/Highlight and using a Shadow value above 0 (try starting at 10%, and don't go overboard) (Figure 16.8). Figure 16.8.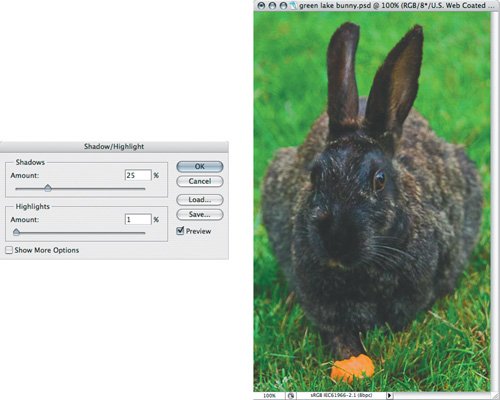 You can quickly switch between normal display and soft-proofing by enabling and disabling the View > Proof Colors command (Command/Ctrl+Y). You can also choose Window > Arrange > New Window for (document name) and enable Proof Colors in that window while leaving Proof Colors disabled in the original window. The best possible results from soft-proofing require a high-quality monitor, precise customized profiles for both the monitor and the final printing conditions, and properly chosen settings for color management. Because most users can't afford all that, for most users soft-proofing serves more as a guide to possible trouble areas in the final print. I use soft-proofing to catch the most obvious problems and fix them before I start consuming time and paper on test prints. Because I can solve more problems before I actually start making test prints, I don't have to make as many test prints.
|


EAN: 2147483647
Pages: 161