Let's start by making basic rotation and crop adjustments to a sample image.
1. | Choose Window > Layouts > Adjustments and Filters to change your window to the Adjustments and Filters layout.
|
2. | Press W to reveal the Projects panel.
|
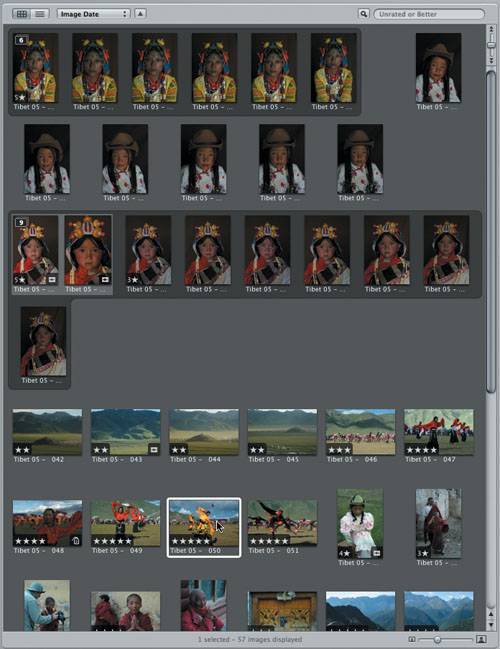
3. | From the Projects panel, select the Tibet project.
|
4. | Press W to hide the Projects panel.
|
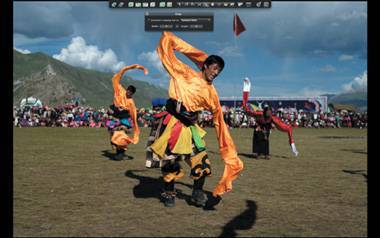
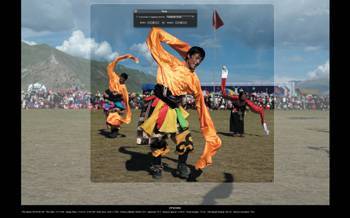
5. | From the Browser select the image Tibet 05 050 to load it into the Viewer.
 |
6. | Press F to enter Full Screen mode.
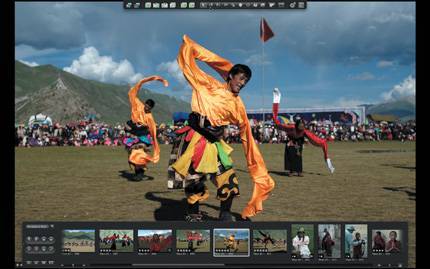 |
7. | Move the pointer to the top of the screen to reveal the Full Screen toolbar.
 This strip of buttons is used to make basic adjustments to an image. At the far left, the Selection tool is selected by default; use it to select items in the interface. The next two buttons are the rotation tools.
|
8. | Let's set the image above the filmstrip. Choose Avoid from the Viewer Mode pop-up located on the lower left of the filmstrip.
 |
9. | Click the Rotate Left tool button to select the tool, and then click the image.
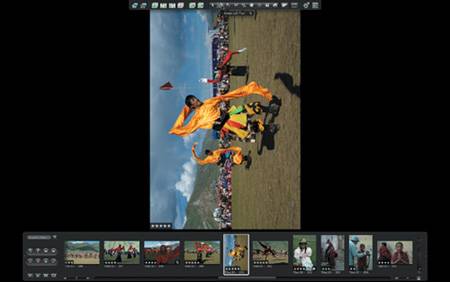 The rotation tools rotate the image by 90 degrees clockwise or counterclockwise, depending on which rotation tool is selected.
|
10. | Click the image in the Viewer three more times to rotate it back to its original position.
|
11. | Move the pointer toward the top of the screen to reveal the Full Screen toolbar again, and click to select the Straighten tool from the toolbar.
 |
12. | Click and hold the pointer on the image. Drag the pointer up and down to rotate your image by arbitrary amounts.
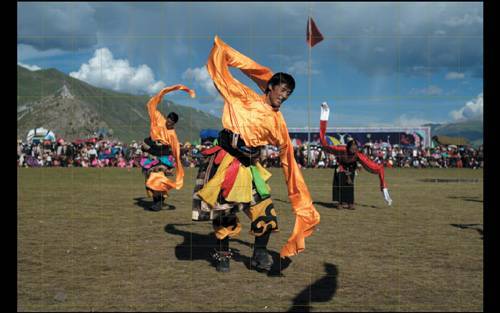 Notice the grid lines that appear over your image as you make your alignment. You can use the grid lines as guides to make elements within your image parallel with the grid. In this example, you can align the horizon.
|
13. | Move the pointer toward the top of the screen to reveal the Full Screen toolbar and click to select the Crop tool.
 |
14. | Drag through your image to mark out the portion you want to keep.
 You'll notice the area outside your crop selection is ghosted. You can resize your cropped selection by dragging one of the boundary borders.
|
15. | Press Return to complete the crop.
Tip You can return to the Crop tool to re-crop the image at any time, even after you have made adjustments to your cropped selection. Aperture is completely nondestructive. |