Section 1.1. Creating a Basic Worksheet
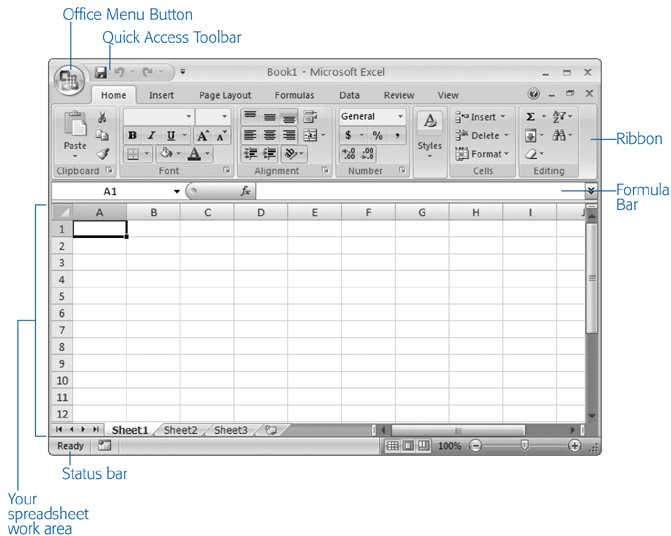
1.1. Creating a Basic WorksheetWhen you first launch Excel, it starts you off with a new, blank worksheet , as shown in Figure 1-1. A worksheet is the grid of cells where you type your information and formulas; it takes up most of the window. This grid is the most important part of the Excel window. It's where you'll perform all your work, such as entering data, writing formulas, and reviewing the results.
Here are a few basics about Excel's grid:
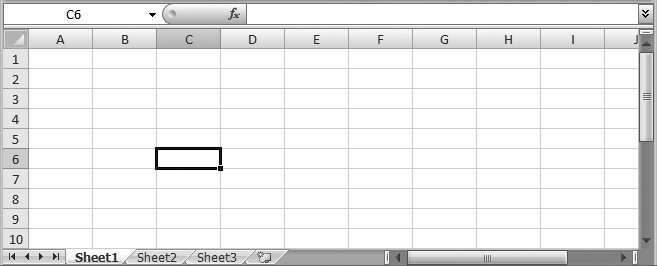
Note: Obviously, once you go beyond 26 columns, you run out of letters. Excel handles this by doubling up (and then tripling up) letters. For example, column Z is followed by column AA, then AB, then AC, all the way to AZ and then BA, BB, BCyou get the picture. And if you create a ridiculously large worksheet, you'll find that column ZZ is followed by AAA, AAB, AAC, and so on. The best way to get a feel for Excel is to dive right in and start putting together a worksheet. The following sections cover each step that goes into assembling a simple worksheet. This one tracks household expenses, but you can use the same approach to create any basic worksheet. 1.1.1. Starting a New Workbook When you fire up Excel, it opens a fresh workbook file. If you've already got Excel open and you want to create another workbook, just select Office button
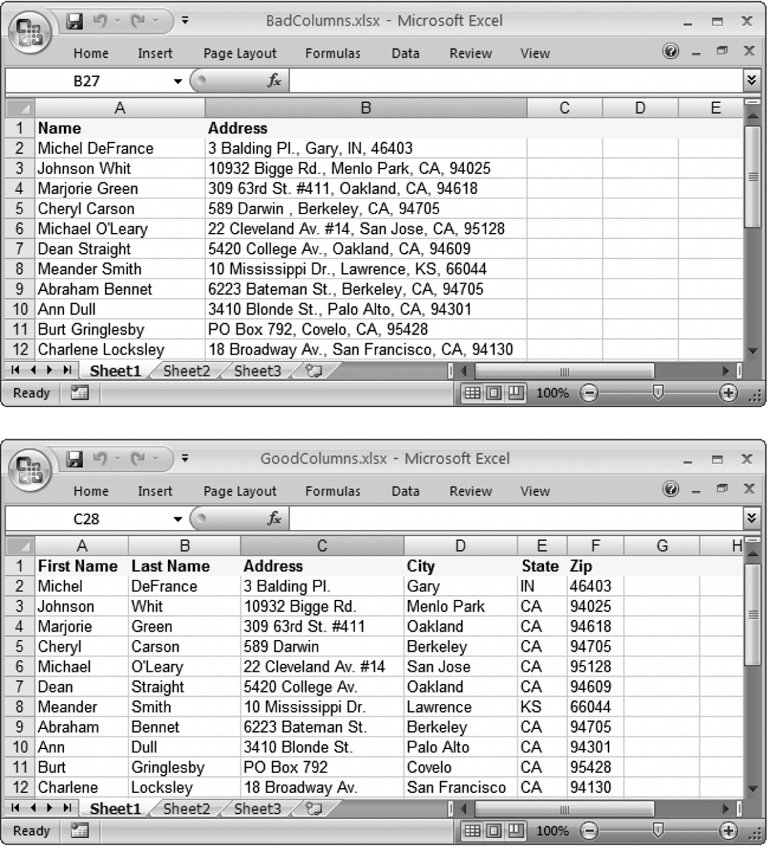
Note: A workbook is a collection of one or more worksheets . That distinction isn't terribly important now because you're using only a single worksheet in each workbook you create. But in Chapter 4, you'll learn how to use several worksheets in the same workbook to track related collections of data. For now, all you need to know is that the worksheet is the grid of cells where you place your data, and the workbook is the spreadsheet file that you save on your computer. You don't need to pick the file name for your workbook when you first create it. Instead, that decision happens later, when you save your workbook (Section 1.4). For now, you start with a blank canvas that's ready to receive your numerical insights. Note: Creating new workbooks doesn't disturb what you've already done. Whatever workbook you were using remains open in another window. You can use the Windows taskbar to move from one workbook to the other. Section 1.5.1 shows the taskbar close up. 1.1.2. Adding the Column TitlesThe most straightforward way to create a worksheet is to design it as a table with headings for each column. It's important to remember that even for the simplest worksheet, the decisions you make about what's going to go in each column can have a big effect on how easy it is to manipulate your information. For example, in a worksheet that stores a mailing list, you could have two columns: one for names and another for addresses. But if you create more than two columns, your life will probably be easier since you can separate first names from street addresses from Zip codes, and so on. Figure 1-4 shows the difference. You can, of course, always add or remove columns later. But you can avoid getting gray hairs by starting a worksheet with all the columns you think you'll need. The first step in creating your worksheet is to add your headings in the row of cells at the top of the worksheet (row 1). Technically, you don't need to start right in the first row, but unless you want to add more information before your tablelike a title for the chart or today's datethere's no point in wasting the space. Adding information is easyjust click the cell you want and start typing. When you're finished, hit Tab to complete your entry and move to the next cell to the right (or Enter to head to the cell just underneath).
Note: The information you put in an Excel worksheet doesn't need to be in neat, ordered columns. Nothing stops you from scattering numbers and text in random cells. However, most Excel worksheets resemble some sort of table, because that's the easiest and most effective way to deal with large amounts of structured information. For a simple expense worksheet designed to keep a record of your most prudent and extravagant purchases, try the following three headings:
Right away, you face your first glitch: awkwardly crowded text. Figure 1-5 shows how you can adjust column width for proper breathing room. 1.1.3. Adding DataYou can now begin adding your data: simply fill in the rows under the column titles. Each row in the expense worksheet represents a separate purchase that you've made. (If you're familiar with databases, you can think of each row as a separate record.) As Figure 1-6 shows, the first column is for dates, the second column is for text, and the third column holds numbers. Keep in mind that Excel doesn't impose any rules on what you type, so you're free to put text in the Price column. But if you don't keep a consistent kind of data in each column, you won't be able to easily analyze (or understand) your information later. That's it. You've created a living, breathing worksheet. The next two sections explain how to edit data and move around the grid. |
 New. This step pops up the New Workbook window thats shown in Figure 1-3.
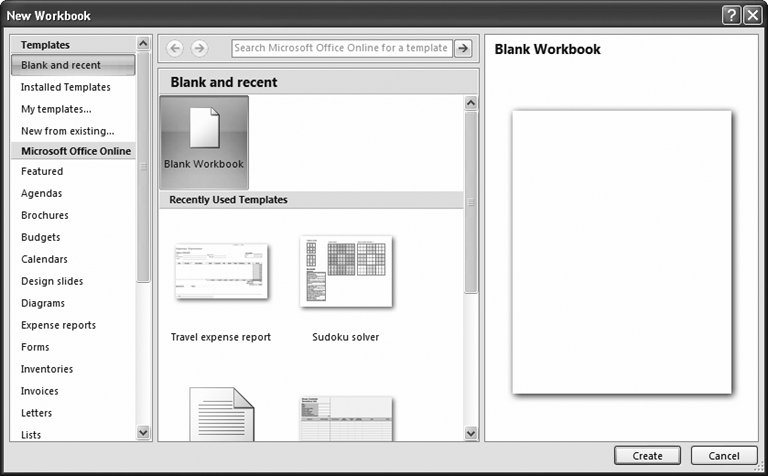
EAN: N/A
Pages: 75