Working with Views
When you are trying to design an efficient, well-structured form, layout tables can go a long way toward helping you organize your form content on a page. But what about when you have more than one page worth of content? You could leave all of this content on a single (but very long) page and allow users to scroll down to see the rest of the form content, but there is a much easier way to organize your forms.
Views within an InfoPath form allow you to separate form content onto separate pages within a single form. When users open a form, they will be presented with a default view and can then change to other views as required to see the other “pages” of form content. In addition to helping organize form contents, you can also use views to apply the same formatting to multiple objects that may appear on a view. Another handy use for views is that they can be used to create a “print version” of the form that is optimized for printing on a printer (that is, it may have a header, footer, page numbers, and so on).
The following sections describe how to create new views and format the same.
Creating New Views
When you are designing a form, you can see all the views that are available by selecting View | Manage Views to open the Views task pane, as shown in Figure 8-4.
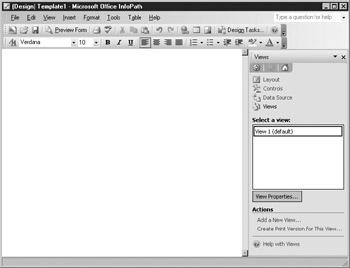
Figure 8-4: Views task pane
When you first create a new form, a view labeled View 1 is automatically created and is set as the default view. To create a new view, click the link at the bottom of the Task Pane marked Add a New View, which opens the dialog box shown here.
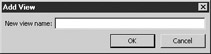
Enter a name for your new view and click OK to add a new blank view to your form. InfoPath immediately displays your new view, and you then can add controls and other elements to the view as you normally would. When working with a form, you can switch between views by selecting View | Manage Views to open the Views task pane and then clicking to select the view you want to work with.
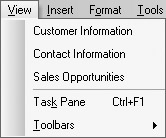
When previewing or filling out a form, you can switch between views by using the View menu. In the example shown in the following illustration, the View menu includes three different views (Customer Information, Contact Information, Sales Opportunities) for a form that has been created for entering information about a prospective customer.
By default, all views appear in the View menu, but you can change this behavior by editing the view’s properties.
Formatting Views
To view the properties for a particular view, select View | Manage Views, choose the view from the list, and then click the View Properties button to open the dialog box shown here.
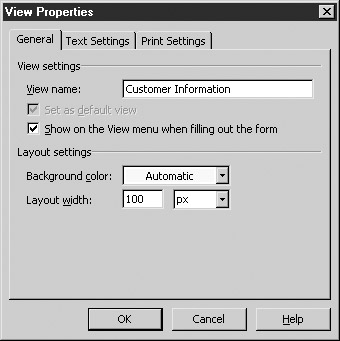
You can use the General tab to change the name of a view. The options immediately below the View Name text box control whether this view is the default (that is, it is shown when the form is opened) and whether or not the view is shown in the Views menu when the form is previewed or filled out.
Using the drop-down list at the bottom of the General tab, you can control the background color for your view, as well as the layout width. This doesn’t actually physically change the size of the page but it does set the default width of any layout tables that you may have added to your view.
To set the default font, font size, and color for objects within your view, click the Text Settings tab, shown here.
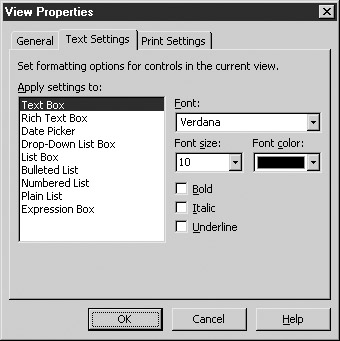
This tab enables you to set the font for a particular type of object that appears on your view. For example, if you decide that you want all the text boxes on your form to be 12-point Arial, you could go through and format each text box the old way (which would be tedious). Instead, you could use this tab to select a particular type of object (for example, Text Box) and a font, size, and so on and that formatting would be applied to every text box that appears on the view you are working with. This is especially handy if you are working with a number of fields and quickly need to format them all at once.
Creating Print Views
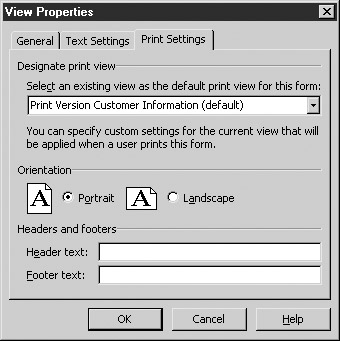
Another important use of views is to provide an alternate version of a form for printing purposes. You can set the printing options for a particular view through the Print Settings tab, shown here.
You can use these options to specify which view will be used when printing out a particular view. Seem confusing? Think of it this way—say you had a form that had three different views in place. You could create a separate print view for each of these views so that you could print each individually, or you could create a single print view that would display the contents of all three views.
The choice is up to you whether you have a 1:1 relationship between views and their print views—in fact, you don’t even have to display the same objects on each. You could have a view in an Expense Report that shows the employee’s name, detailed expenses, and so on, and a print view that shows only the total for the expenses, with a place for a manager to sign. How you choose to use print views is up to you (and your imagination).
| Tip | You can also create a print view for an existing view by highlighting the view in the Task Pane and clicking the Create Print Version for This View link at the bottom. |
In the Orientation area of the Print Settings tab, you can select whether your view will be printed Portrait or Landscape. At the bottom of the tab, you can enter text for a header and footer for your view, which will appear at the top and bottom of the printed page.
| Tip | To see what your view will look like printed, preview the form and then select File | Print Preview to get a WYSIWYG view of your printed form. |
EAN: 2147483647
Pages: 142