Creating Forms from Existing XML Schemas or Files
Most popular relational databases and applications can use XML files to import and export files. As you saw in Chapter 2, XML provides a nearly “universal” format for data exchange, combining the data itself with a descriptive tag language that can be used to define the data as well.
When working with InfoPath, you can use an existing XML schema or file as the source of your form. This functionality enables you to create forms that can be used with a wide variety of back-end systems. A common scenario might be one in which an application developer is working on a new system to process expenses within your organization and wants to use InfoPath to capture expense report information. In such a scenario, the application developer could provide to you an example XML schema or file that contains the structure and data that the developer is expecting to receive. You could then base your InfoPath form on the structure contained within the schema or file to ensure that your InfoPath form could collect the required information.
To see this in action, this section walks you through an example in which you build an InfoPath form from an existing XML file. The form that you are going to create will be used to collect employee details and is based off of employees.xml, which is one of the sample XML files that is available with the download file that accompanies this book, available from www.osborne.com.
To create your form from an existing XML file, open InfoPath and select File | Design a Form to open the Design a Form view in the Task Pane. From the options under Design a New Form, select New from Data Source to open the Data Source Setup Wizard, shown in Figure 5-1, which you use to create new InfoPath forms from existing data sources.
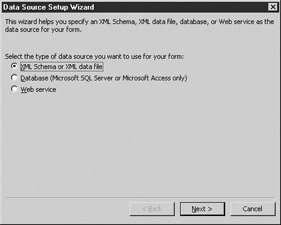
Figure 5-1: The Data Source Setup Wizard’s opening page
In this instance, you are using the wizard to create a form from an existing XML file, so select the XML Schema or XML Data File option and click Next to continue to the window shown in Figure 5-2.
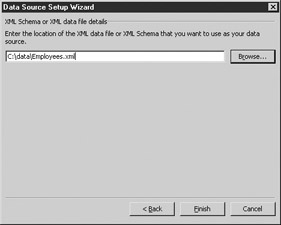
Figure 5-2: Identifying the XML data file to use as the data source
Click the Browse button to locate the XML file you want to use as the basis of your form. In this example, you are creating a form from a sample XML file that is available with the download files for this chapter. Locate where you saved the files from this file and select the employees.xml file. After you have selected the file, click OK to return to the wizard and then click Finish to complete the wizard.
If your XML file has data in it, you are prompted with a dialog box asking if you want to use the data within the file as the default data for your form. Select Yes to preview your form using this data; select No to discard the data.
After you have made your selection, the InfoPath form designer opens and allows you to create your form as you normally would. Unlike your first form, in which you actually created the fields on-the-fly, with an existing XML schema or file, these fields are predefined for you, as shown in Figure 5-3. The Data Source view of the Task Pane displays the structure of your data source, including all the groups, fields, and so on.
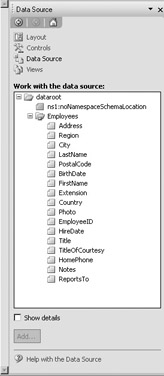
Figure 5-3: Fields from an existing XML file
| Tip | If you would like to see additional information related to each of the fields, select the Show Details option at the bottom of the Task Pane. |
To create your form from these fields, simply drag the field from the data source onto your form. When you drag your first field onto your form, you’ll notice that InfoPath puts the field in a repeating section, as shown next.
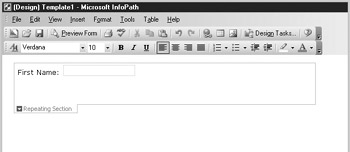
The sample XML file you started with includes a group called Employees that contains all the different fields that relate to each employee (name, address, and so forth), so InfoPath allows you to use one form to enter information for multiple employees. When you preview or fill out your form, this repeating section is used to allow you to enter multiple employees’ information using this form, as shown in the finished form in Figure 5-4.
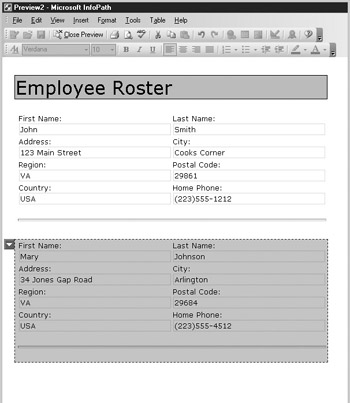
Figure 5-4: The finished form
| Tip | For more information on working with Repeating Sections, check out Chapter 7. |
An easy way to visualize repeating sections is to think about paper forms. If you had a paper form that you were using to collect one employee’s details, what would you do if you needed to use the form to collect another employee’s details? You would probably make a copy of the form and fill it out for the second employee. With InfoPath, you can simply insert a repeated section to capture this information. With repeating sections, your form can be used to enter details from one employee or 100 employees.
When working with a form created from an existing XML file or schema, you can use all the same formatting tricks and techniques that you would use for any other form. You can then distribute this form to users for them to complete and instruct them to save the data that they entered to an XML file that is guaranteed to work with your source system.
EAN: 2147483647
Pages: 142