Printing InfoPath Forms
One of the strengths of InfoPath is that it can be used to create presentation-quality forms that can be printed and distributed. Going back to the sample Expense Report, there is a section at the bottom of the form for the employee and manager signature to authorize the expense. By printing this form, you could get the signatures required and still send the electronic copy of the file to the accounts department for processing.
| Note | Saving and sending InfoPath forms are discussed in upcoming sections. |
The following section details some of the printing options within InfoPath as well as how to preview and print your form.
Page Setup
To control the paper size, orientation, margins, and so on, used when you print your form, select File | Page Setup to open the dialog box shown in Figure 3-11. You can then use the drop-down lists to specify your choices.
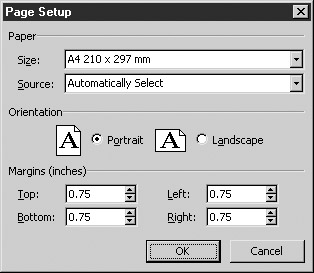
Figure 3-11: Page setup options
By default, the margins are set to .75, and any settings changes that you make here will not affect the form’s design—these options are for printing the form only.
Previewing a Form
To see what your form will look like when printed, select File | Print Preview, which opens the window shown in Figure 3-12.
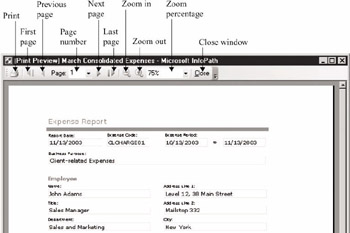
Figure 3-12: The Print Preview window
You can print your form directly from the Print Preview window, navigate through pages, zoom to sections of the form, and so on, by using the toolbar provided at the top of the window.
Printing a Form
You can also print your form without first previewing it by clicking the Print icon in the toolbar—this prints the form to your default printer. If you want to select a printer, which pages to print, collation options, and the number of copies, select File | Print to open the dialog box shown in Figure 3-13.
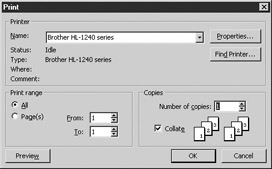
Figure 3-13: Print options
EAN: 2147483647
Pages: 142
- ERP System Acquisition: A Process Model and Results From an Austrian Survey
- Context Management of ERP Processes in Virtual Communities
- Distributed Data Warehouse for Geo-spatial Services
- Data Mining for Business Process Reengineering
- Development of Interactive Web Sites to Enhance Police/Community Relations