Internet Mail Wizard
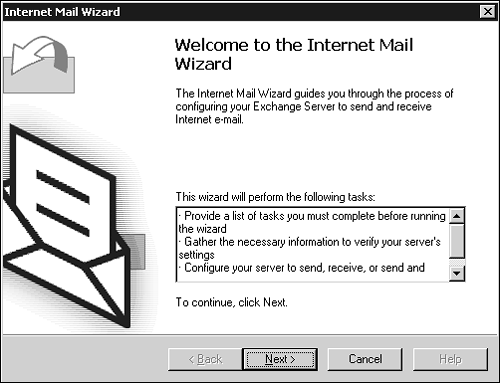
| One of the first configuration tasks you will want to undertake is to set up your connection to the outside world so that your Exchange server can send and receive email messages. To help make this task a little easier, the Internet Mail Wizard (see Figure 4.2) has been resurrected from Exchange 5.5. Figure 4.2. You can use the Internet Mail Wizard to quickly configure your Exchange server to send and receive email from the Internet.
The Internet Mail Wizard has been updated and used to configure new Exchange installations to send and receive Internet mail. The wizard will guide you step-by-step in creating the required connectors and virtual servers. BEFORE YOU START You cannot use the wizard if your server is part of a cluster or if you have multiple network interface cards going to separate networks with IP routing. Before you can run the wizard, you need to be sure that you have registered your Simple Mail Transfer Protocol (SMTP) domain with a registrar and that the Exchange server you are configuring has an IP address assigned to it. You also need to ensure that DNS is configured correctly with a Mail Exchanger (MX) record. SETTING UP A MAIL EXCHANGER RECORD To add an MX record to your DNS setup, open the DNS Console from Administrative Tools, right-click on your domain, and from the shortcut menu, select New Mail Exchange (MX). You can then specify the host or child domain and the fully qualified domain name (FQDN) for your mail server. After you have created your MX record, you can configure your Exchange server for Internet mail by following these steps, clicking Next after each step to advance within the wizard.
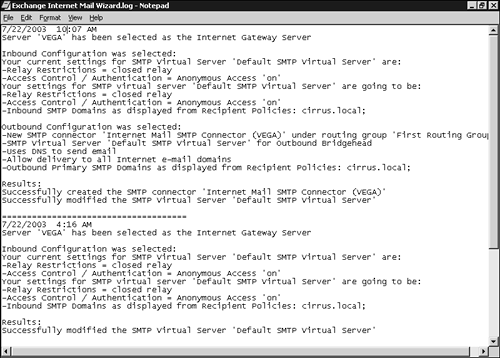
When the Internet Connection Wizard is finished making your configuration changes, it writes a log file named Internet Mail Wizard.log that is available within the My Documents folder of the user who actually ran the wizard. The log, shown in Figure 4.3, shows the changes that have been made to your Exchange server configuration as well as whether the changes could be successfully applied. Figure 4.3. The Internet Mail Wizard produces a log file that summarizes the configuration changes that were made.
One important point about the Internet Connection Wizard: It can be used only on new Exchange server installations. If you have previously configured virtual servers, connections, and so on, you will need to remove these servers and connections before you can run the wizard. |
EAN: 2147483647
Pages: 109