Adding Tools
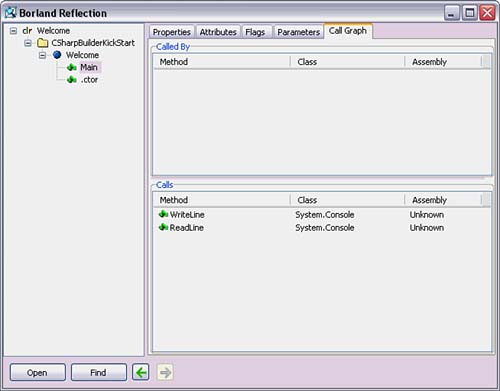
| During development, it is common to access third-party tools for performing various tasks. C#Builder offers the option of adding access to other tools through a Tools menu. This puts them within two mouse clicks or keystrokes to execution, and so it saves time because you don't need to look elsewhere in the system for these items. An example of an existing tool that has been added to the Tools menu is the Borland Reflection utility, which you can open by choosing Tools, Reflection. The Reflection tool enables you to view the internal details of an assembly. Reflection is simple to operate. Just click the Open button and select the .NET assembly to view. Namespaces and types display in the list on the left, and information about the selected item in that list appears on the right (see Figure 1.18). The assembly in Figure 1.18 was loaded by looking for the Welcome.exe program in the bin\debug folder underneath the project that was created for the Welcome program, shown in Listing 1.1. By showing the internal types of an assembly, Reflection comes in handy when documentation for a library is unavailable. Figure 1.18. Viewing assembly details with the Borland Reflection tool.
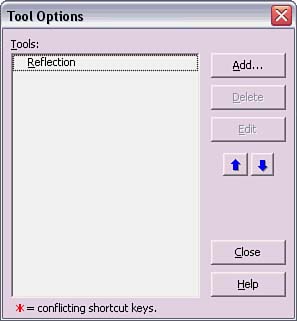
To demonstrate how you can add a third-party tool to the Tools menu, this section will show how to add the NUnit unit testing program, which is free. This program can be downloaded on the Internet from the address: http://nunit.org. I won't be explaining how to use NUnit here, as it is beyond the scope of this book. However, the documentation is available on the NUnit Web site. The following procedures assume that you have downloaded and installed NUnit on your system. To add NUnit to the Tools menu, select Tools, Configure Tools. When the Tool Options dialog appears, click the Add button (see Figure 1.19). Figure 1.19. The Tool Options dialog.
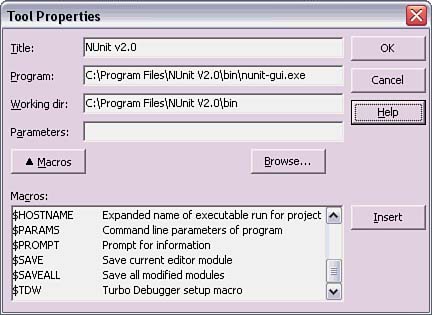
This displays the Tool Properties dialog, as shown in Figure 1.20. Enter NUnit v2.0 in the Title box. Then select the Browse button and search for the nunit-gui.exe program in the NUnit directory, which by default would be located in the C:\Program Files\NUnit V2.0\bin directory. After you select the OK button in the Open File dialog, the Program and Working Dir boxes will be filled with the executable path and directory, respectively. There is a Macros button that expands to show options that can be used on the command line. It really depends on the program as to whether these macros will work on the command line. For example, NUnit specifies command-line files with the /assembly:<filename> option, but this doesn't resolve properly in C#Builder if the $EXENAME macro is specified. So, the macro capability is limited in what it can be used for. Finally, click the OK button to save, and click the Close button in the Tool Options dialog. Now NUnit v2.0 will appear as an entry in the Tools menu, and selecting it will run the NUnit program. Figure 1.20. The Tool Properties dialog.
|